
Corgi Butt Bread
Ingredients
- 300 Bread flour
- 160 Milk
- 40 Sugar
- 5 Salt
- 3-5 Yeast
- 1 Egg
- For the Custard Filling:
- 2 Egg yolks
- 200-240 Milk
- 20-30 Sugar
- 20 Cornstarch
- 20 Butter
Instructions
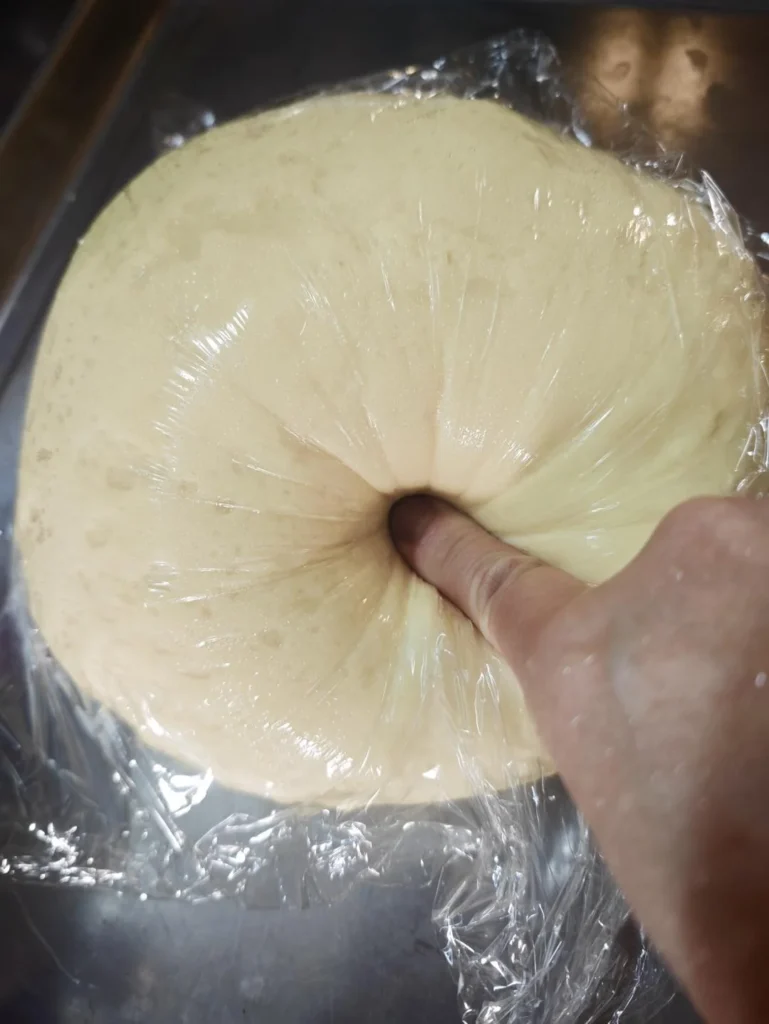
- Combine all ingredients except butter and salt in a bowl. Knead the dough, then add softened butter and salt. Continue kneading until the dough passes the windowpane test (develops gluten).
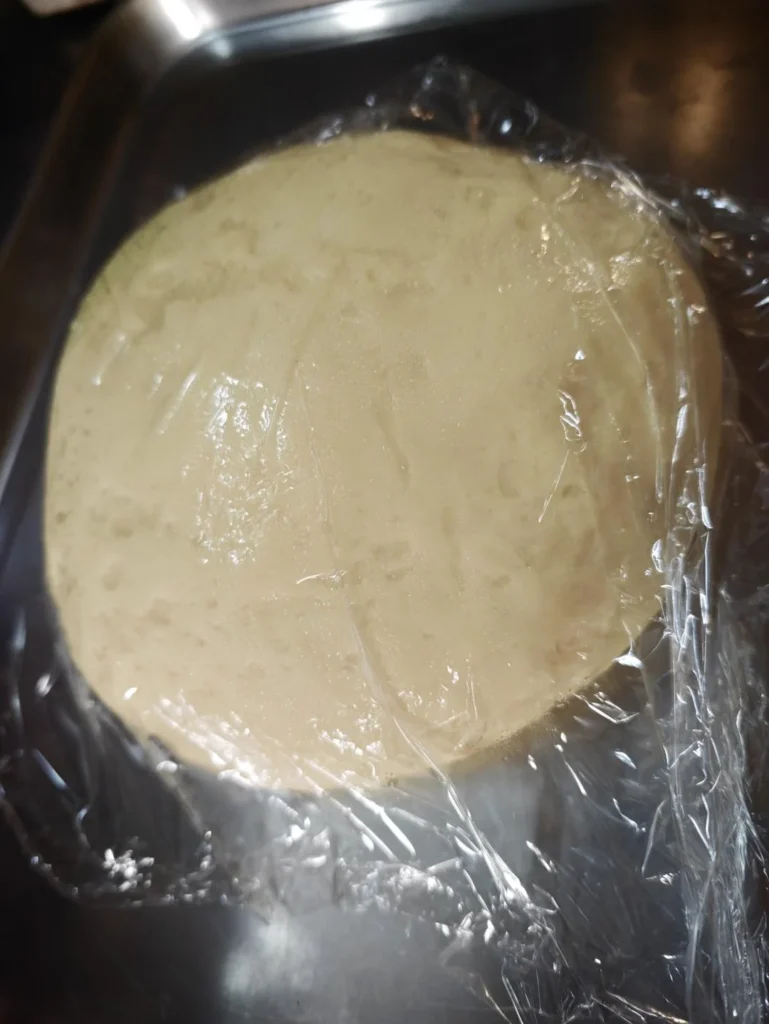
- Let the dough rise until doubled in size.
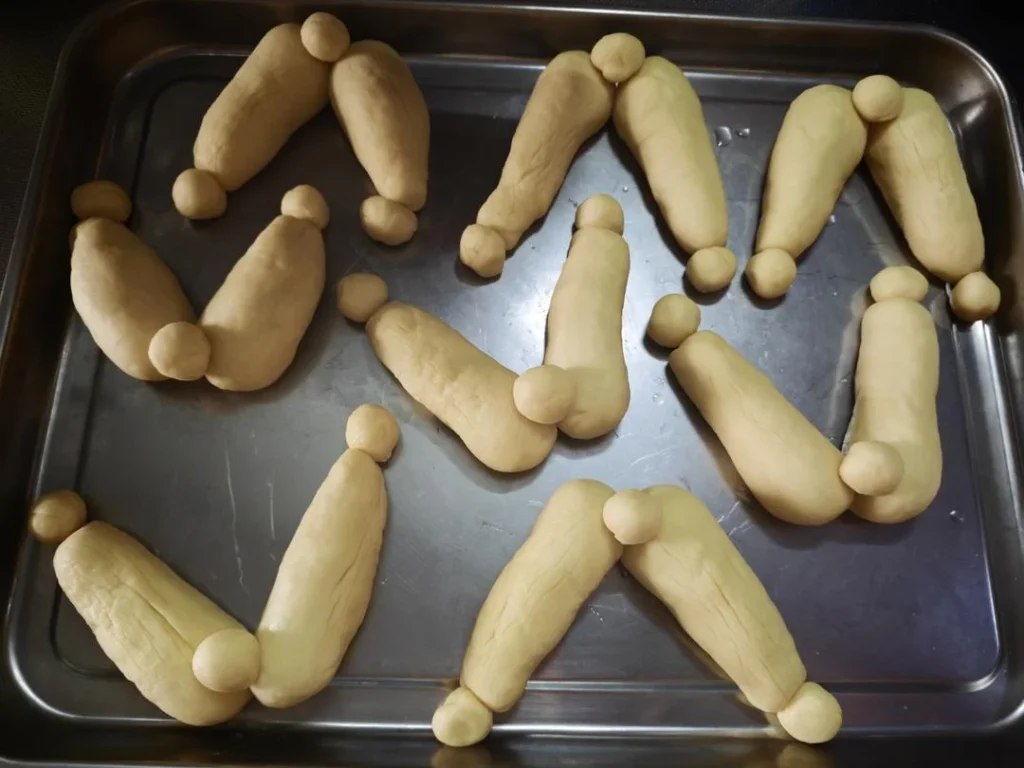
- Divide the dough: make 8 pieces of 50g each (for the body), and 12 pieces of 3g each (for details). Shape the 50g pieces into carrot shapes (tapered at one end). Shape three of the 3g pieces into small balls. Attach two carrot-shaped pieces at their wider ends with a dab of water, then place a small ball on top to create the corgi butt shape. For the paws, attach two tiny balls to the narrow end of the carrot shape with water. Place in a 30°C oven to proof for 30-60 minutes until plump.
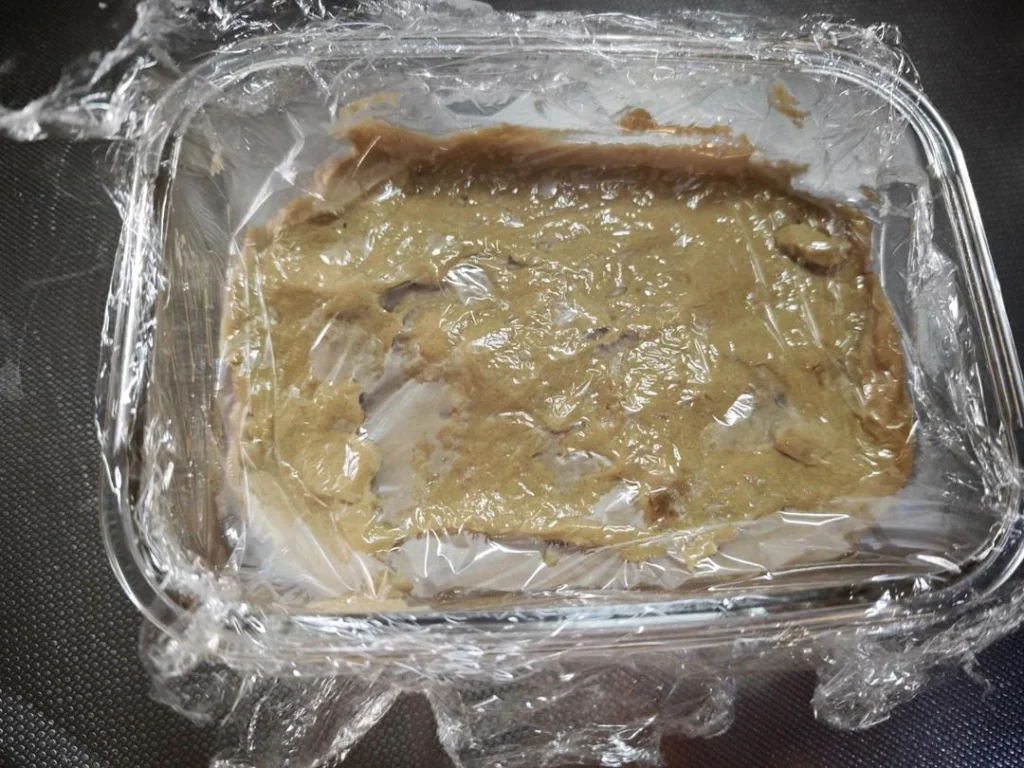
- While the dough proofs, make the custard filling. Combine all custard ingredients except butter in a bowl and mix well. Strain into a small saucepan and cook over medium-low heat until slightly thickened. Remove from heat, add butter, and stir until smooth. Let cool completely.
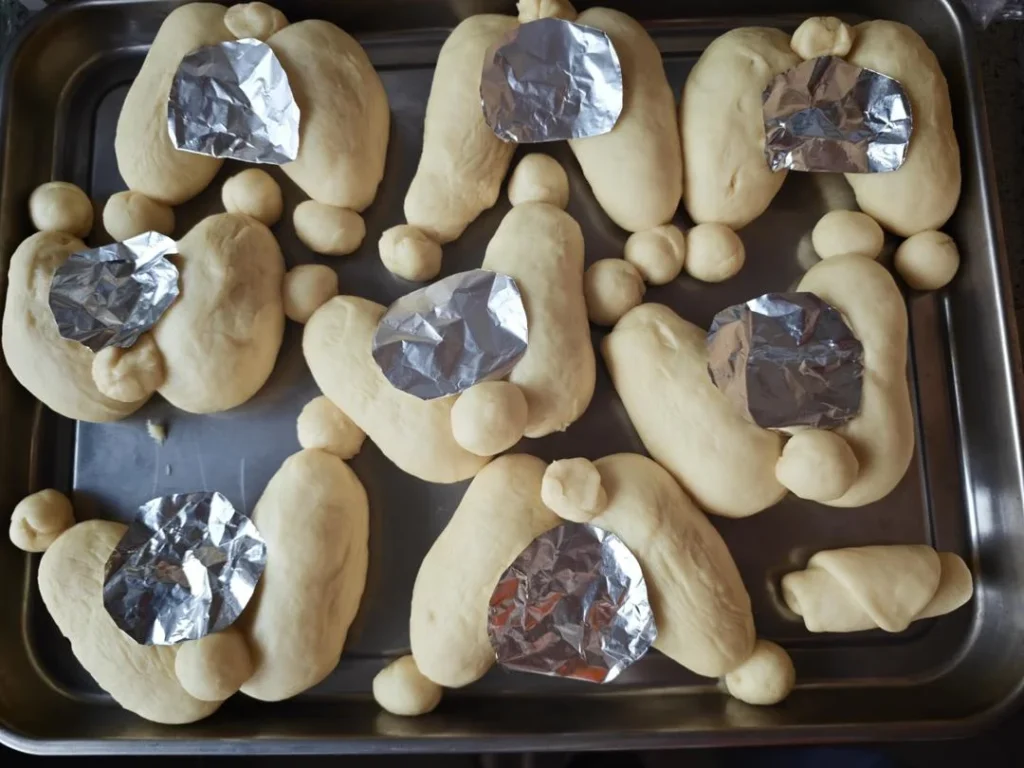
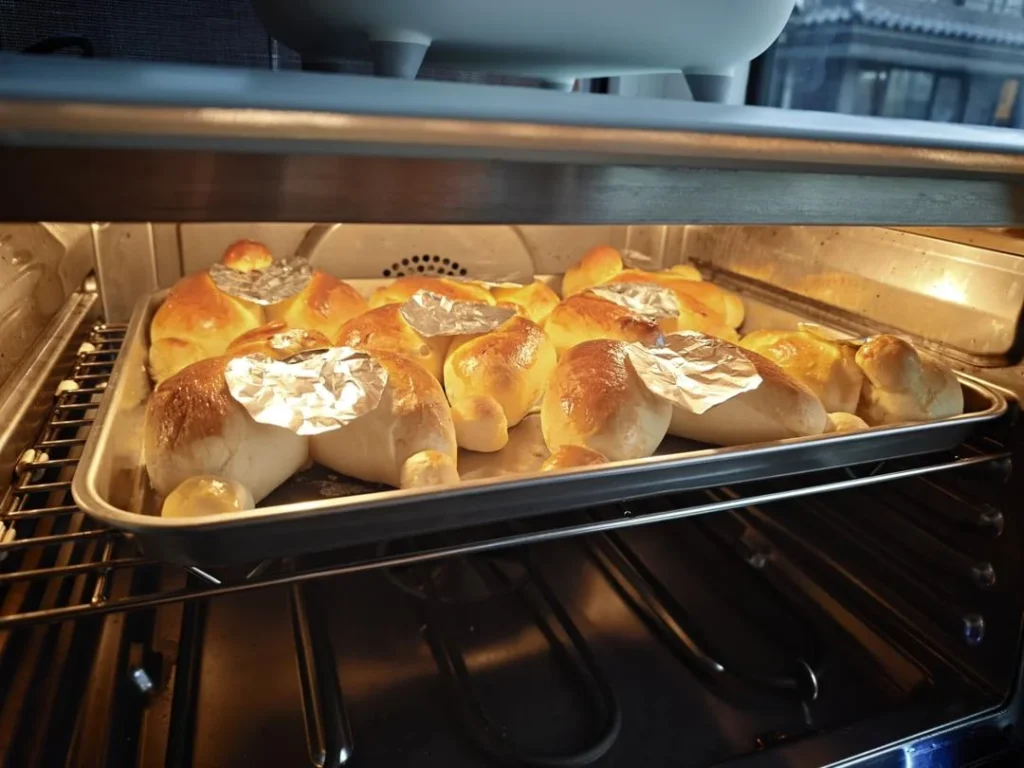
- Once the corgi butts have proofed and become plump, brush with egg wash. Bake at 170°C. Cover the center area with a round piece of foil during the last 10-15 minutes to prevent over-browning.
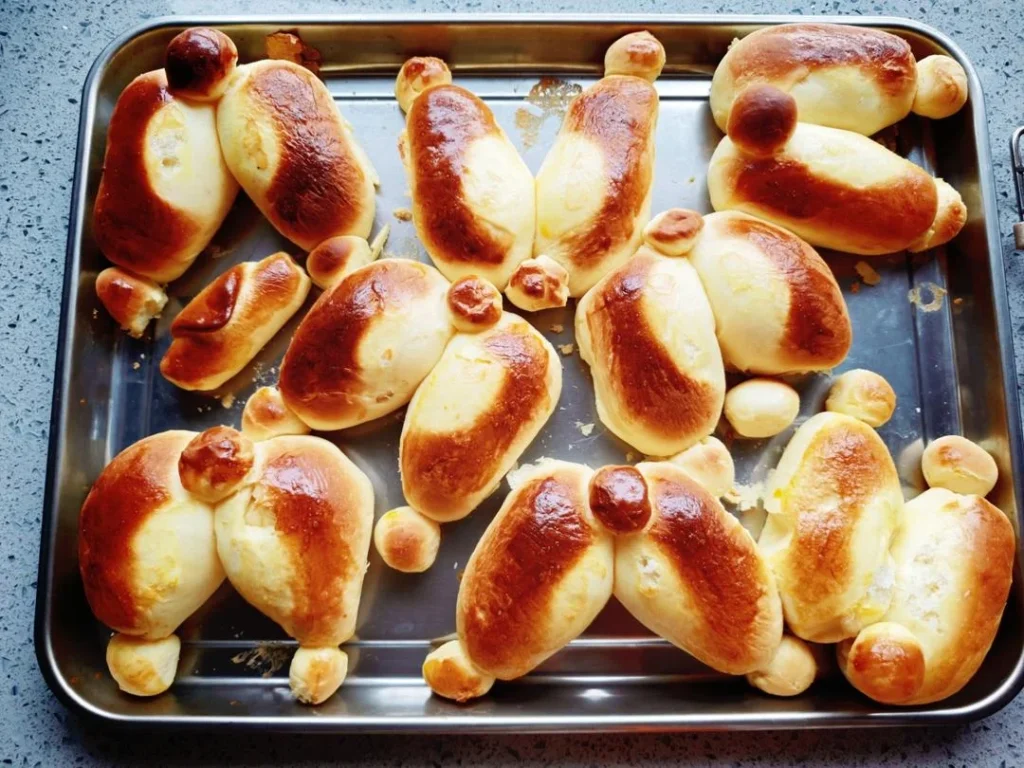
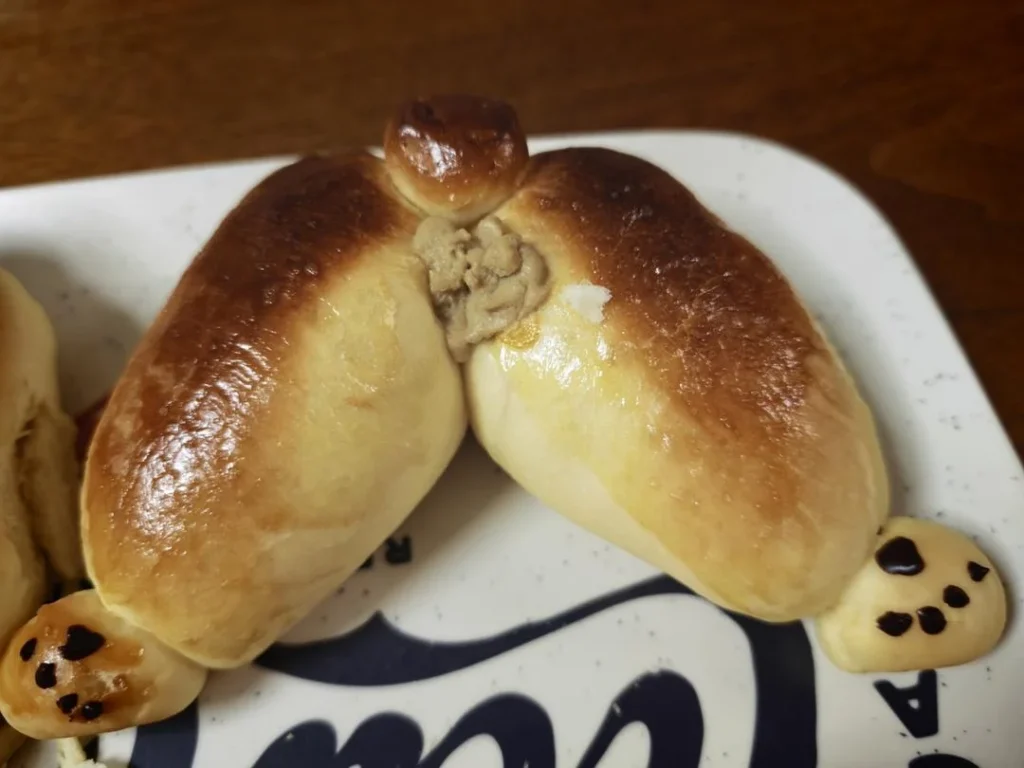
- Doesn't it look tempting?
- After baking, give the pan a gentle tap to release steam.
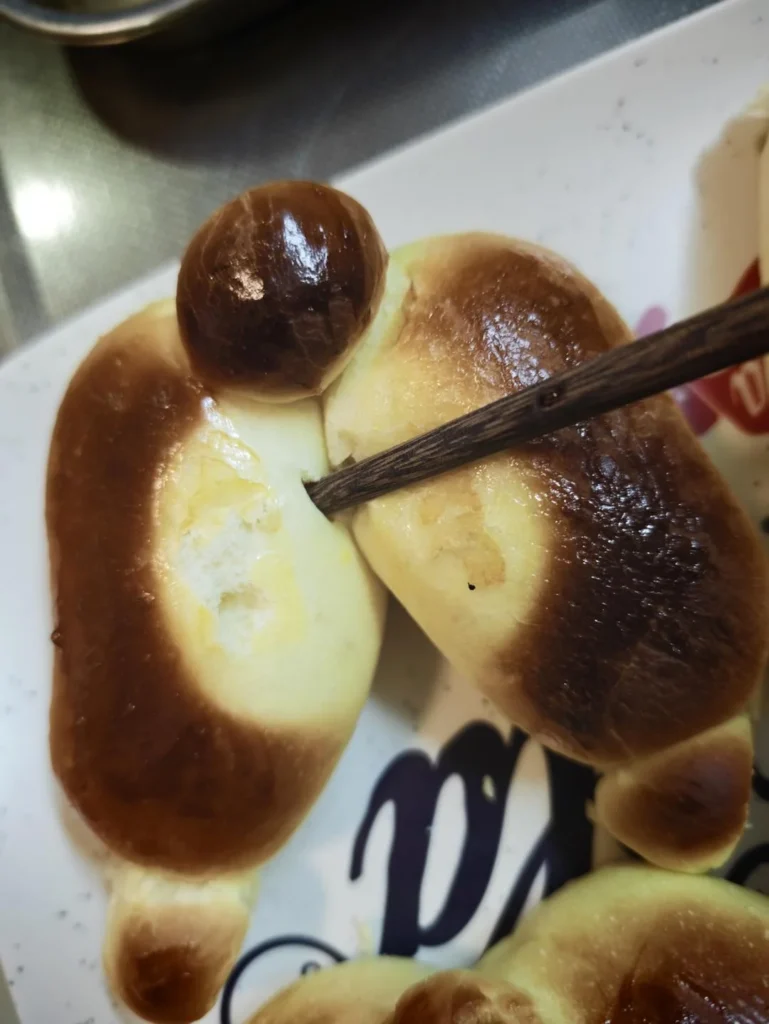
- Use chopsticks to poke a hole under the tail area, one on each side.
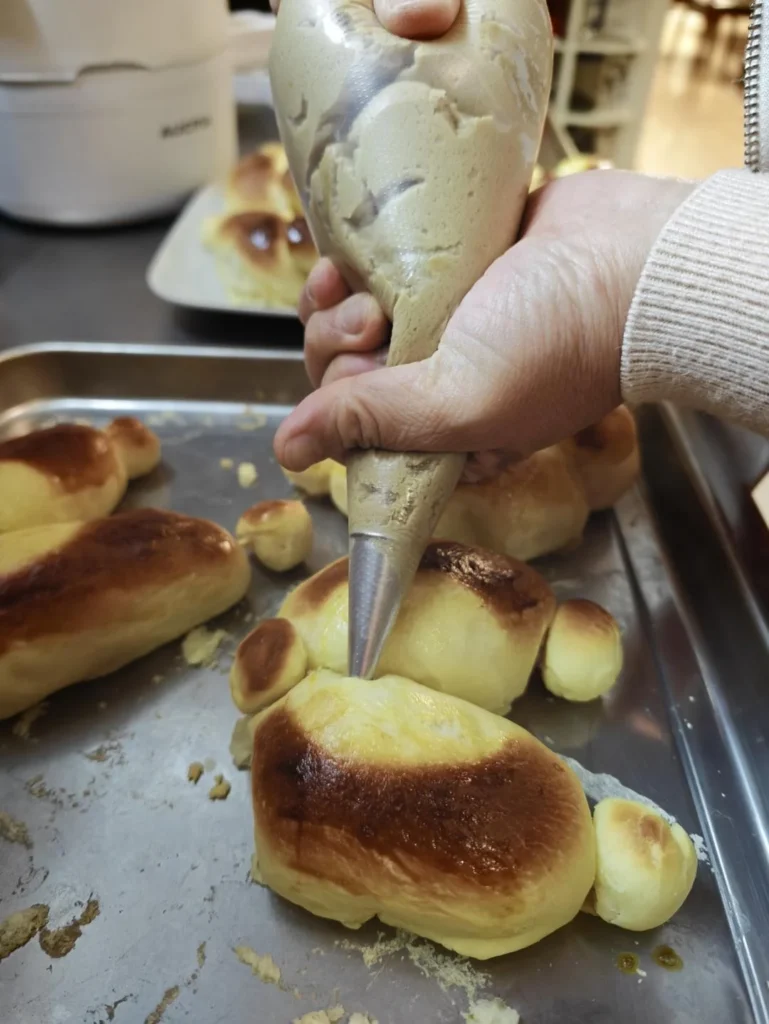
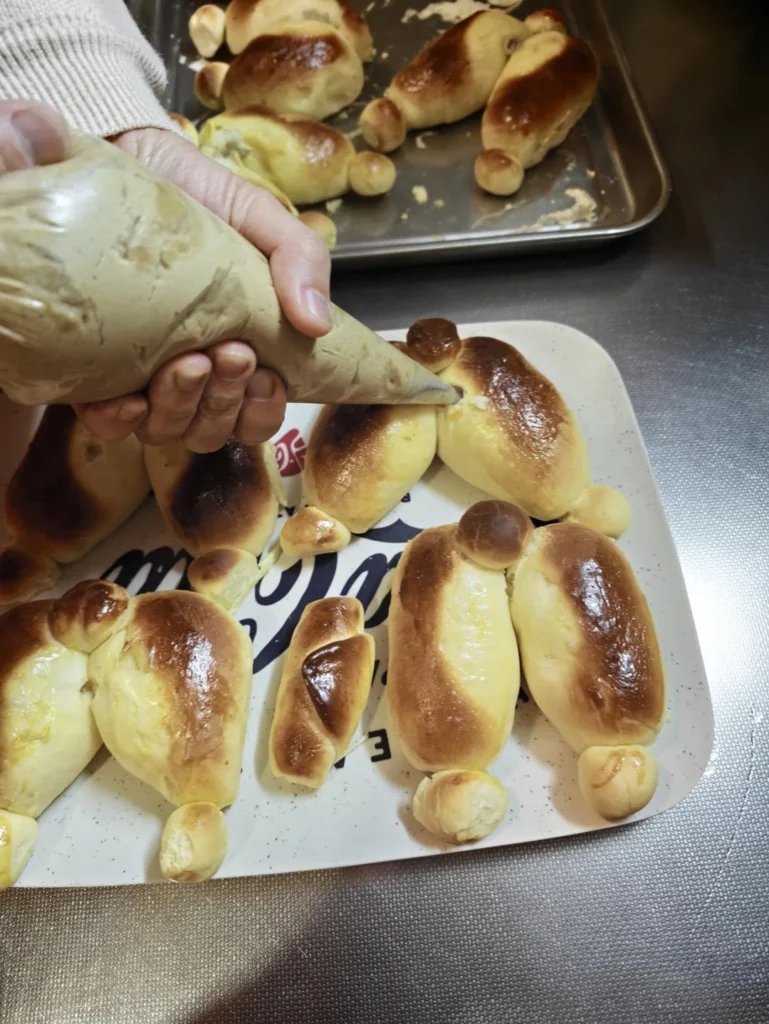
- Pipe the custard filling into the holes.
- Make sure to fill both sides.
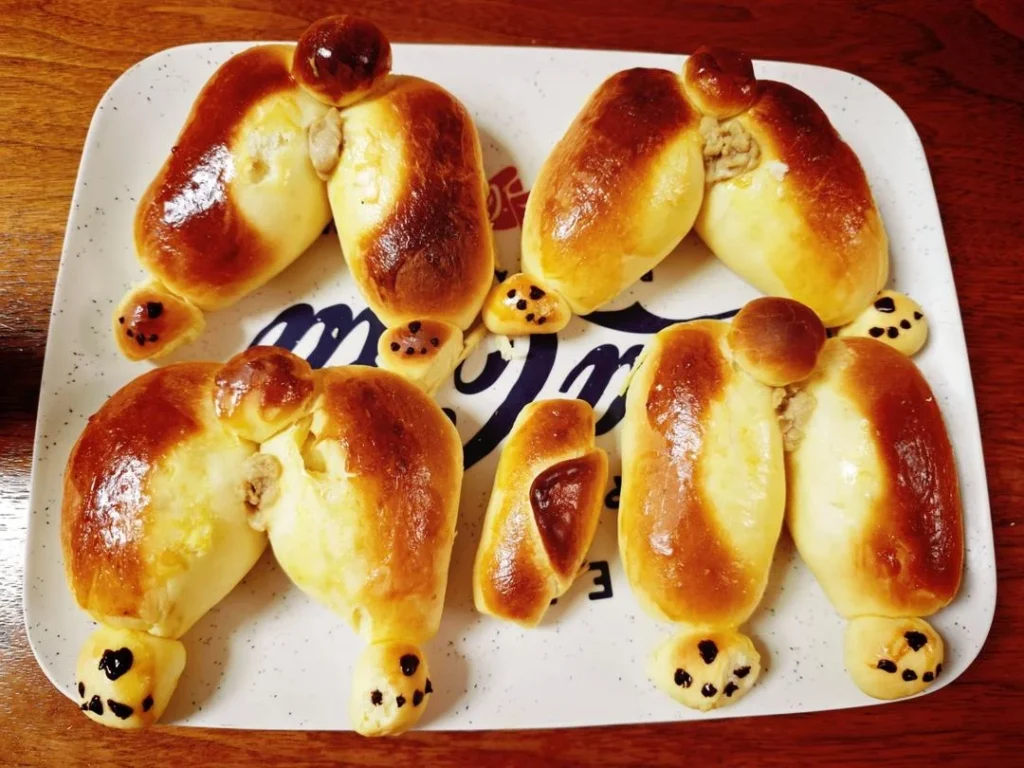
- Melt some chocolate and pipe small dots on the paws. Your custard-filled corgi butt bread is now complete!
- This is what the finished product should look like.
- Isn't it adorable? Absolutely perfect.