Chiffon Cake

Other★★ Intermediate75min

Prep 30m ·
Cook 45m ·
8 Servings

Course

Protein

Method

Flavor

Cuisine

IngredientsWhat you'll need for Chiffon Cake

Ingredient Amount Notes
鸡蛋 3个(6寸)/5个(8寸)
牛奶 40克(6寸)/85克(8寸)
玉米油 35克(6寸)/40克(8寸)
低筋面粉 50克(6寸)/100克(8寸)
30克
柠檬汁 几滴

Ingredients

  • Egg yolk batter:
  • Egg yolks — 3
  • Fine sugar — 13g
  • Corn oil / vegetable oil — 30g
  • Milk — 40g
  • Cake flour — 60g
  • Egg white batter:
  • Egg whites — 3
  • Fine sugar — 35g
  • Lemon juice / white vinegar (optional) — a few drops
  • 8-inch egg yolk batter:
  • Egg yolks — 5
  • Fine sugar — 30g
  • Vanilla extract (optional) — 1 tsp
  • Milk — 70g
  • Vegetable oil — 40g
  • Cake flour — 85g
  • Cornstarch — 15g
  • 8-inch egg white batter:
  • Egg whites — 5
  • Fine sugar — 60g
  • Lemon juice / white vinegar (optional) — a few drops
  • Bake at 150°C, middle-lower rack, 65 min (8-inch)

Steps

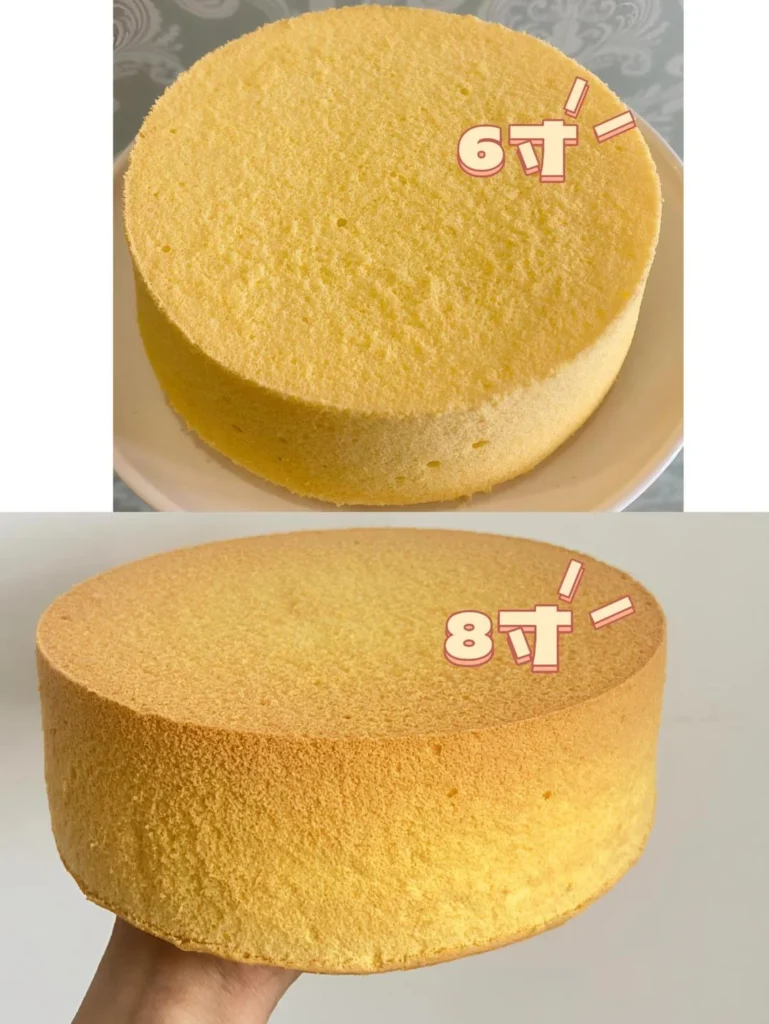
  1. First, appreciate how soft and bouncy chiffon cake is!
  2. Prepare the ingredients. Chiffon cake needs simple ingredients: fresh eggs, fine sugar, milk, cake flour, and corn oil. Lemon juice and vanilla extract are optional.
  3. Separate egg yolks and whites into two containers. Make sure no yolk gets into the whites! Pour whites into a clean, oil-free mixing bowl and refrigerate.
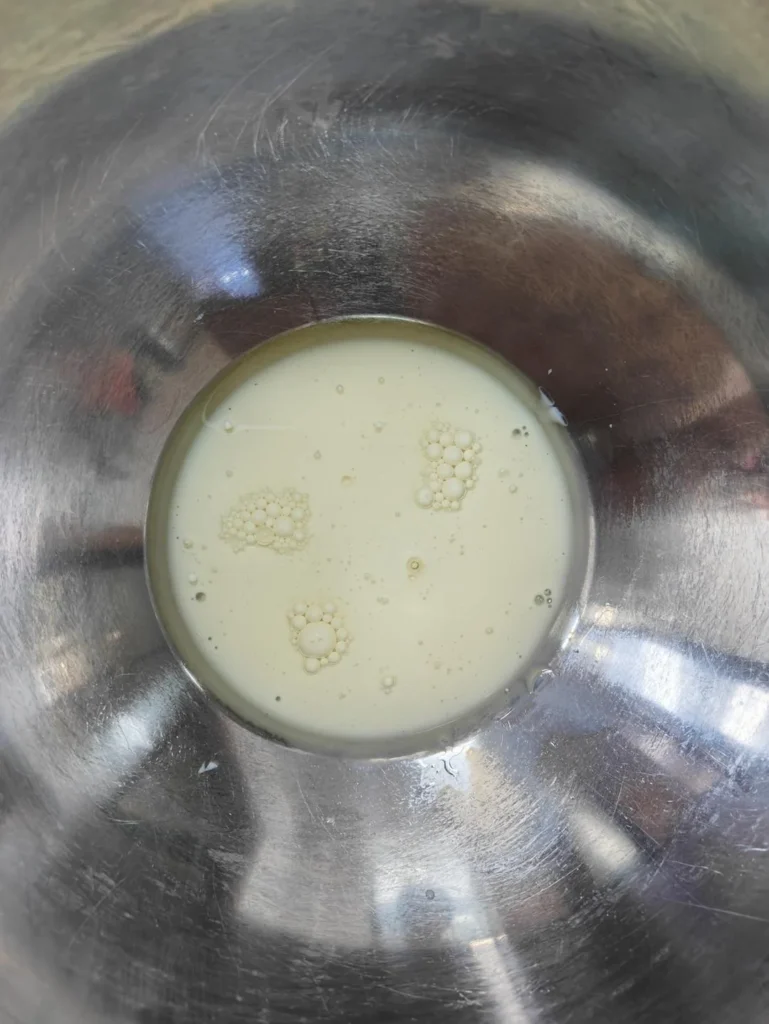
  4. In a clean bowl, combine measured milk, fine sugar, and corn oil. Stir with a whisk until the sugar dissolves and the mixture emulsifies. (Add vanilla extract here if using.)
  5. Sift in the measured cake flour (for 8-inch, sift cornstarch together with cake flour). Stir in a Z-pattern until no flour lumps remain. Do NOT stir in circles to avoid gluten formation!
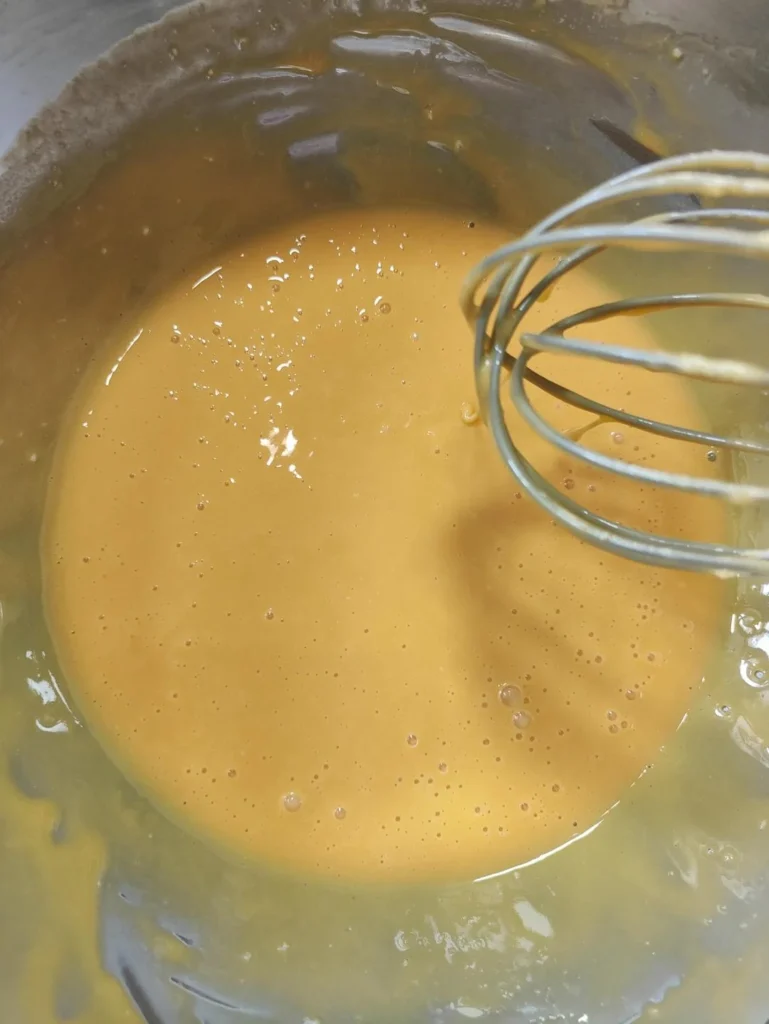
  6. Add egg yolks one at a time, stirring in one direction until smooth. The yolk batter should be silky and lump-free.
  7. Strain the yolk batter through a sieve for extra smoothness. Scrape the batter from the bottom of the sieve. (Skip if already very smooth.)
  8. The yolk batter should be smooth and silky. After straining it may look thinner, but it’s still the right consistency.
  9. Now whip the egg whites. Take the refrigerated egg whites, add lemon juice or white vinegar, and beat with an electric mixer on medium speed (level 4). When large bubbles form, add 1/3 of the sugar.
  10. Increase to high speed (level 7). When the foam becomes fine and fluffy, add another 1/3 of the sugar. Continue beating for 1 minute.
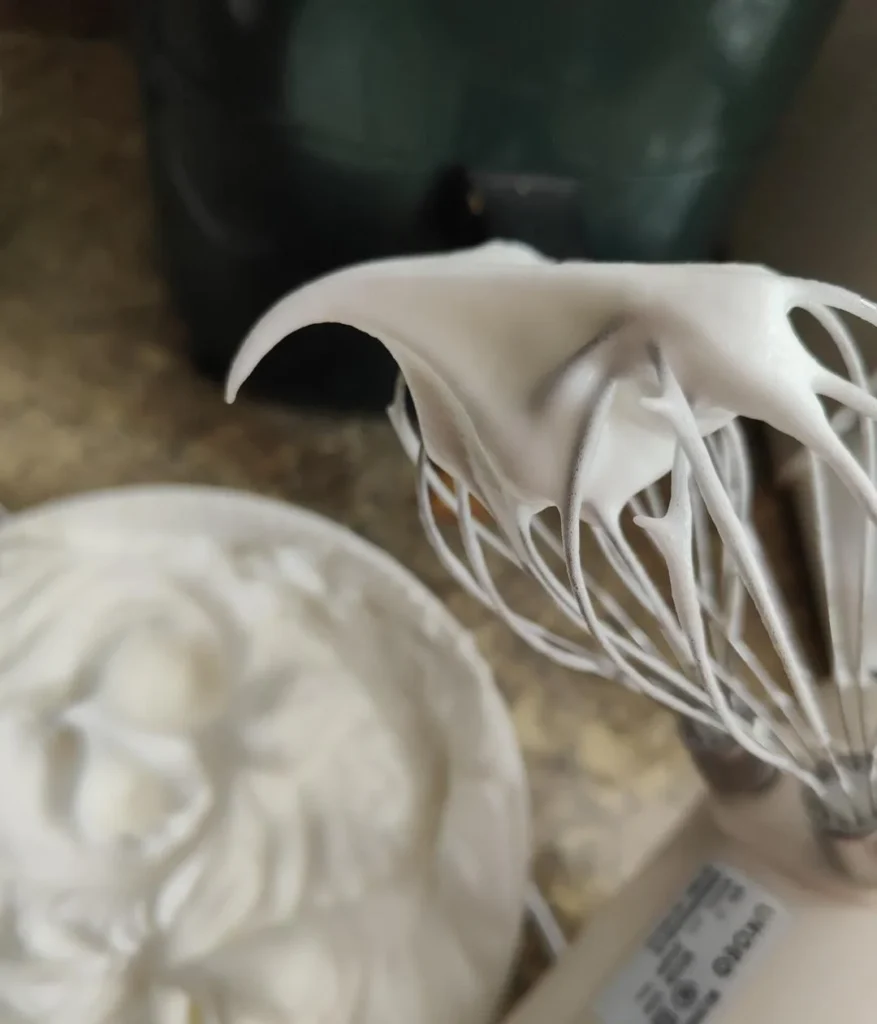
  11. When the meringue starts showing lines that don’t disappear, add the remaining sugar. Reduce to speed 5-6 and beat to stiff peaks (9/10). The peak should stand straight without curling. The bowl should be invertible without the meringue sliding.
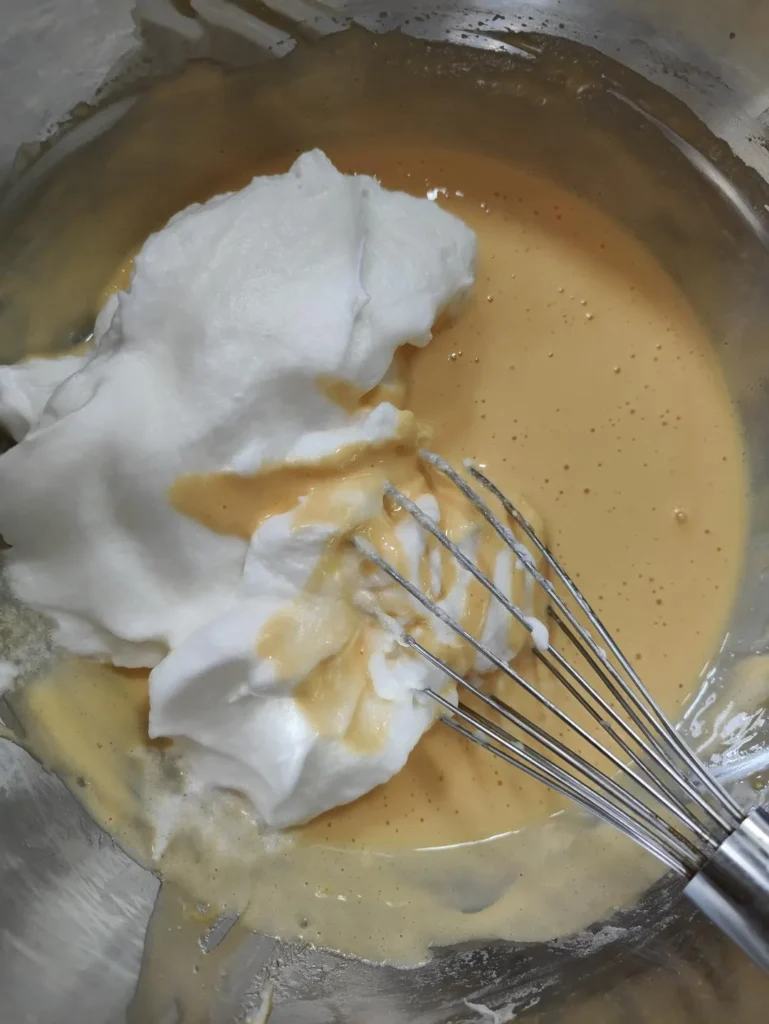
  12. The meringue is ready. Work quickly to avoid deflating. First, fold 1/3 of the meringue into the yolk batter.
  13. Pour the mixed batter back into the meringue bowl and fold until combined. Use a cutting and folding motion — cut through the center, scrape the bottom, and lift up while rotating the bowl. Fold until no white streaks remain.
  14. Preheat oven to 150°C. Do not line the mold with parchment paper. Pour the batter from about 15cm height into the mold. Smooth the top and tap to release large bubbles.
  15. This shows the surface after smoothing with a spatula.
  16. Bake in the preheated oven at 150°C, middle-lower rack, for 55 minutes. The temperature refers to actual oven temperature. The cake will rise during baking. It’s done when it slightly pulls back and a toothpick comes out clean. (For 8-inch: 65 minutes.)
  17. The cake may crack on top during baking. Don’t worry about it.
  18. Cracking is totally fine — don’t lower the temperature! When inverted, a cracked cake looks beautiful too.
  19. After baking, drop the mold from 15cm height twice to release heat, then immediately invert.
  20. To unmold: After 2 hours of cooling, press around the edges to separate the cake from the mold walls.
  21. I deliberately chose a heavily cracked cake for the unmolding video to show that cracking is not a problem! Press around the entire edge first.
  22. Place a cup under the mold, press down on the edges to release, or push up from the bottom if using a removable-bottom mold.
  23. Gently peel the cake from the bottom edge, and the whole cake will release. A cracked cake looks perfect when inverted!
  24. Hand-unmolded cakes look great!
  25. Press it — it springs right back!
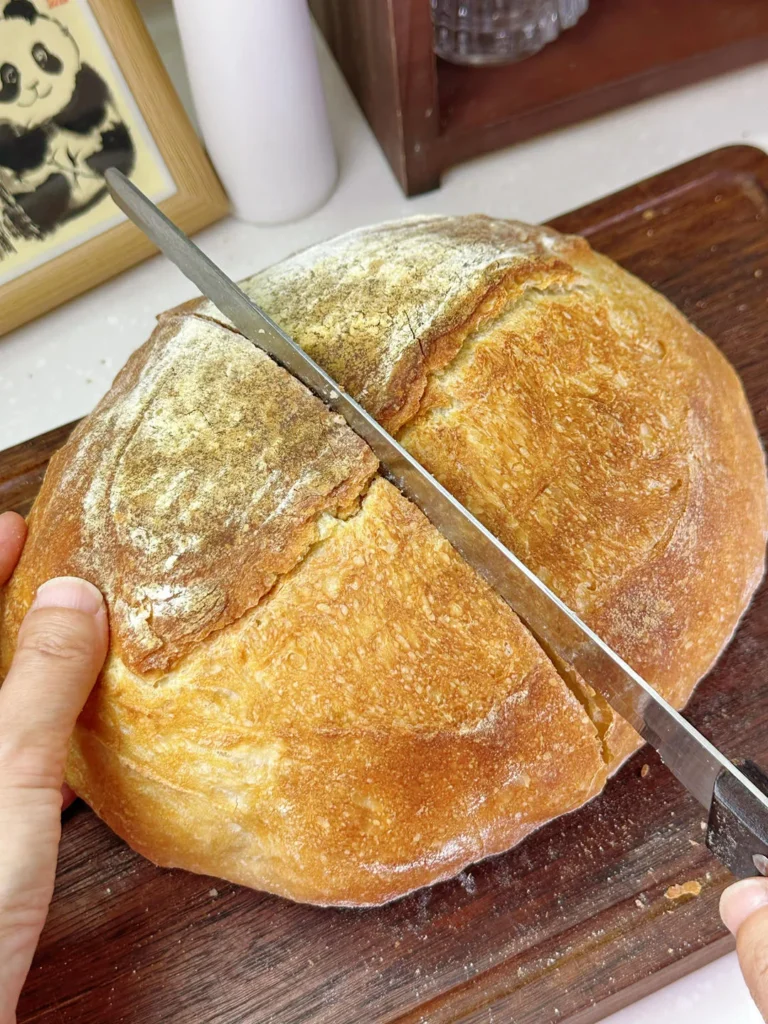
  26. Slice with a serrated knife and enjoy.
  27. To bake two 6-inch cakes at once, double the ingredients. Temperature and time remain the same.
  28. If your chiffon turns out well, please give a good rating! I put a lot of effort into this recipe. ❤️
  29. Chiffon cupcake recipe: https://www.xiachufang.com/recipe/106029544/
  30. Please respect the recipe. If you modify it and it fails, don’t give a low rating. I’m genuinely sharing a high-success-rate recipe!
Cooking StepsHow to cook Chiffon Cake step by step

  1. Step 1 Detail

    First, appreciate how soft and bouncy chiffon cake is!

  2. Step 2 Detail

    Prepare the ingredients. Chiffon cake needs simple ingredients: fresh eggs, fine sugar, milk, cake flour, and corn oil. Lemon juice and vanilla extract are optional.

  3. Step 3 Detail

    Separate egg yolks and whites into two containers. Make sure no yolk gets into the whites! Pour whites into a clean, oil-free mixing bowl and refrigerate.

  4. Step 4 Detail

    In a clean bowl, combine measured milk, fine sugar, and corn oil. Stir with a whisk until the sugar dissolves and the mixture emulsifies. (Add vanilla extract here if using.)

  5. Step 5 Detail

    Sift in the measured cake flour (for 8-inch, sift cornstarch together with cake flour). Stir in a Z-pattern until no flour lumps remain. Do NOT stir in circles to avoid gluten formation!

  6. Step 6 Detail

    Add egg yolks one at a time, stirring in one direction until smooth. The yolk batter should be silky and lump-free.

  7. Step 7 Detail

    Strain the yolk batter through a sieve for extra smoothness. Scrape the batter from the bottom of the sieve. (Skip if already very smooth.)

  8. Step 8 Detail

    The yolk batter should be smooth and silky. After straining it may look thinner, but it’s still the right consistency.

  9. Step 9 Detail

    Now whip the egg whites. Take the refrigerated egg whites, add lemon juice or white vinegar, and beat with an electric mixer on medium speed (level 4). When large bubbles form, add 1/3 of the sugar.

  10. Step 10 Detail

    Increase to high speed (level 7). When the foam becomes fine and fluffy, add another 1/3 of the sugar. Continue beating for 1 minute.

  11. Step 11 Detail

    When the meringue starts showing lines that don’t disappear, add the remaining sugar. Reduce to speed 5-6 and beat to stiff peaks (9/10). The peak should stand straight without curling. The bowl should be invertible without the meringue sliding.

  12. Step 12 Detail

    The meringue is ready. Work quickly to avoid deflating. First, fold 1/3 of the meringue into the yolk batter.

  13. Step 13 Detail

    Pour the mixed batter back into the meringue bowl and fold until combined. Use a cutting and folding motion — cut through the center, scrape the bottom, and lift up while rotating the bowl. Fold until no white streaks remain.

  14. Step 14 Detail

    Preheat oven to 150°C. Do not line the mold with parchment paper. Pour the batter from about 15cm height into the mold. Smooth the top and tap to release large bubbles.

  15. Step 15 Detail

    This shows the surface after smoothing with a spatula.

  16. Step 16 Detail

    Bake in the preheated oven at 150°C, middle-lower rack, for 55 minutes. The temperature refers to actual oven temperature. The cake will rise during baking. It’s done when it slightly pulls back and a toothpick comes out clean. (For 8-inch: 65 minutes.)

  17. Step 17 Detail

    The cake may crack on top during baking. Don’t worry about it.

  18. Step 18 Detail

    Cracking is totally fine — don’t lower the temperature! When inverted, a cracked cake looks beautiful too.

  19. Step 19 Detail

    After baking, drop the mold from 15cm height twice to release heat, then immediately invert.

  20. Step 20 Detail

    To unmold: After 2 hours of cooling, press around the edges to separate the cake from the mold walls.

  21. Step 21 Detail

    I deliberately chose a heavily cracked cake for the unmolding video to show that cracking is not a problem! Press around the entire edge first.

  22. Step 22 Detail

    Place a cup under the mold, press down on the edges to release, or push up from the bottom if using a removable-bottom mold.

  23. Step 23 Detail

    Gently peel the cake from the bottom edge, and the whole cake will release. A cracked cake looks perfect when inverted!

  24. Step 24 Detail

    Hand-unmolded cakes look great!

  25. Step 25 Detail

    Press it — it springs right back!

  26. Step 26 Detail

    Slice with a serrated knife and enjoy.

  27. Step 27 Detail

    To bake two 6-inch cakes at once, double the ingredients. Temperature and time remain the same.

  28. Step 28 Detail

    If your chiffon turns out well, please give a good rating! I put a lot of effort into this recipe. ❤️

  29. Step 29 Detail

    Chiffon cupcake recipe: https://www.xiachufang.com/recipe/106029544/

  30. Step 30 Detail

    Please respect the recipe. If you modify it and it fails, don’t give a low rating. I’m genuinely sharing a high-success-rate recipe!

Common Questions

What's the most common mistake to avoid?

The biggest mistake is not having all ingredients prepped and measured before you start cooking (mise en place). Chinese cooking moves fast — once the wok is hot, there’s no time to chop.

Can I make this ahead of time?

Yes, this dish actually improves after resting as flavors meld. Refrigerate for up to 3 days and reheat gently on the stovetop.

How can I make this spicier?

Add chili oil or chili crisp to taste, or include dried red chilies during cooking. A dash of Sichuan peppercorn adds a different kind of heat.

Related Recipes