
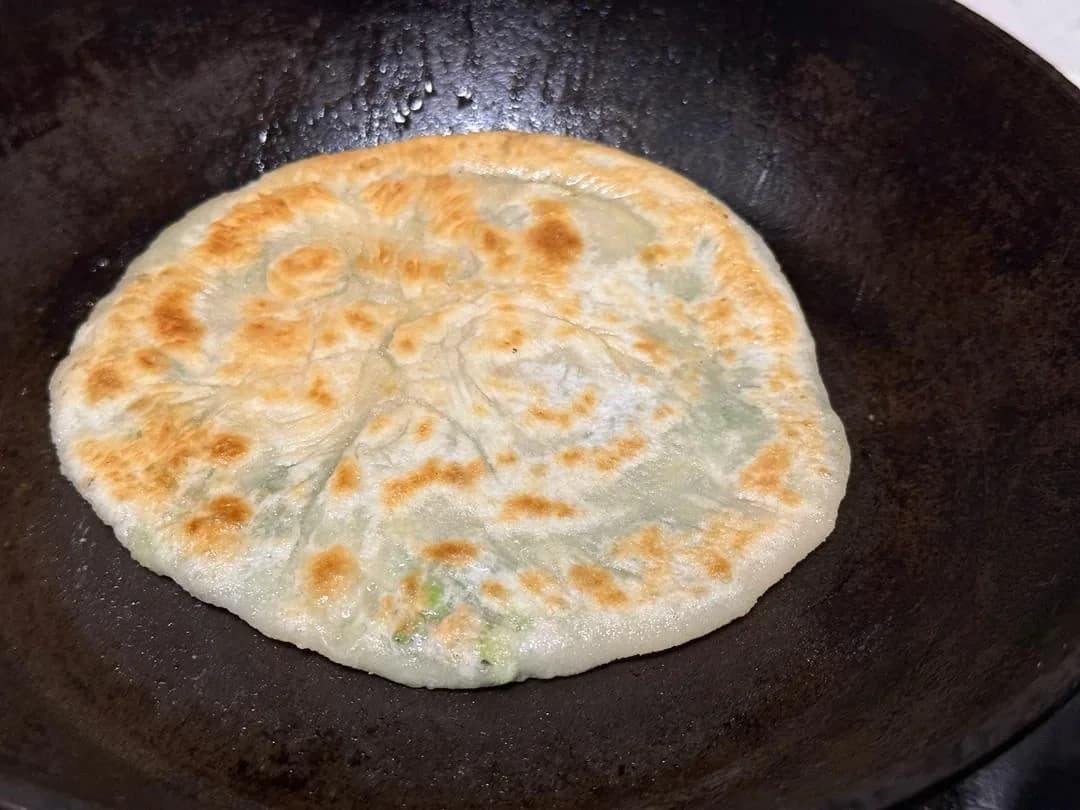
Quick Breakfast Stuffed Flatbread
快手早餐一馅儿饼 · pan chinese cuisine
Quick Breakfast Stuffed Flatbread is a easy recipe from the self-published legacy Chopzen collection, catalogued as breakfast, snack.
 Chef ChopzenChopzen project content lead. Curating and testing every published recipe for US home cooks.
Key failure points
- If Dough turns out loose and soupy and becomes impossible to handle later: Weigh both flour and water on a digital scale, and if the dough still feels too loose, work in extra flour a tablespoon at a time
- If Seasoning tastes uneven from bite to bite: Stir the salt into the measured water first so it dissolves before the flour goes in
- If Dough stays slack and never develops a smooth, elastic texture: Stir briskly in one direction only, all the way through
Nutrition & allergens
No supported allergens detected from surveyed ingredients.
Some ingredients are not yet allergen-surveyed; this label is not exhaustive.
Per serving (4 servings)
- Energy (kcal)
- 120.2
- Protein (g)
- 3.8
- Fat (g)
- 0.4
- Carbs (g)
- 25.1
- Sodium (mg)
- 99.1
Estimated from verified ingredient data for the original formula — not lab values, and one dish is not a full meal.
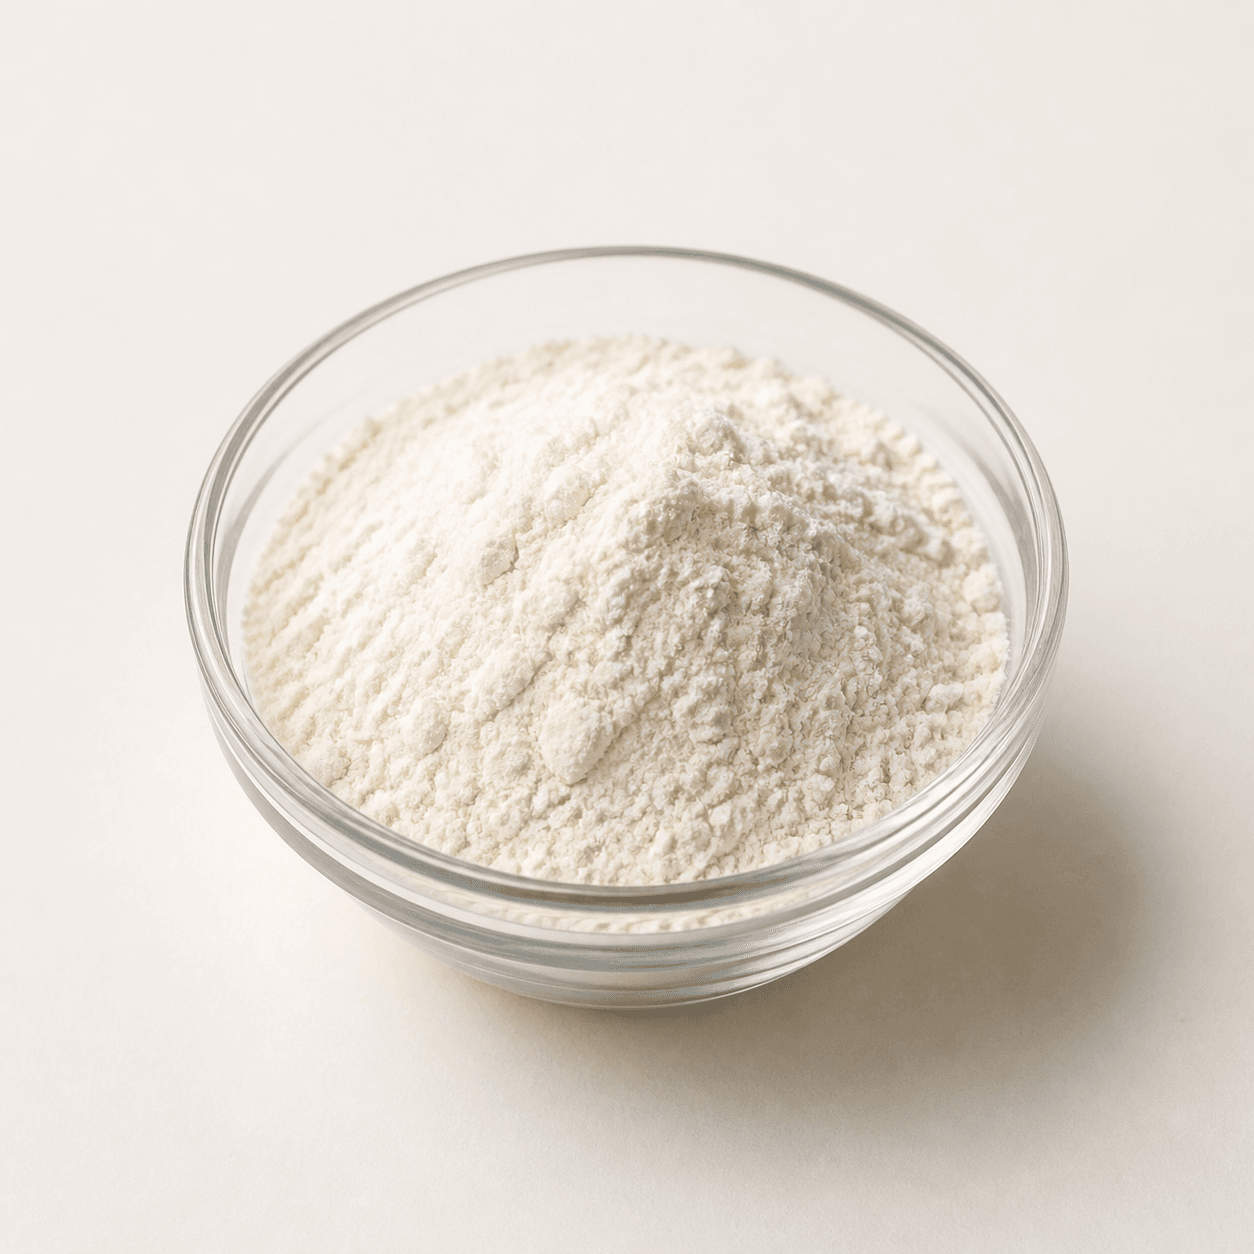
4.41 oz
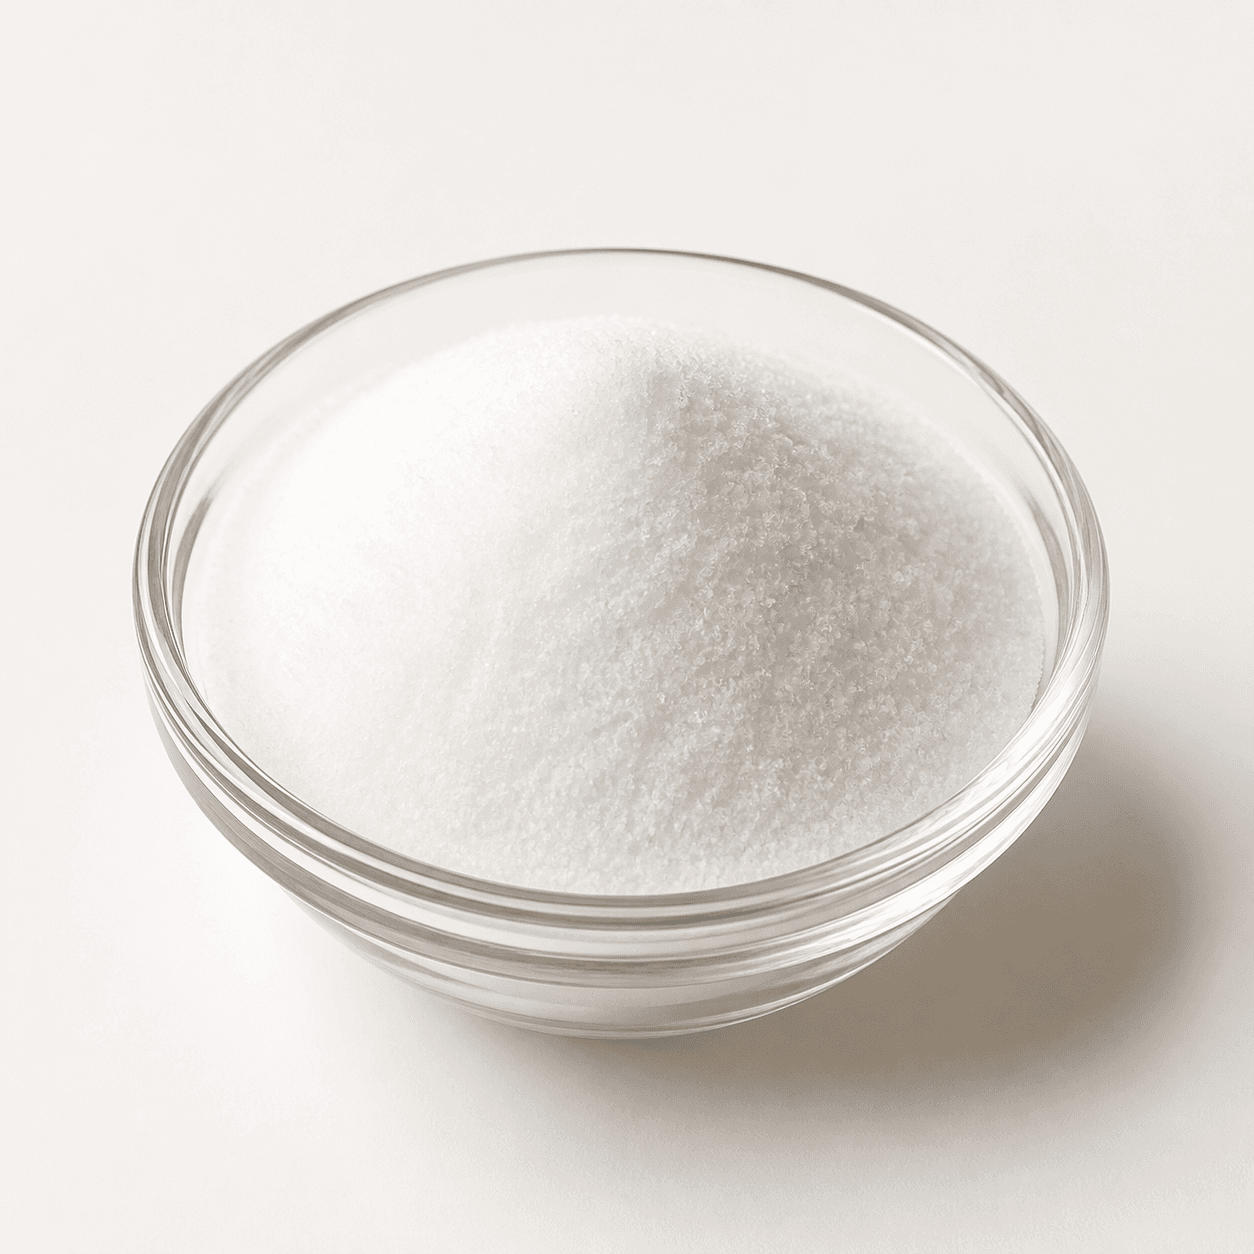
salt盐
0.04 oz
3.88 oz
Steps
- 1
Step 1
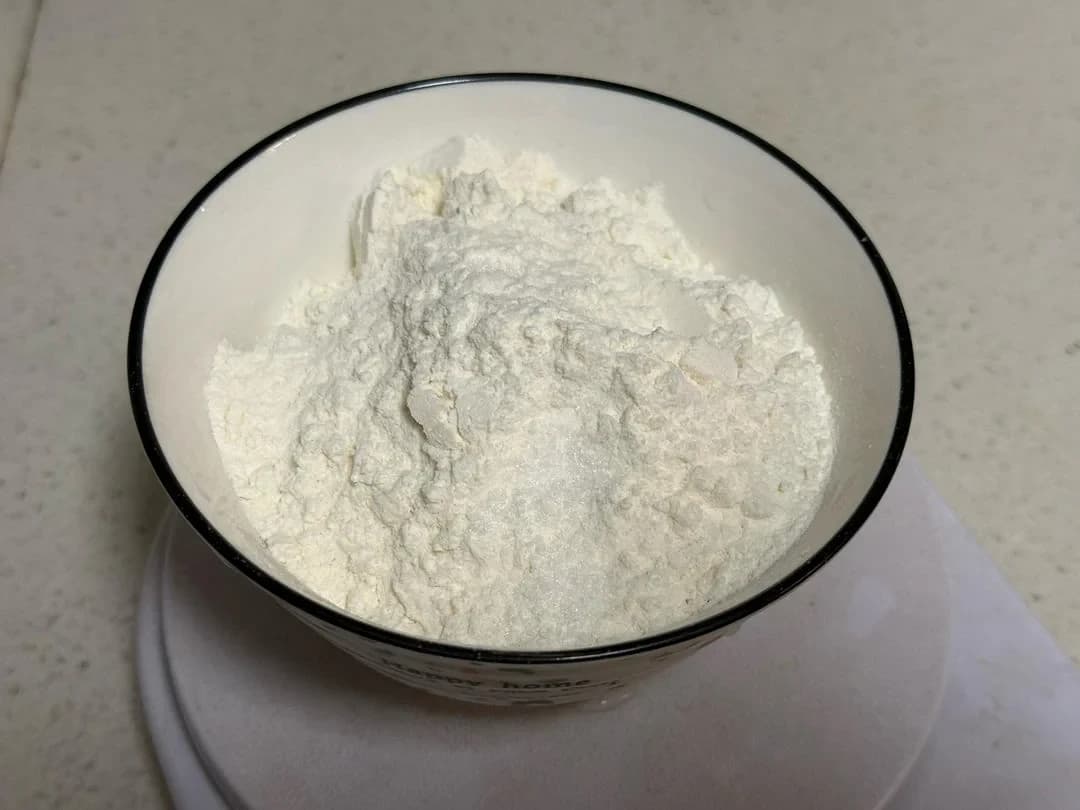
Weigh the flour, then mix it with the measured water and salt.
✅ Done when: Weigh the flour, then mix it with the measured water and salt. Finished: Heat the pan or oil to about 180 C before adding the mixture; the surface should sizzle gently on contact.
Watch out: Don't eyeball the water. This is a very high-hydration dough, and even a little extra water makes it too loose to handle later. Weigh both flour and water on a scale, and add the salt to the water so it dissolves evenly.
If Dough turns out loose and soupy and becomes impossible to handle later:
Weigh both flour and water on a digital scale, and if the dough still feels too loose, work in extra flour a tablespoon at a time
If Seasoning tastes uneven from bite to bite:
Stir the salt into the measured water first so it dissolves before the flour goes in
- 2
Step 2
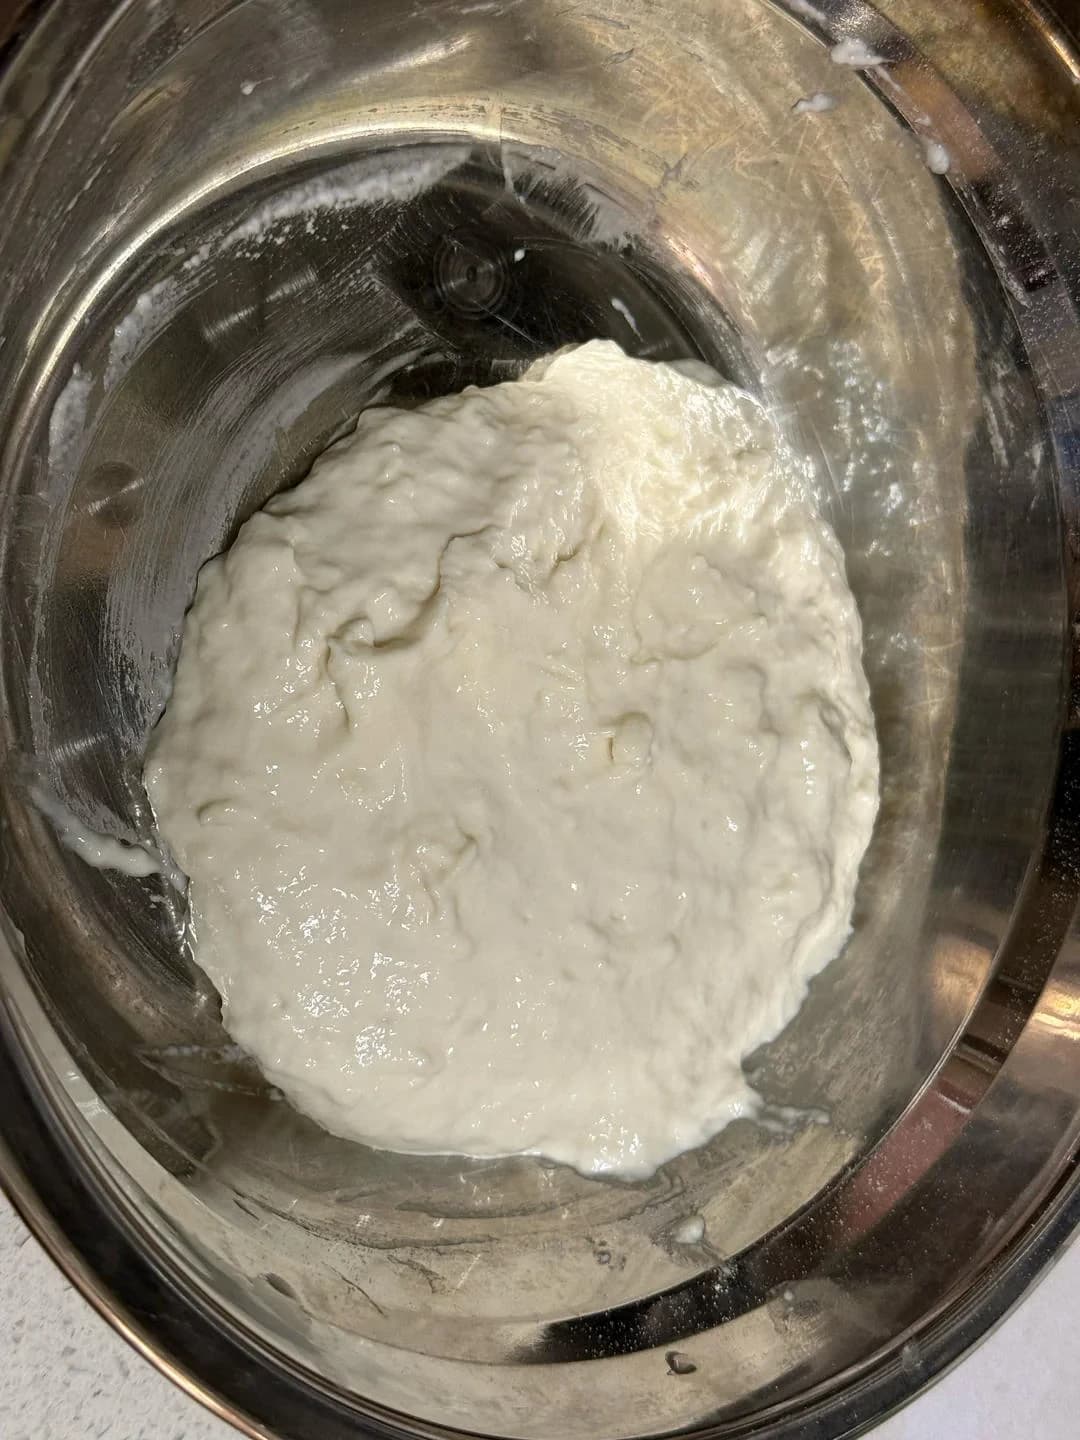
Pour into a bowl and stir in one direction with chopsticks until no dry flour remains (using four chopsticks held together makes stirring faster).
✅ Done when: Pour into a bowl and stir in one direction with chopsticks until no dry flour remains (using four chopsticks h. Finished: Heat the pan or oil to about 180 C before adding the mixture; the surface should sizzle gently on contact.
Watch out: Keep stirring in one direction the whole time. Switching directions or stirring lazily breaks the gluten strands you're trying to build, and stopping too early leaves hidden dry flour that turns lumpy during the rest.
If Dough stays slack and never develops a smooth, elastic texture:
Stir briskly in one direction only, all the way through
If Hidden dry-flour lumps show up after the rest:
Keep stirring until no dry flour remains, scraping the bowl sides and bottom as you go
- 3
Step 315 min
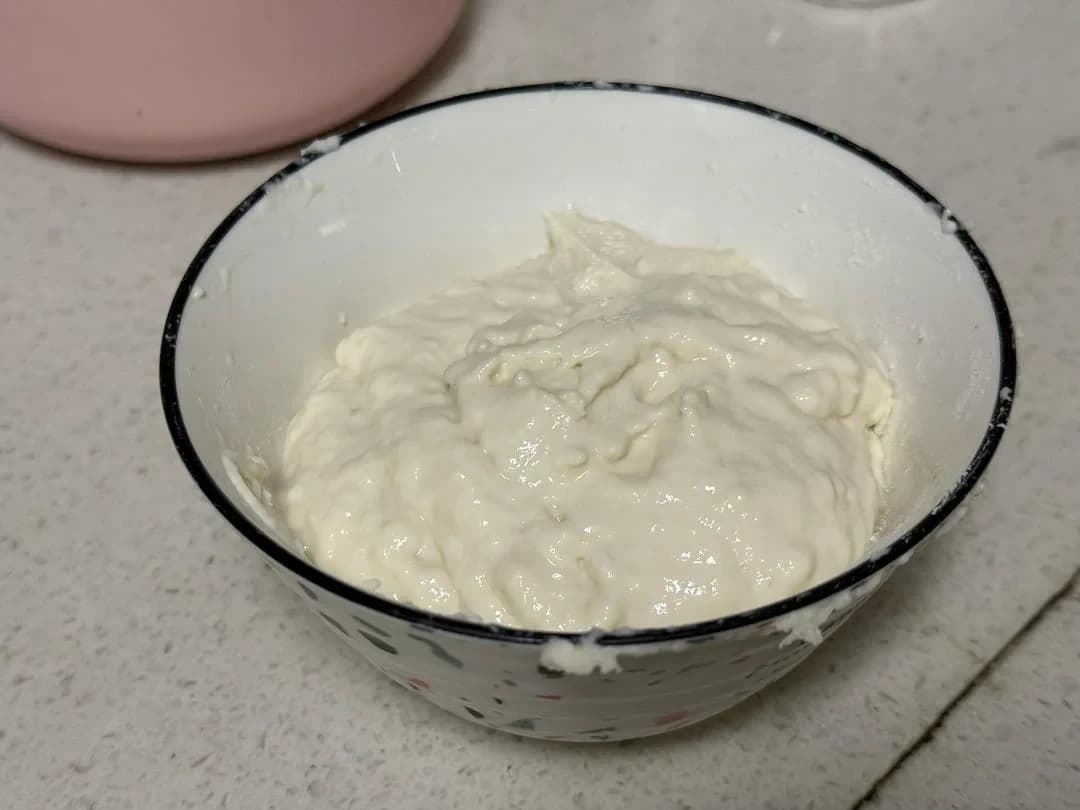
Transfer back to a small bowl and refrigerate for 15 minutes, stirring every 5 minutes. The dough will become very smooth and fine! (If making for the next morning, you can skip the stirring — just refrigerate overnight and the texture will be nearly the same.)
✅ Done when: Transfer back to a small bowl and refrigerate for 15 minutes, stirring every 5 minutes. The dough will become. Finished: Heat the pan or oil to about 180 C before adding the mixture; the surface should sizzle gently on contact.
Watch out: Don't skip the intermediate stirring. Without a stir every 5 minutes the dough relaxes unevenly and stays sticky in spots. Also don't cut the rest short — an unrested dough will tear and stick when you try to shape it.
If Dough is sticky in spots and relaxes unevenly:
Set a timer and give the dough a quick stir every 5 minutes during the 15-minute chill
If Dough tears and sticks when you try to shape it:
Give the dough the full 15 minutes (or overnight); if it still fights back, let it rest a few more minutes before shaping
- 4
Step 4
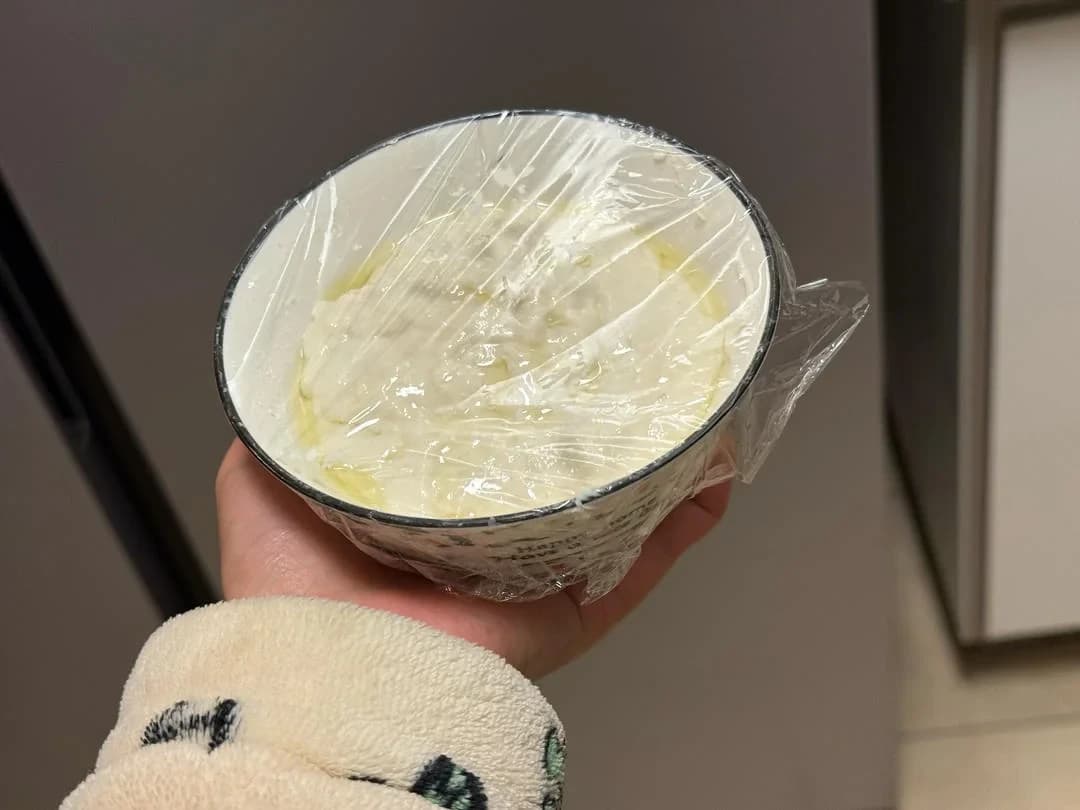
Drizzle a little oil over the surface to seal, cover with plastic wrap, and refrigerate. Fill the next morning.
✅ Done when: Drizzle a little oil over the surface to seal, cover with plastic wrap, and refrigerate. Fill the next morning. Finished: Heat the pan or oil to about 180 C before adding the mixture; the surface should sizzle gently on contact.
Watch out: Don't skip the oil layer or leave gaps in the plastic wrap. Any exposed surface dries out overnight and forms a tough skin that won't blend back in and will crack when you press the breads.
If A tough, dried skin forms on the dough overnight and cracks when the breads are pressed:
Drizzle oil over the entire surface and press the plastic wrap directly against the dough so no spot is exposed
If Dough surface dries out despite being covered:
Press the wrap onto the dough itself or use a tight-fitting lid before refrigerating
- 5
Step 5
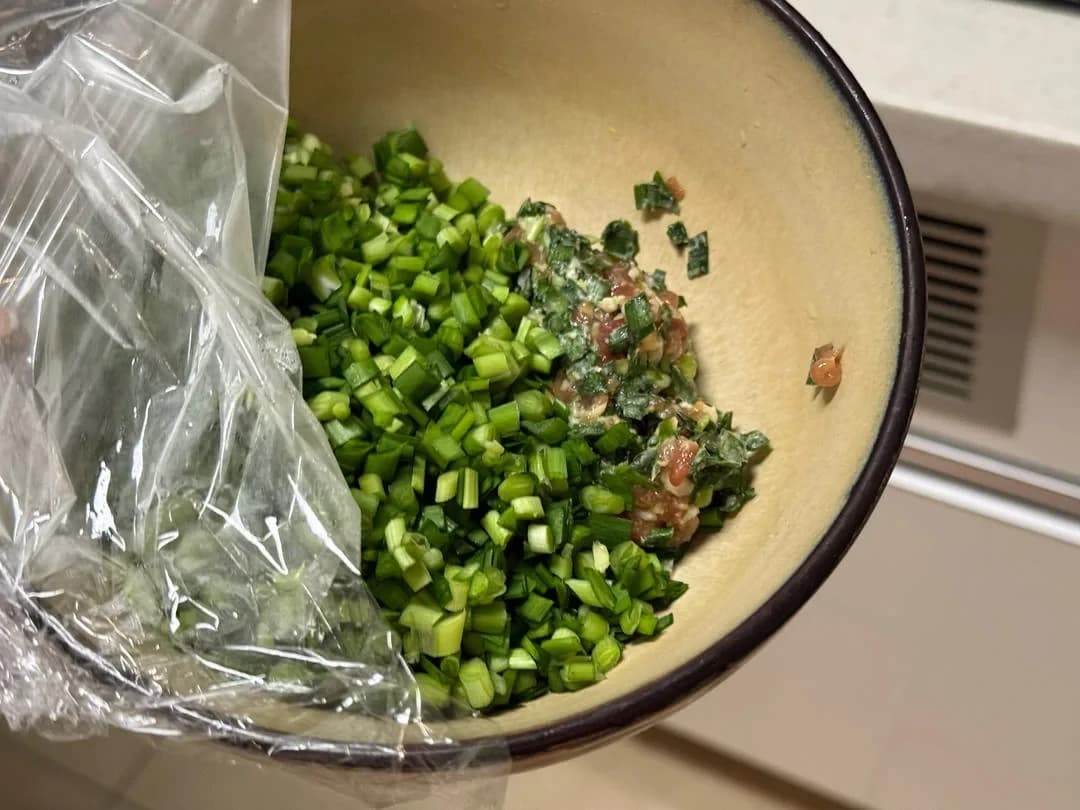
I used leftover dumpling filling, added some chives, and called it a filling! Chives don't need extra salt since the meat filling is already seasoned. Check my previous steamed bun recipe for a dedicated filling recipe if you need one.
✅ Done when: I used leftover dumpling filling, added some chives, and called it a filling! Chives don't need extra salt sin. Finished: Heat the pan or oil to about 180 C before adding the mixture; the surface should sizzle gently on contact.
Watch out: Don't add extra salt — the dumpling filling is already seasoned and the bread will end up too salty. Also toss the chives with the filling just before assembling so they don't sit and weep liquid.
If Finished breads taste overly salty:
Taste the filling first and skip any added salt when using pre-seasoned filling
If Filling weeps liquid and the dough turns soggy and leaks during cooking:
Toss the chives with the filling right before assembling
- 6
Step 6
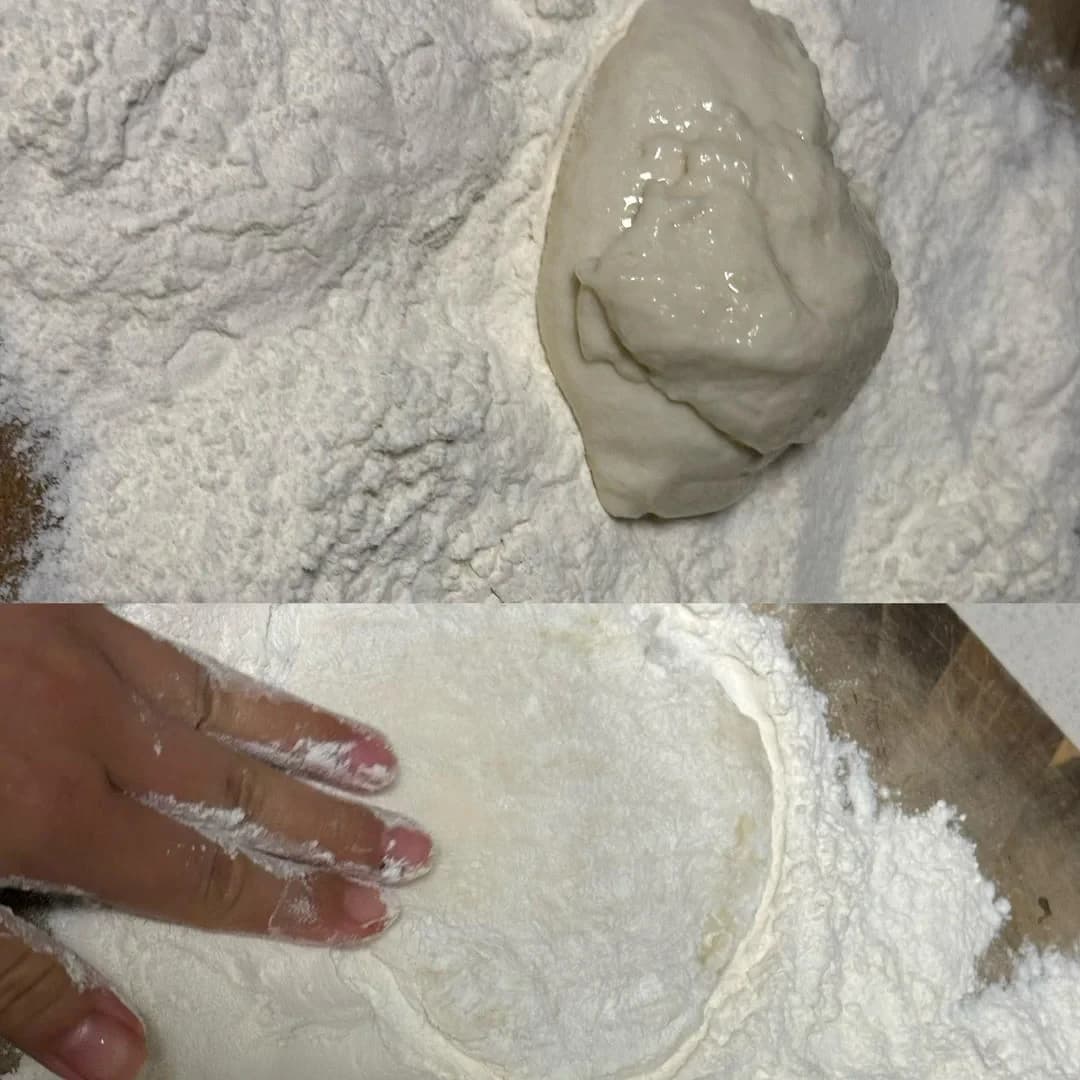
Generously flour your work surface. Scoop a portion of dough with a spoon and place it on the floured surface. Flour your hands and press the dough flat.
✅ Done when: Generously flour your work surface. Scoop a portion of dough with a spoon and place it on the floured surface. Finished: Heat the pan or oil to about 180 C before adding the mixture; the surface should sizzle gently on contact.
Watch out: Don't be shy with the flour. This dough is extremely sticky, and a lightly floured surface or unfloured hands will glue everything down. Flour the surface, the dough's top, and your hands generously before pressing.
If Dough glues itself to the counter and your hands and tears when pressed:
Flour the work surface, the top of the dough, and your hands generously before touching anything
If Dough tears or thins out unevenly while being pressed flat:
Re-flour your hands as needed and press gently from the center outward
- 7
Step 7
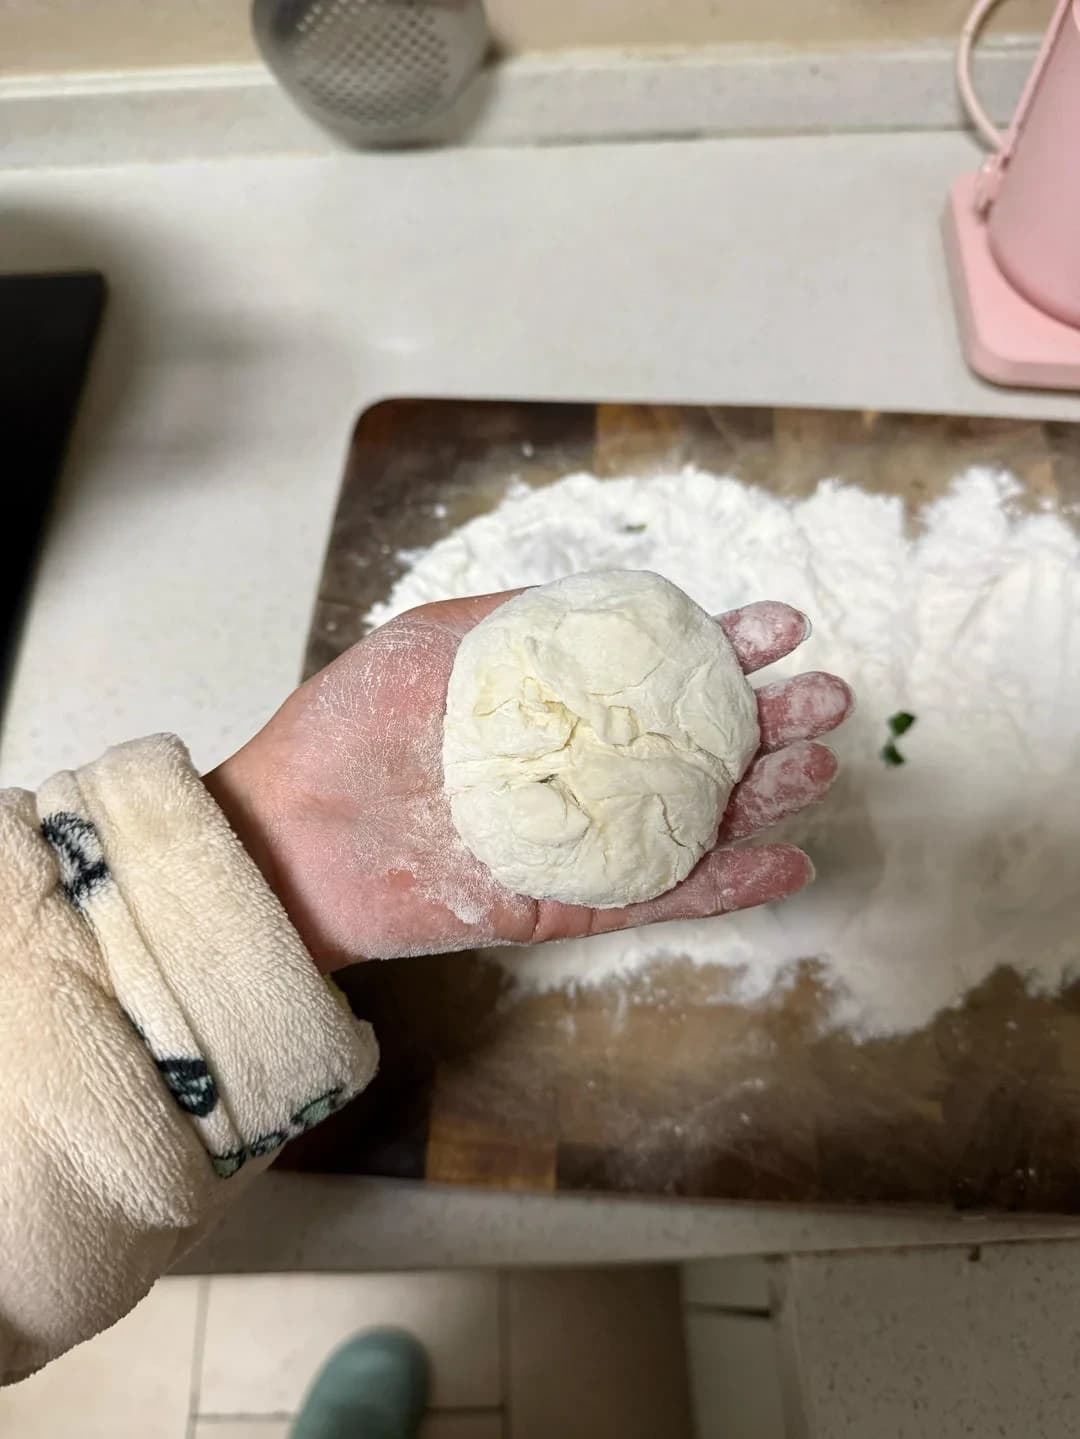
Spoon the filling onto the dough, fold the edges toward the center, then gather and shape into a ball.
✅ Done when: Spoon the filling onto the dough, fold the edges toward the center, then gather and shape into a ball. Finished: Heat the pan or oil to about 180 C before adding the mixture; the surface should sizzle gently on contact.
Watch out: Don't overfill. A heaping spoonful seems fine until you press the bread flat and the seam bursts. Keep the filling modest and pinch the seam tightly closed with no gaps or thin spots.
If Seam bursts during pressing or frying and the filling spills into the pan:
Keep the filling modest and pinch the seam tightly with no gaps or thin spots
If Filling pokes through the dough while wrapping:
Keep the dough an even thickness and patch or re-gather any thin spots before shaping the ball
- 8
Step 8
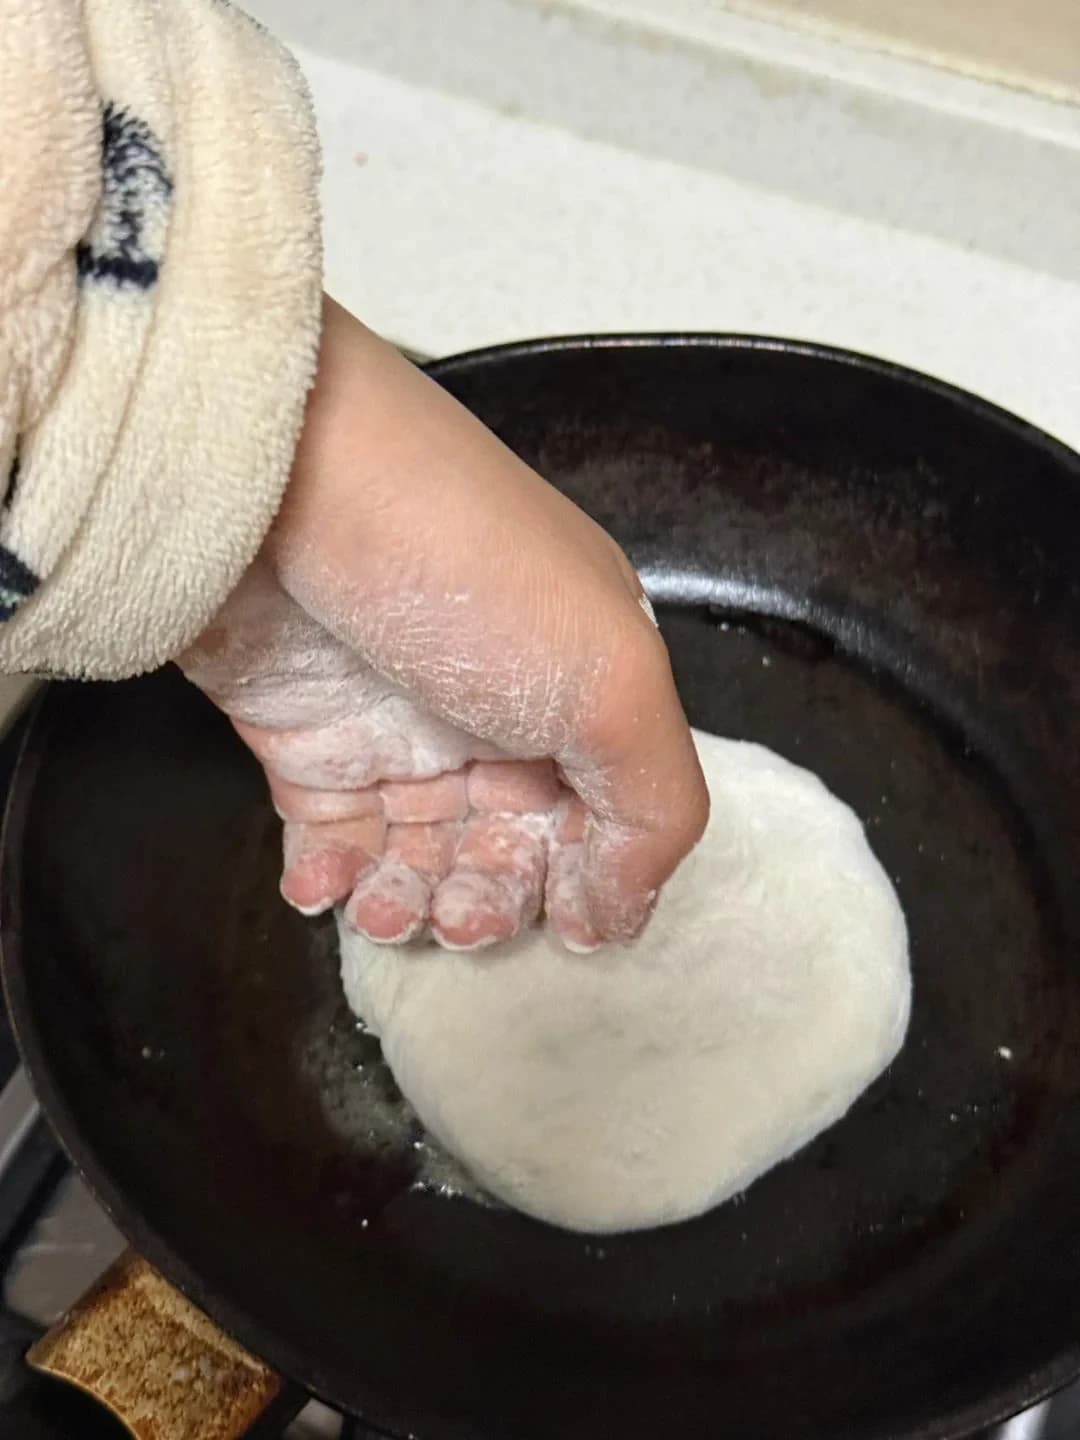
Heat a pan with a little oil. Place the filled dough seam-side down, then use your fist to press it flat and thin. Don't worry about making it perfectly round.
✅ Done when: Heat a pan with a little oil. Place the filled dough seam-side down, then use your fist to press it flat and t. Finished: Heat the pan or oil to about 180 C before adding the mixture; the surface should sizzle gently on contact.
Watch out: Don't press too hard or too early. Slamming the fist down can push the filling out through the seam. Let the pan preheat first, place the bread seam-side down, and press with firm, even pressure until it's flat and thin.
If Filling squirts out through the seam when the bread is pressed:
Place the bread seam-side down in the preheated pan, then press with firm, even pressure from the center outward
If Bread sticks to the pan or browns unevenly:
Preheat the pan with a thin layer of oil to about 350°F (180°C) so the surface sizzles gently on contact
- 9
Step 91 min
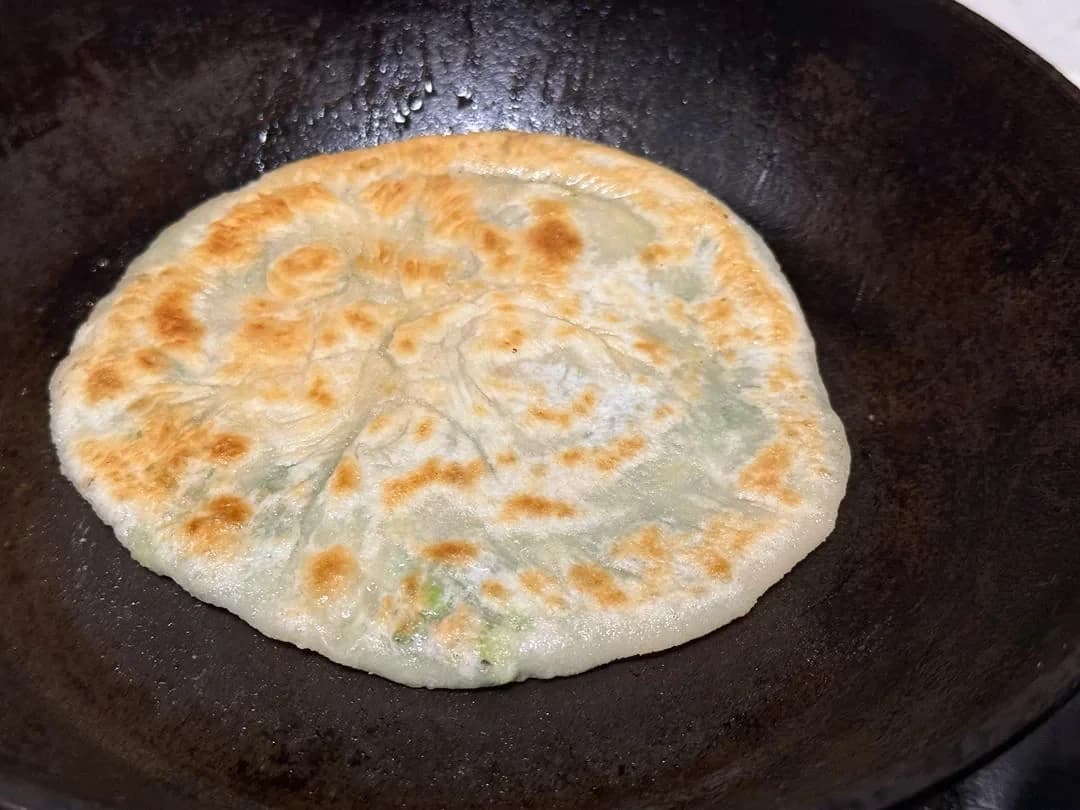
Cook over medium-low heat, about 1 minute per side before flipping. When the flatbread puffs up, it's done!
✅ Done when: Cook over medium-low heat, about 1 minute per side before flipping. When the flatbread puffs up, it's done! Finished: Heat the pan or oil to about 180 C before adding the mixture; the surface should sizzle gently on contact.
Watch out: Don't crank the heat. Medium-low is essential — high heat burns the outside before the wet dough cooks through. Also resist flipping more than once or twice; frequent flipping keeps the bread from puffing.
If Outside is dark and burnt while the inside is still wet and doughy:
Cook over medium-low heat and give each side more time; if it browns too fast, lower the heat and cover the pan briefly
If Bread never puffs up:
Limit flipping to once or twice, about a minute per side, and wait for the puff as the doneness signal
- 10
Step 10
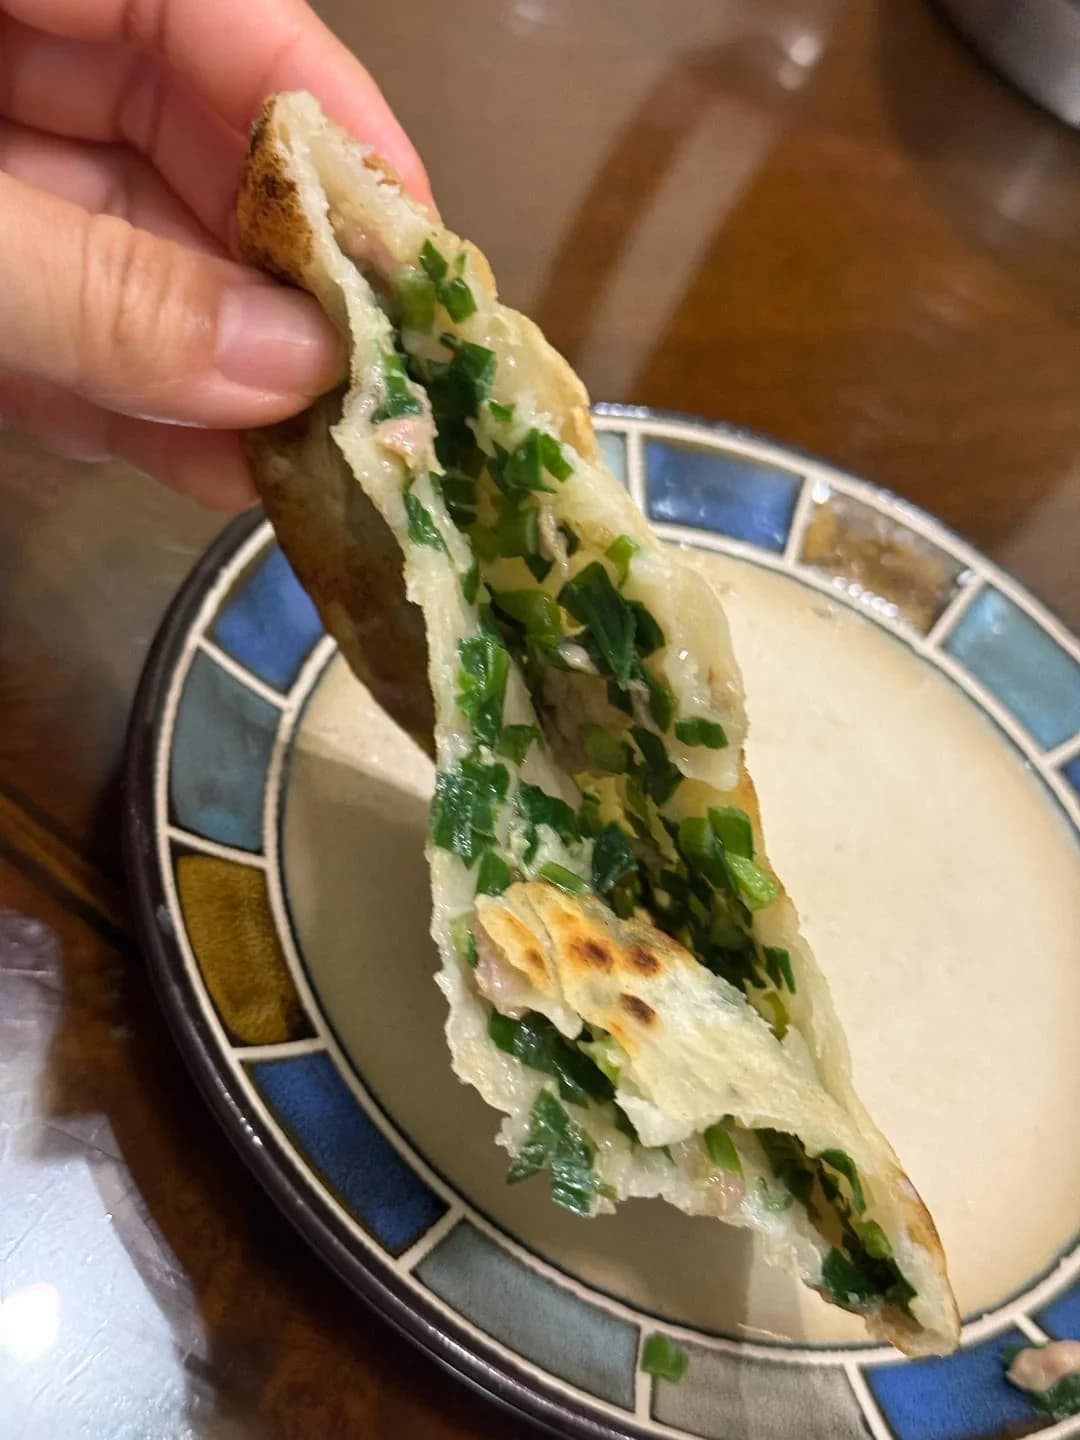
This one has chive and pork filling, but you can use any filling you like!
✅ Done when: This one has chive and pork filling, but you can use any filling you like! Finished: Heat the pan or oil to about 180 C before adding the mixture; the surface should sizzle gently on contact.
Watch out: Don't use watery fillings like raw tomatoes or un-drained juicy vegetables. Excess liquid makes the dough soggy and causes leaks during pressing and frying. Drain or pre-cook wet ingredients first.
If Dough turns soggy and leaks during pressing and frying:
Drain or pre-cook wet ingredients, and salt-and-squeeze watery vegetables before mixing them in
If Meat filling stays undercooked in the center:
Press the bread flat, thin, and even, or use pre-cooked filling if you are unsure