


Mango Cake Mochi Snow Skin Mochi
Ingredients
- Cake
- 68 cake flour
- 4 eggs
- 32 milk
- 32 vegetable oil
- 32 caster sugar (for egg yolks)
- 56 caster sugar (for egg whites)
- Mochi Wrapper
- 100 glutinous rice flour
- 30 cornstarch
- 50 caster sugar
- 180 milk
- 20 butter
- Filling
- about 300 heavy cream
- 1 mango
- 30 powdered sugar
Instructions
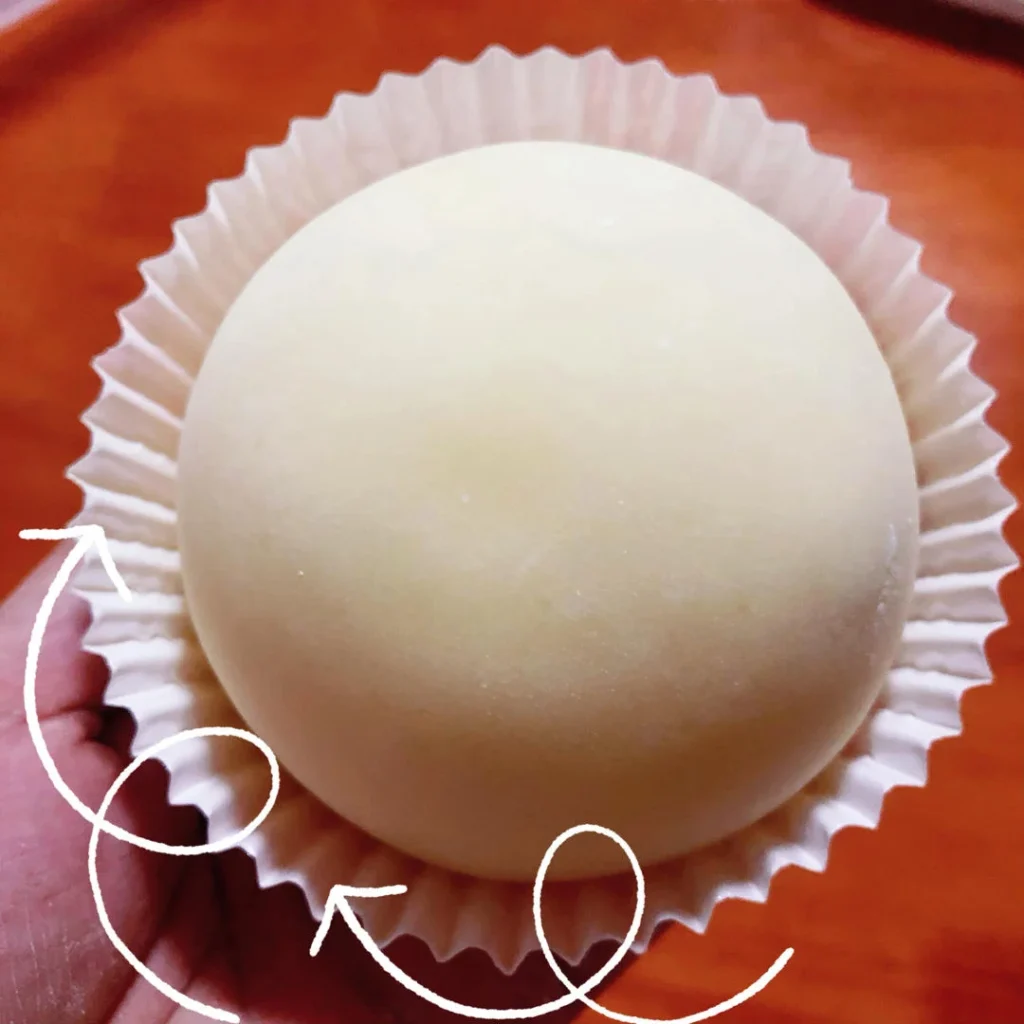
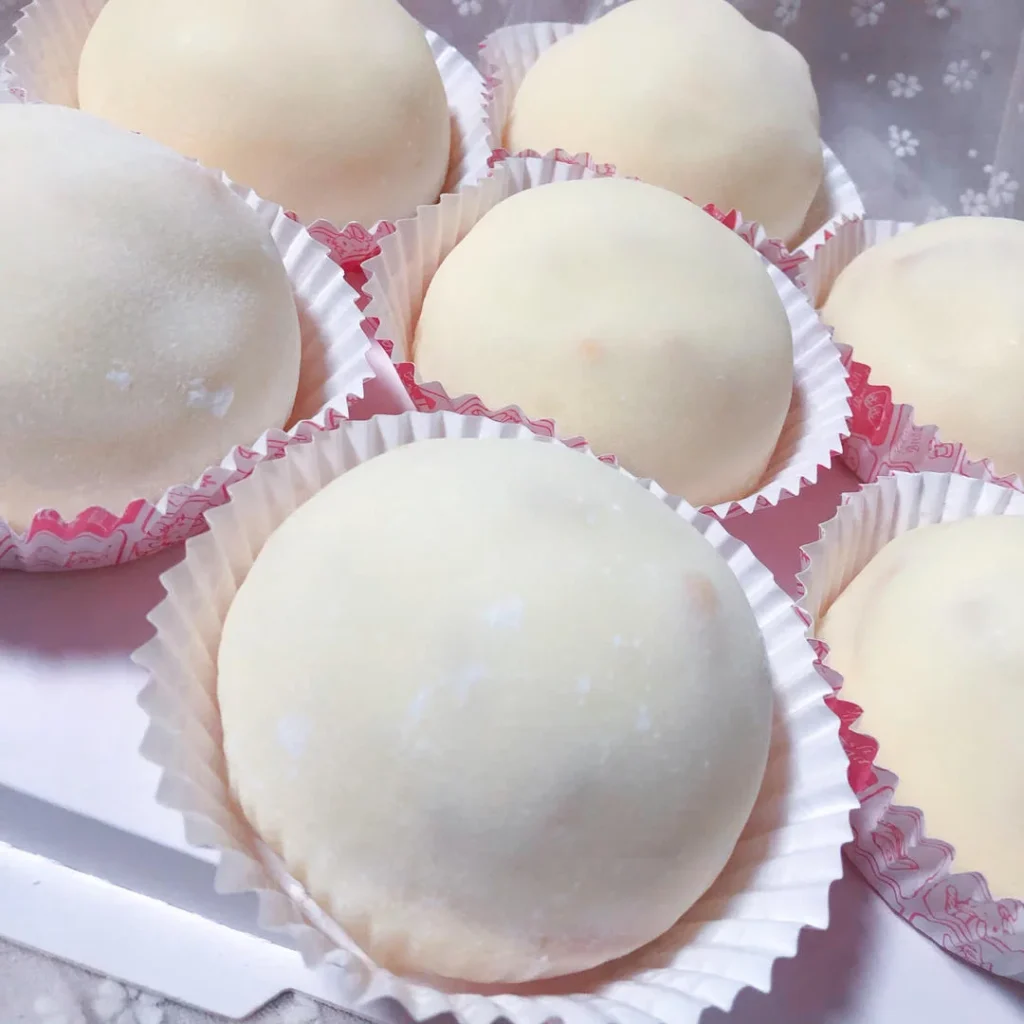
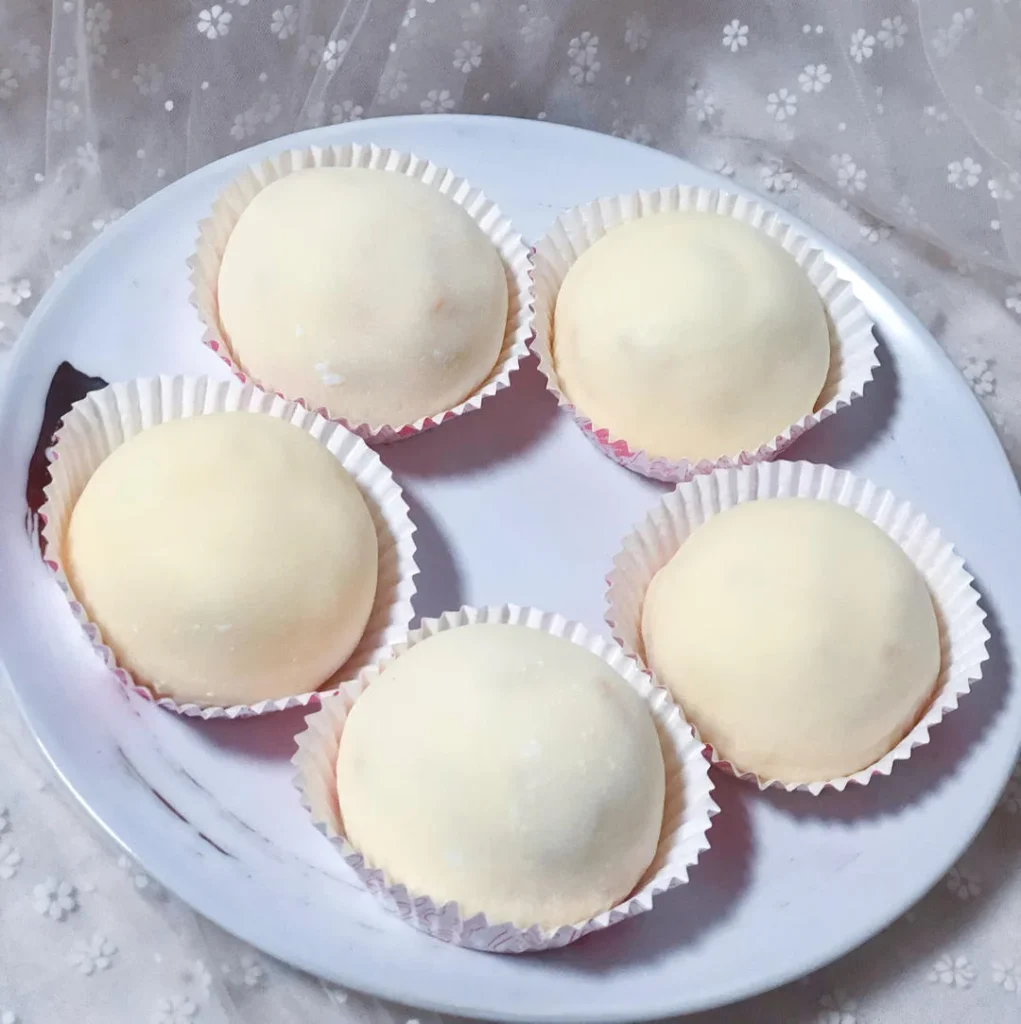
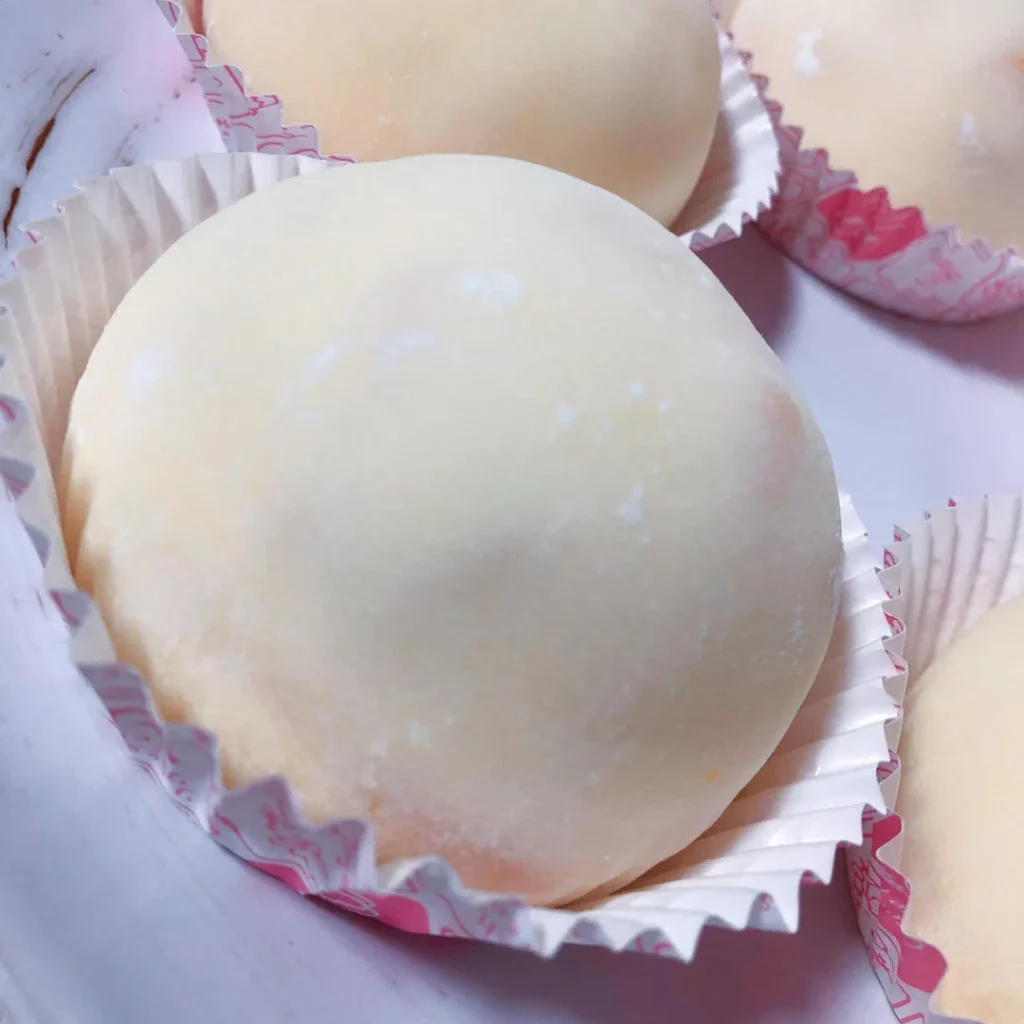
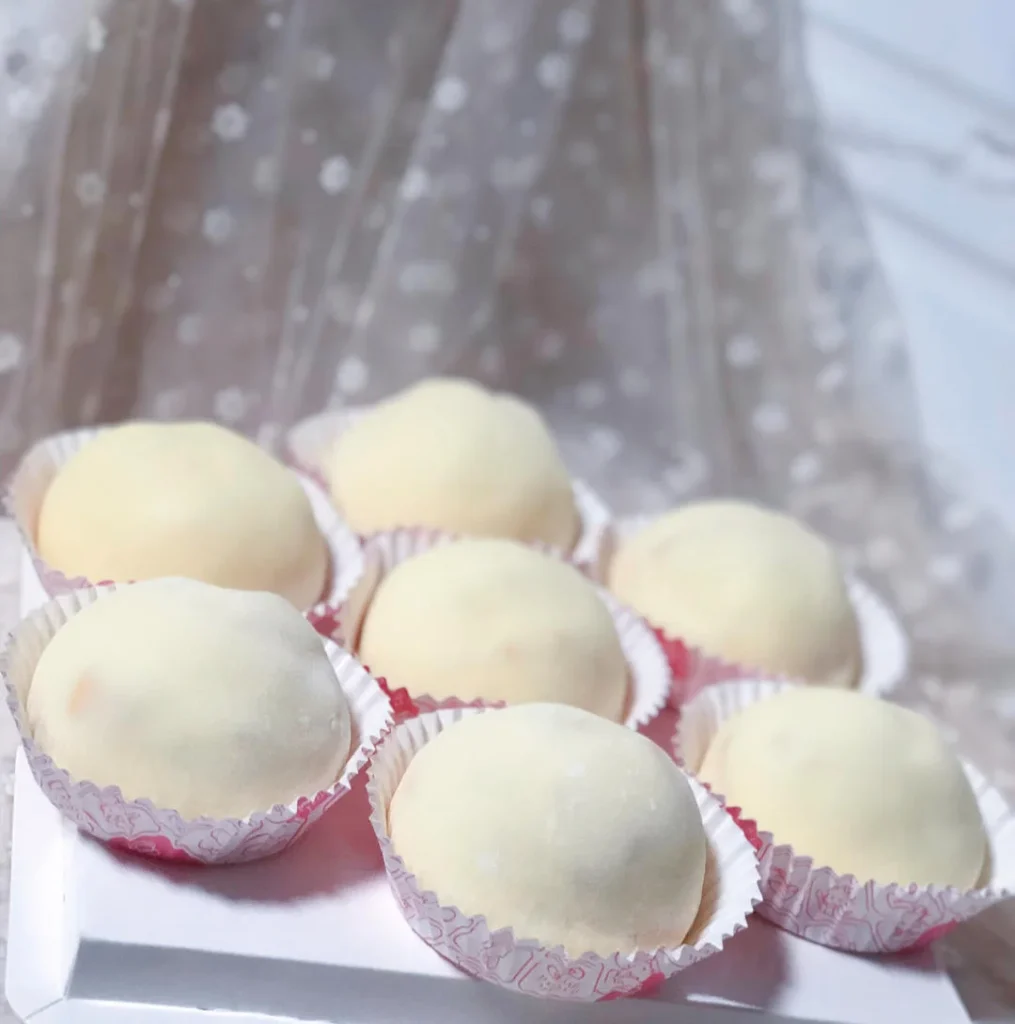
- Round and chubby mochi!
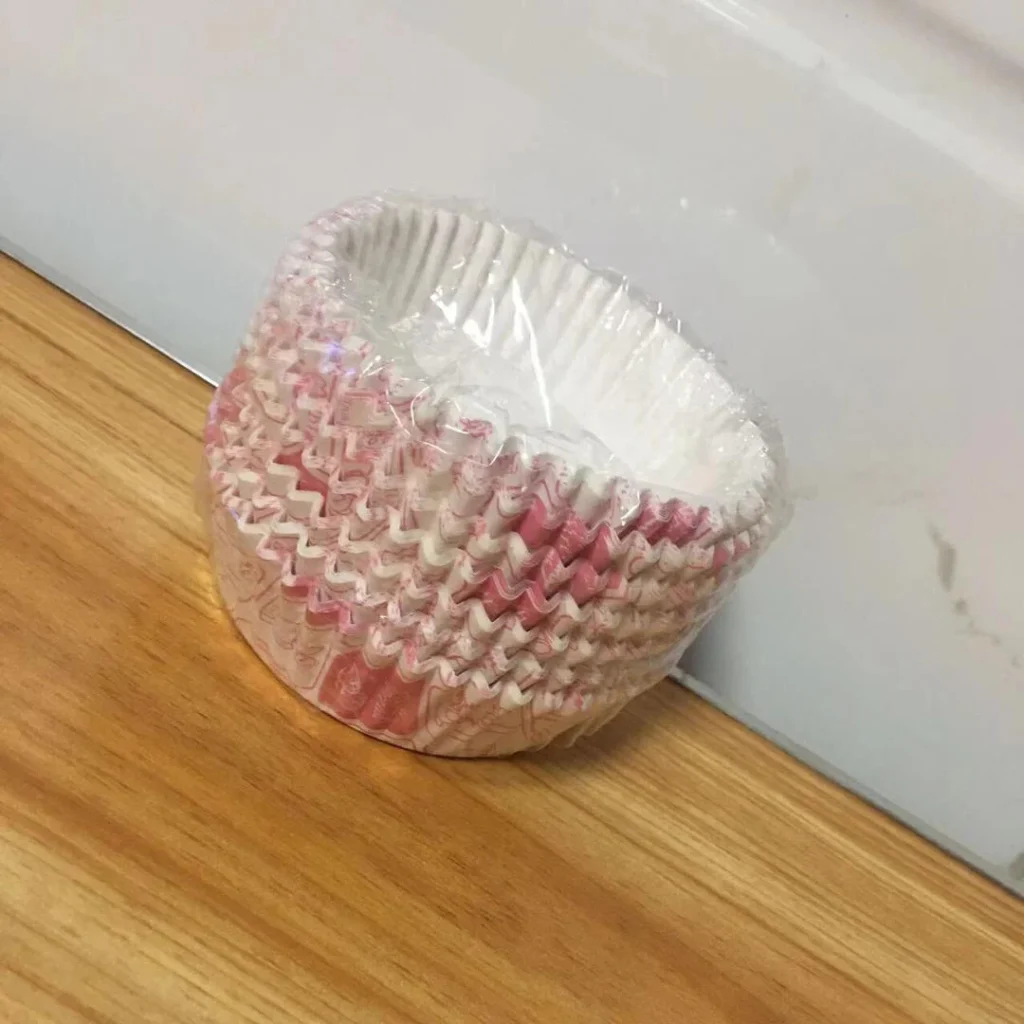
- Prepare cupcake liner papers.
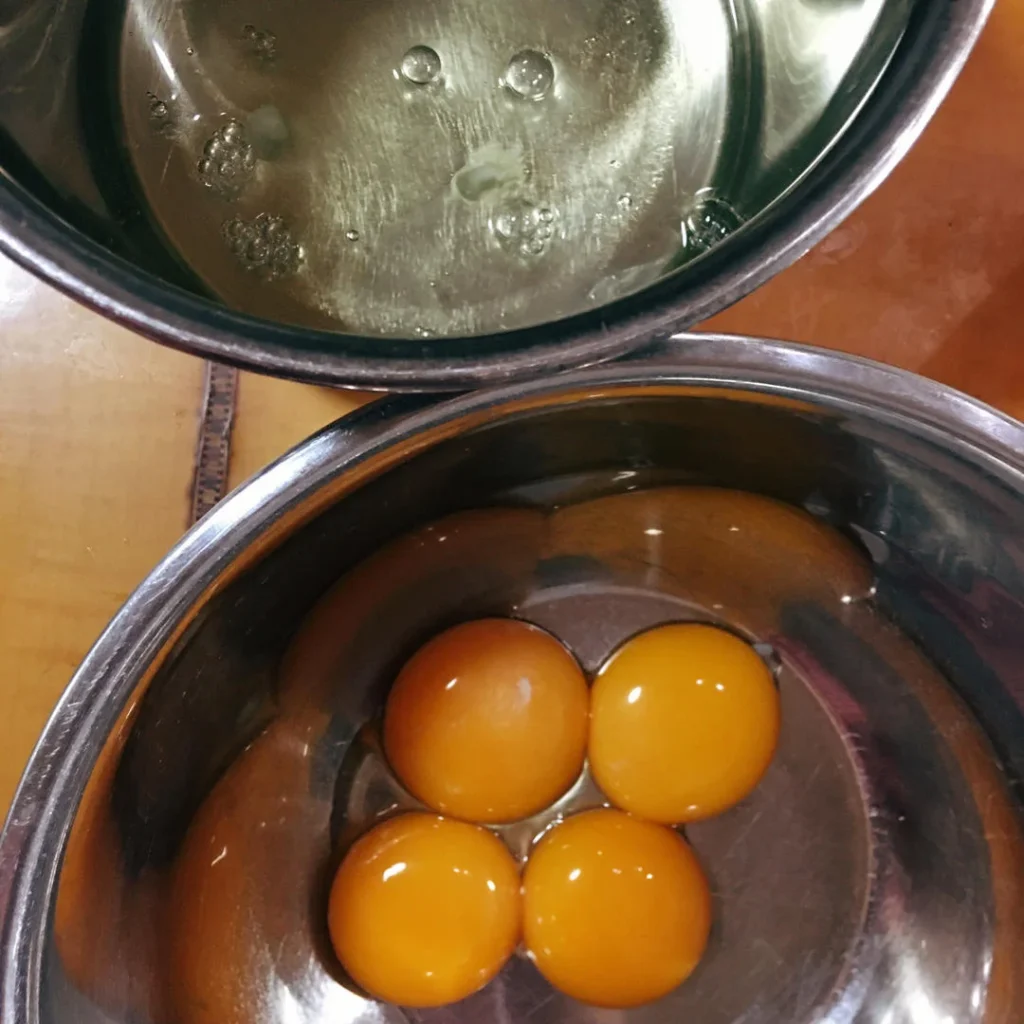
- Separate egg yolks from egg whites.
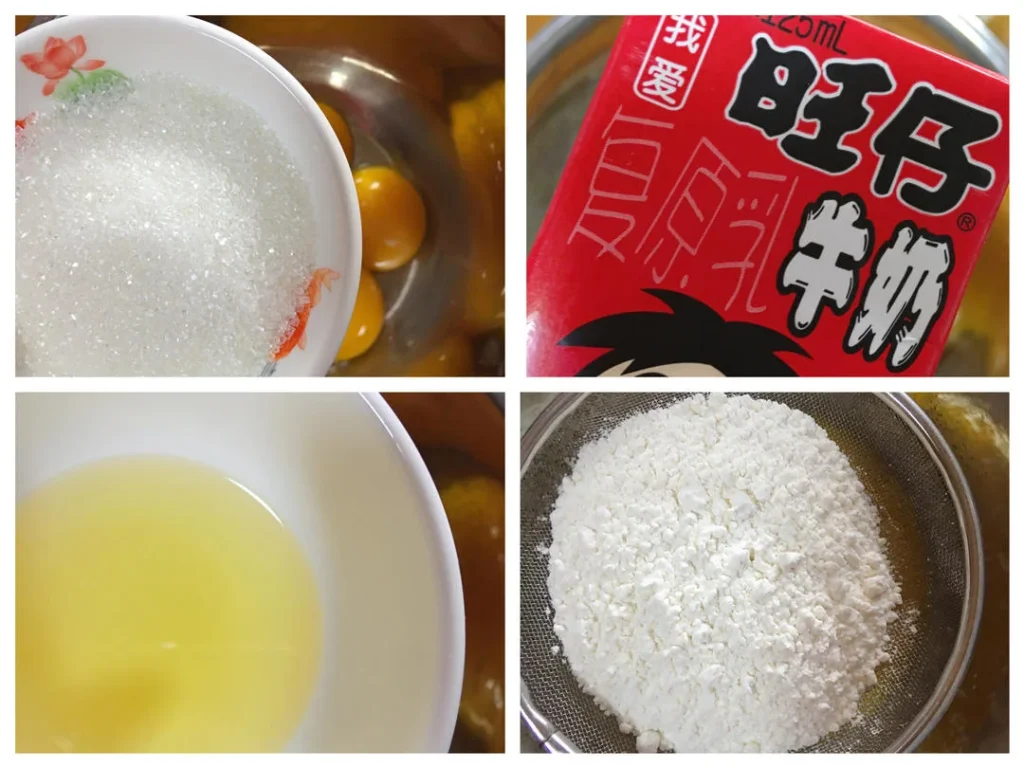
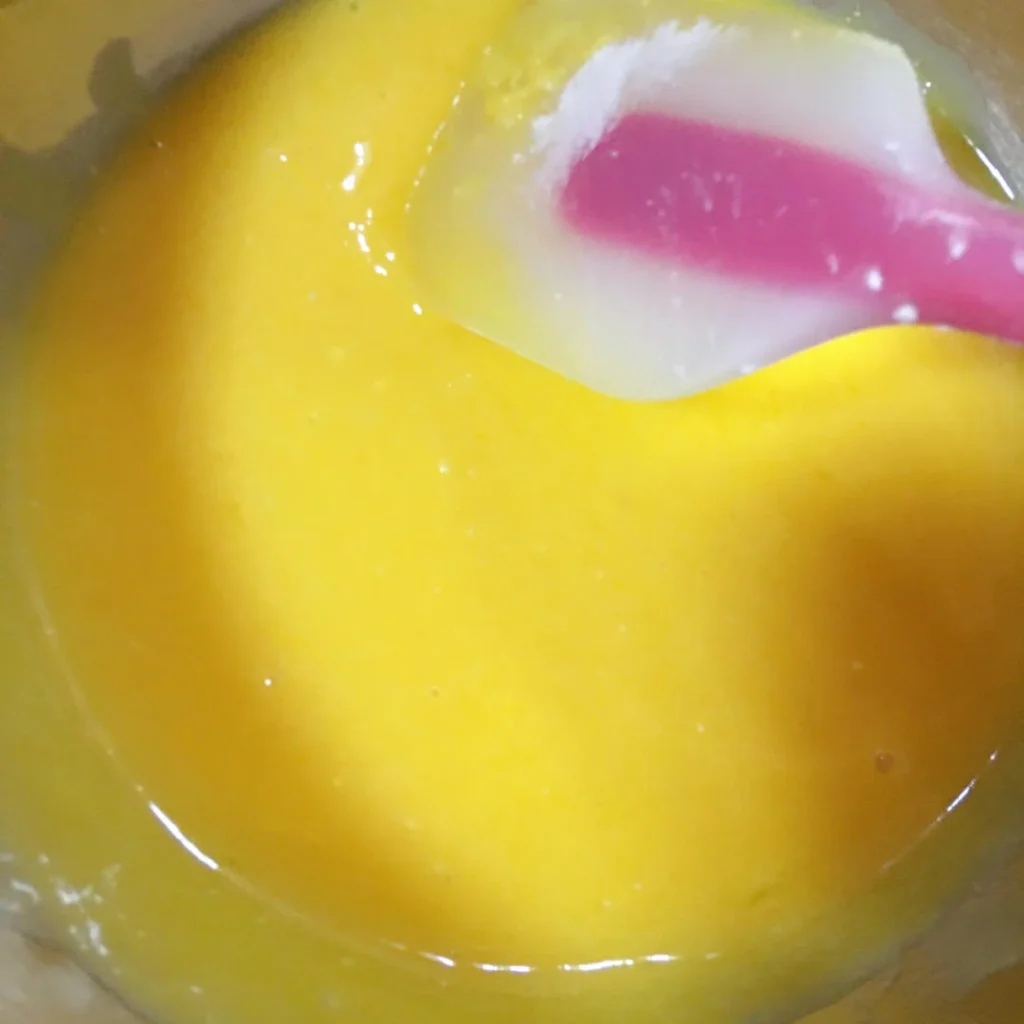
- Add caster sugar, milk, and vegetable oil to the egg yolks and mix well. Sift in the cake flour and stir until smooth.
- Egg yolk batter is ready.
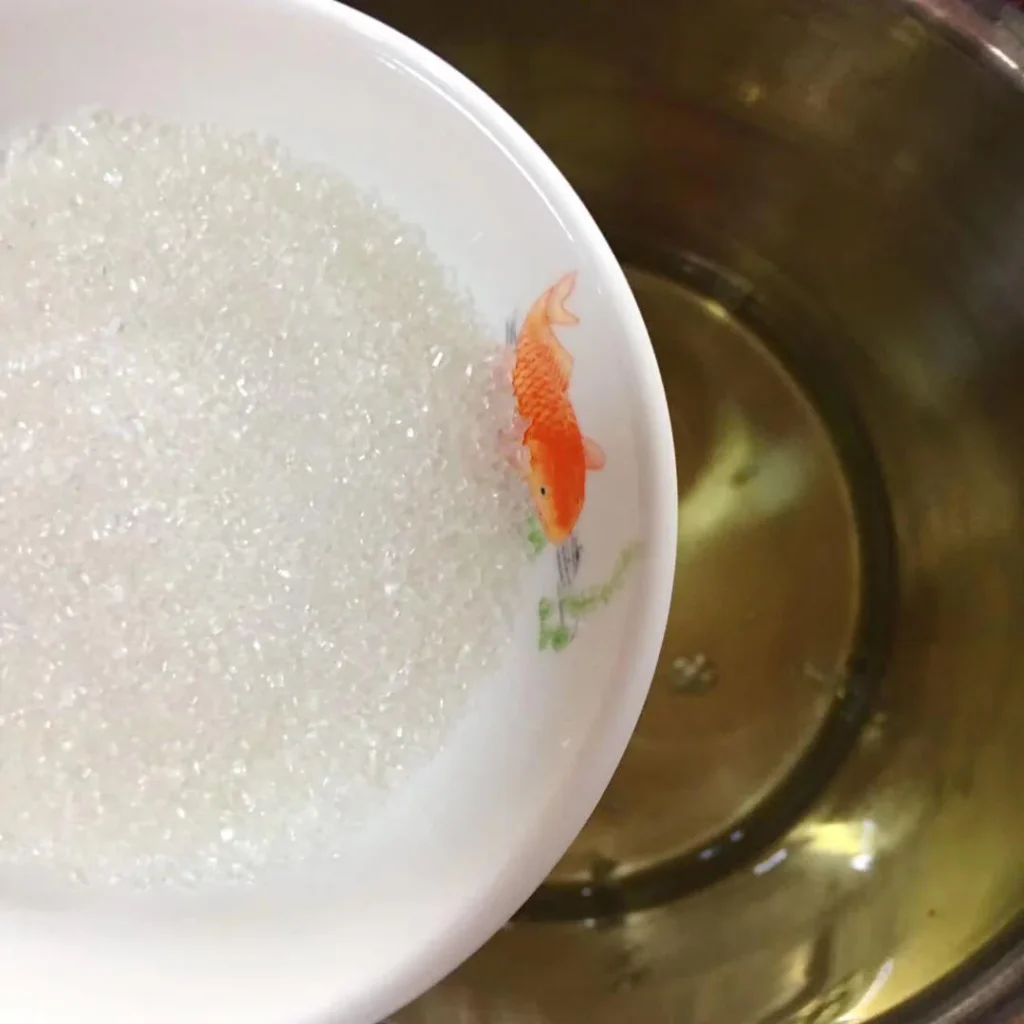
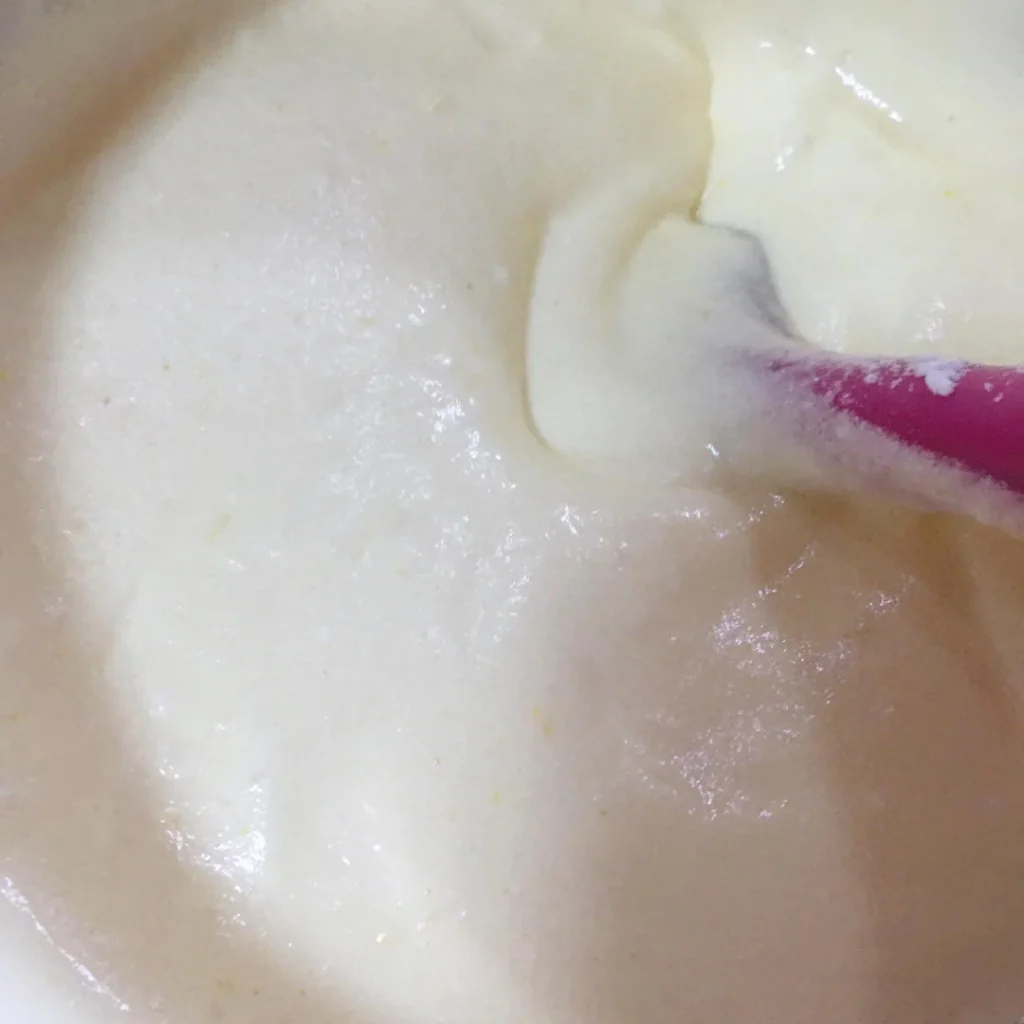
- Add caster sugar to the egg whites in three batches while beating.
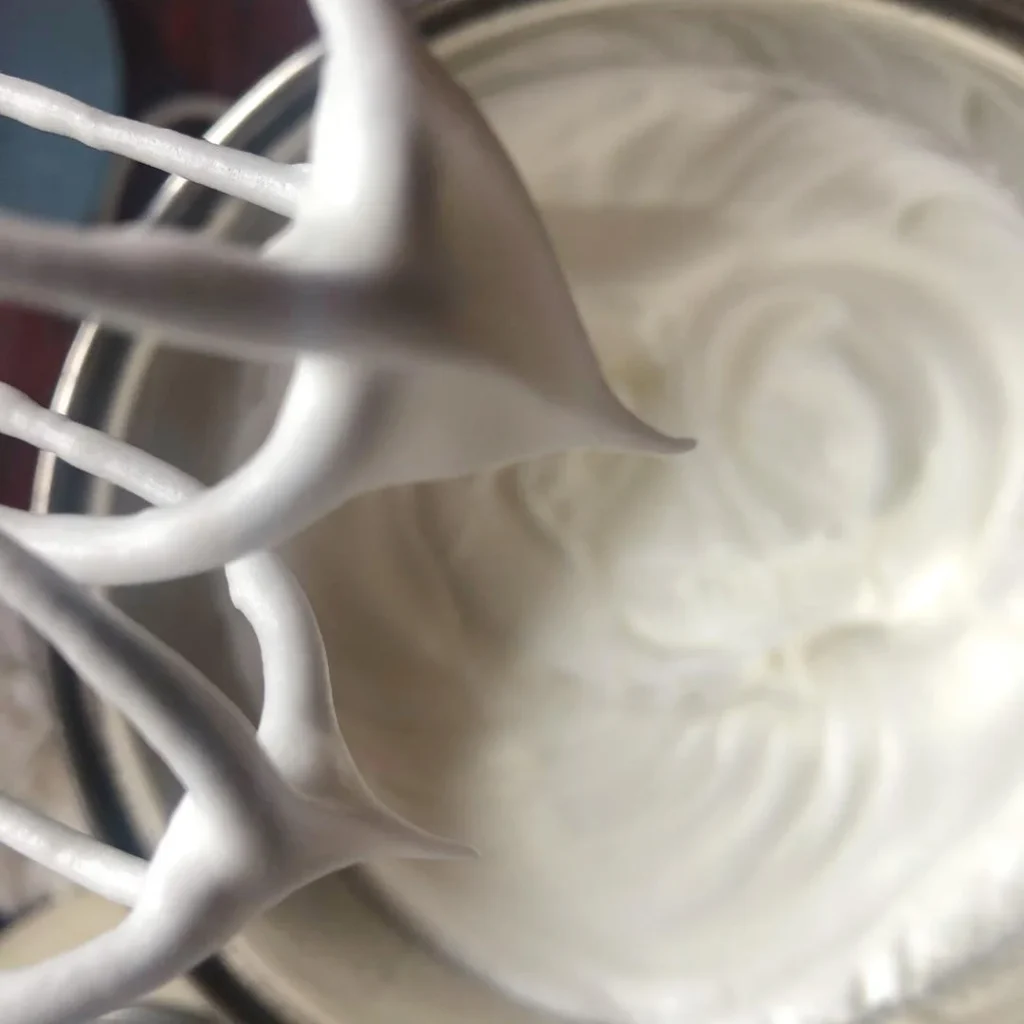
- Beat until the whisk lifts up stiff, short peaks — the stiff peak stage — then stop beating.
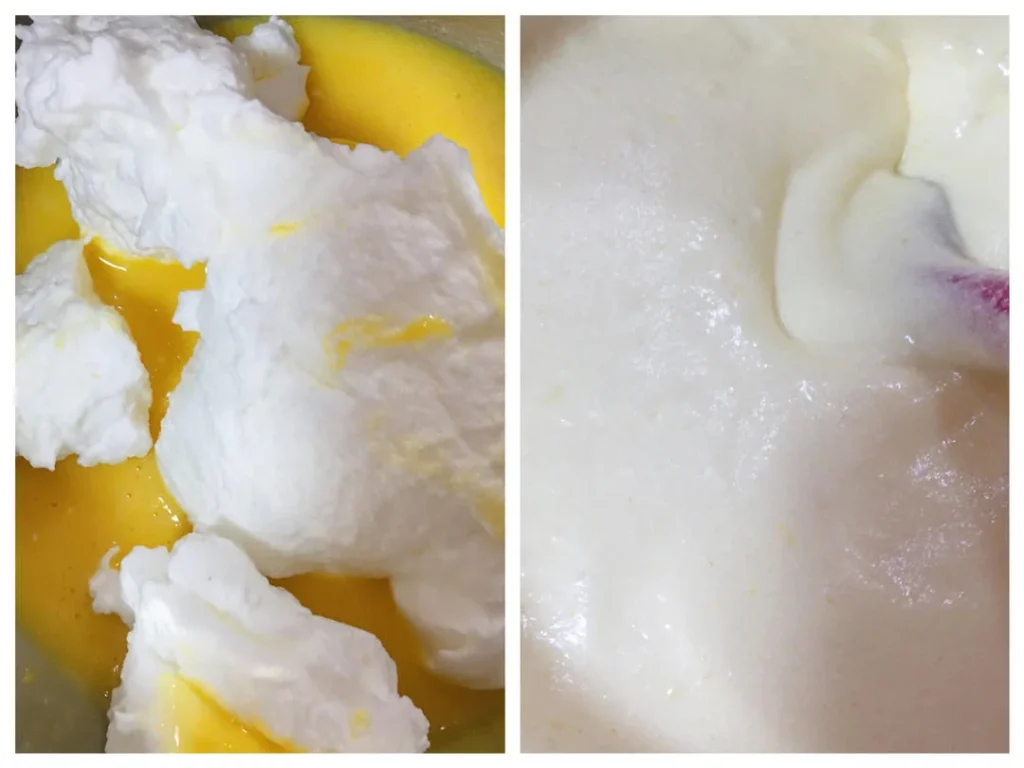
- Fold the beaten egg whites into the yolk batter in three batches, mixing gently until combined.
- Cake batter is ready.
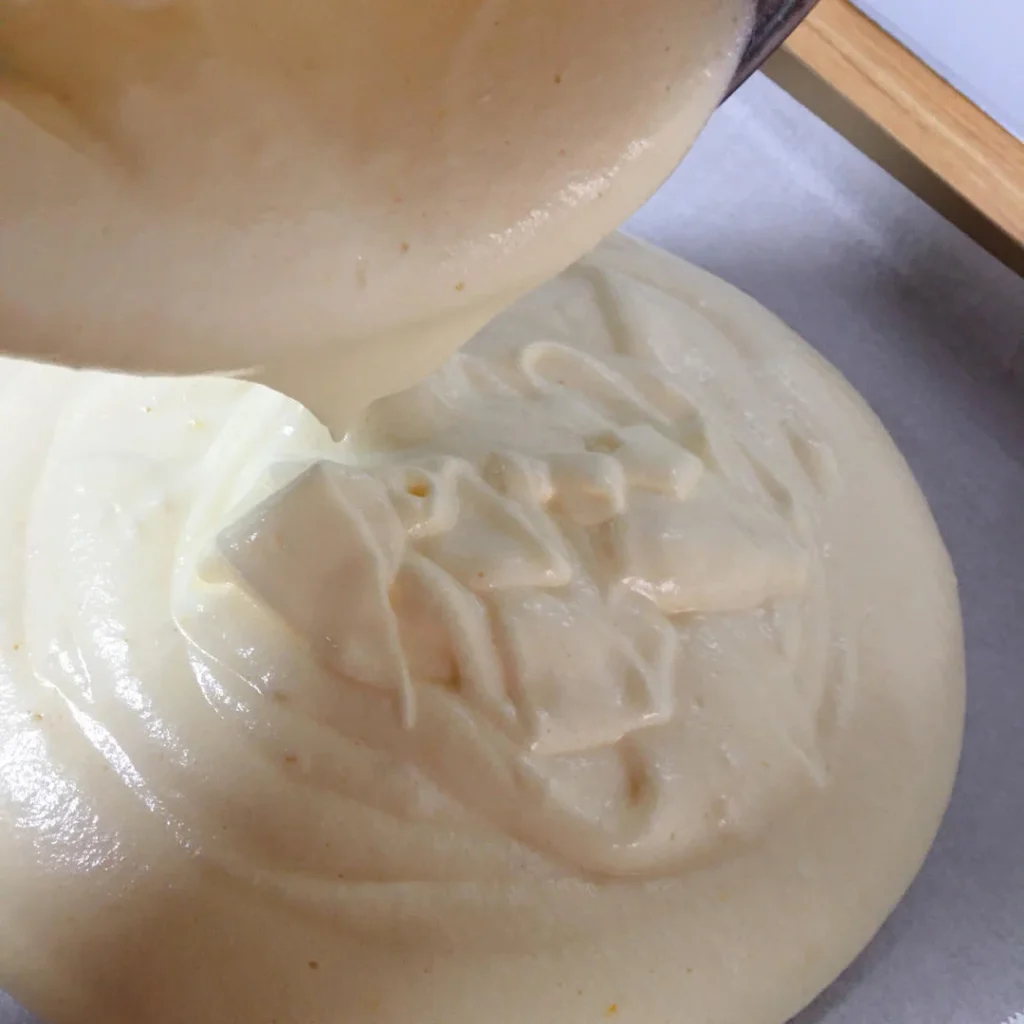
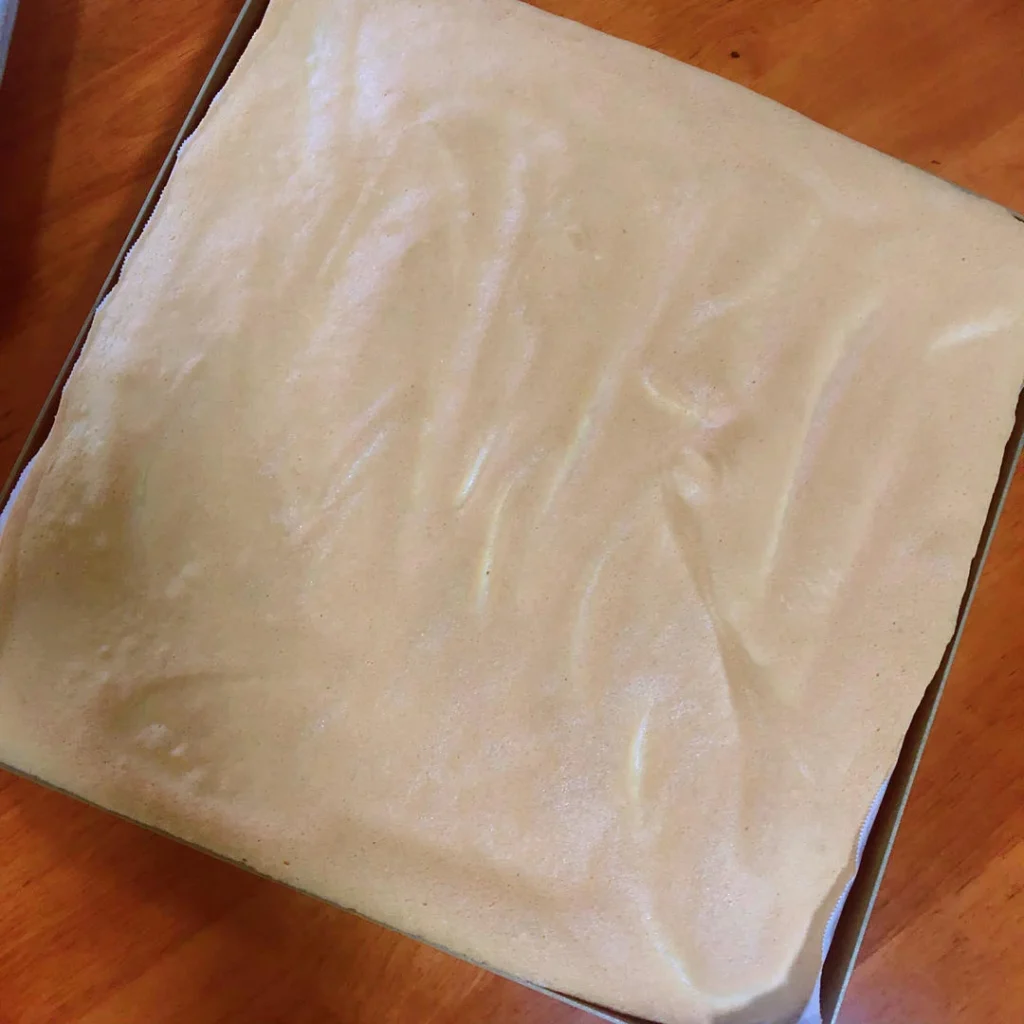
- Line a baking sheet with parchment paper and pour in the cake batter.
- Smooth the surface with a spatula and tap the pan gently to release air bubbles.
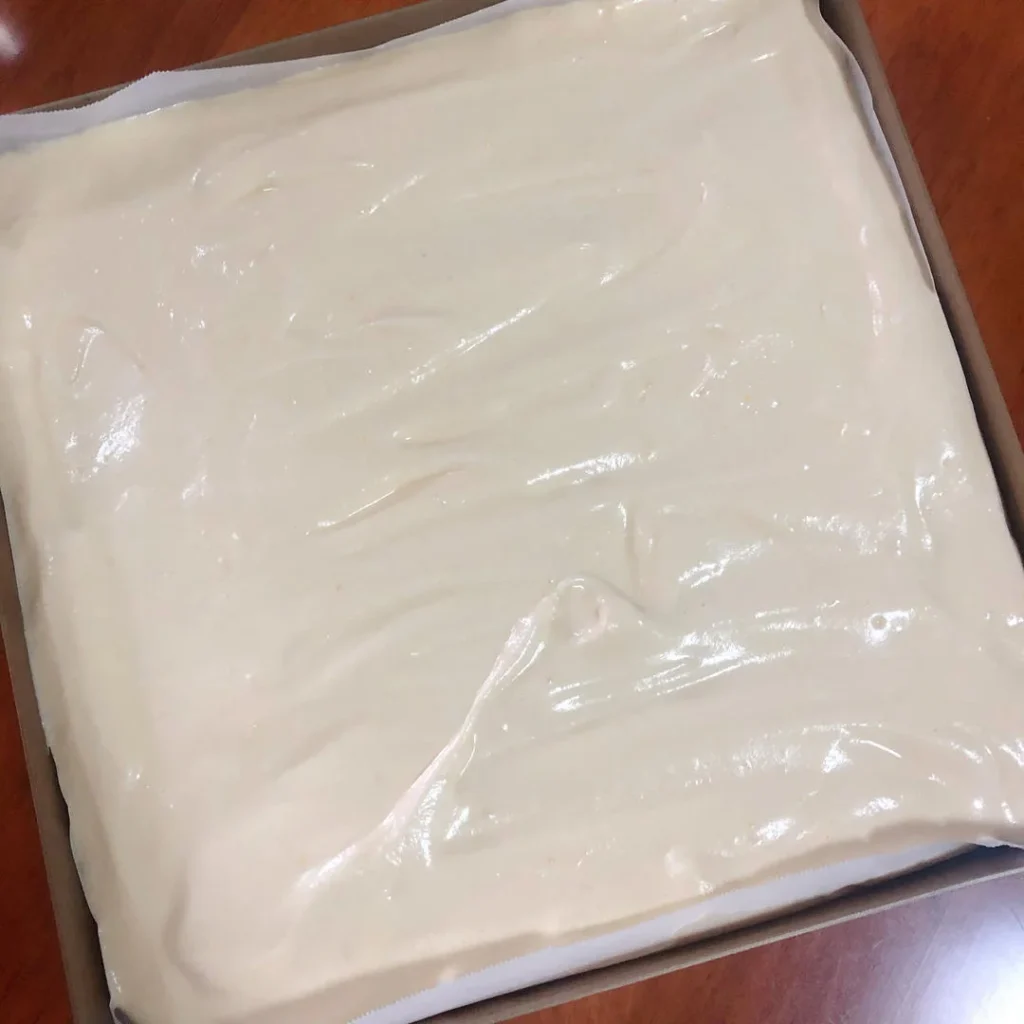
- Preheat the oven to 160°C (320°F) and bake for 30 minutes.
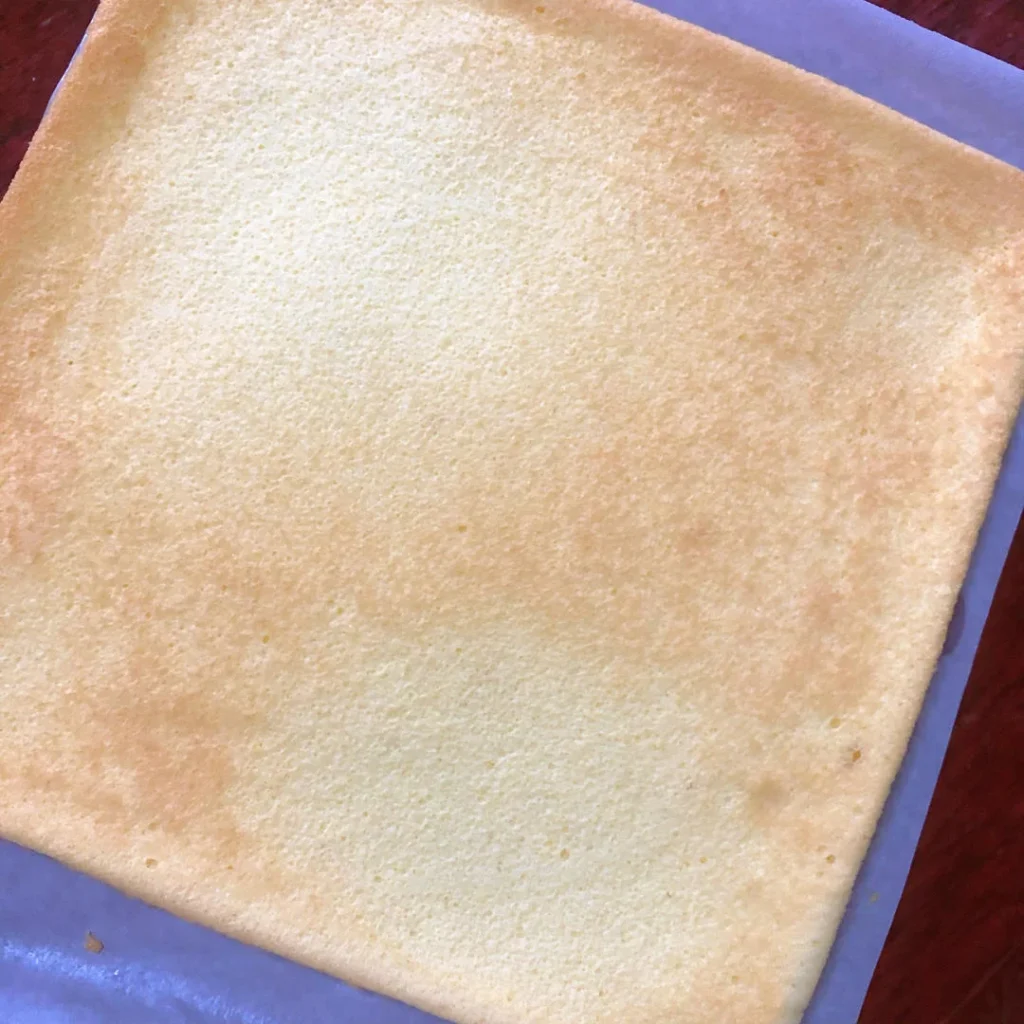
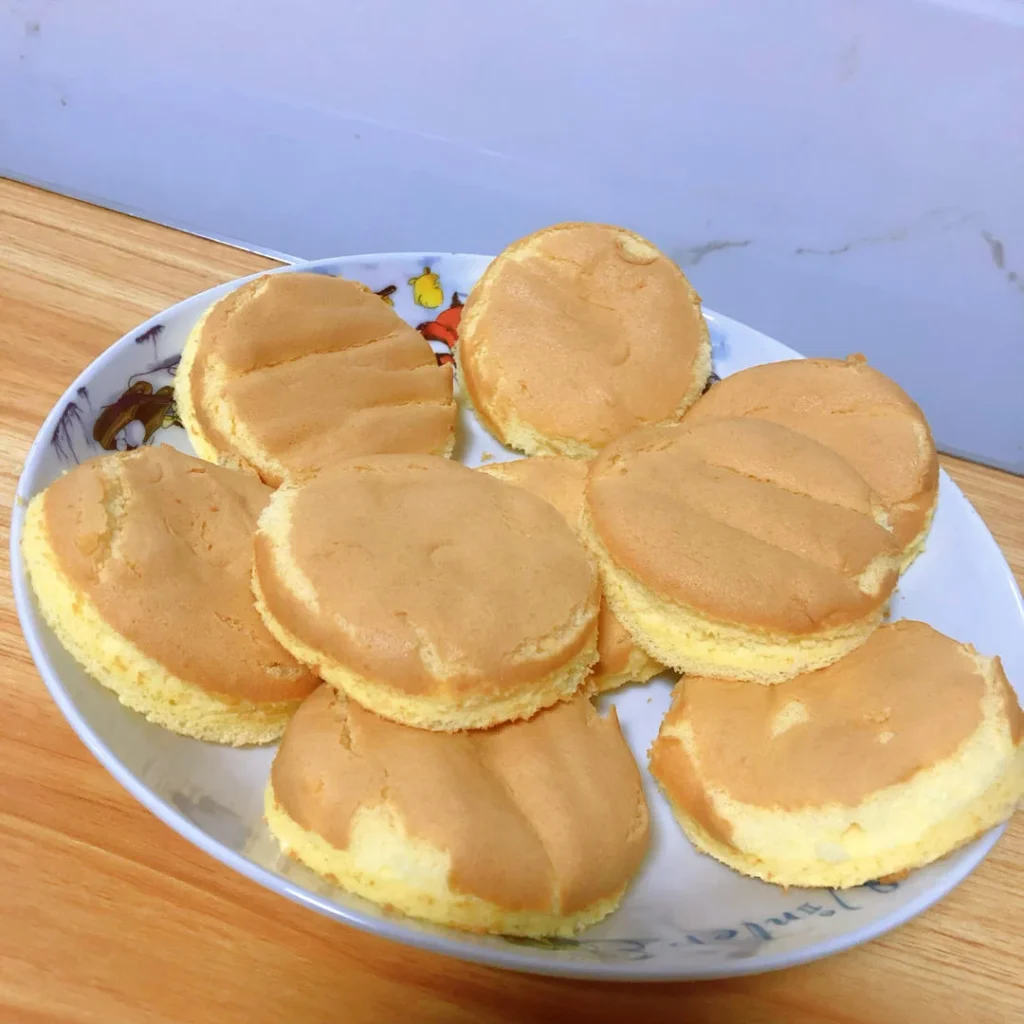
- The cake is out of the oven!
- Peel off the parchment paper while still warm and let the cake cool completely.
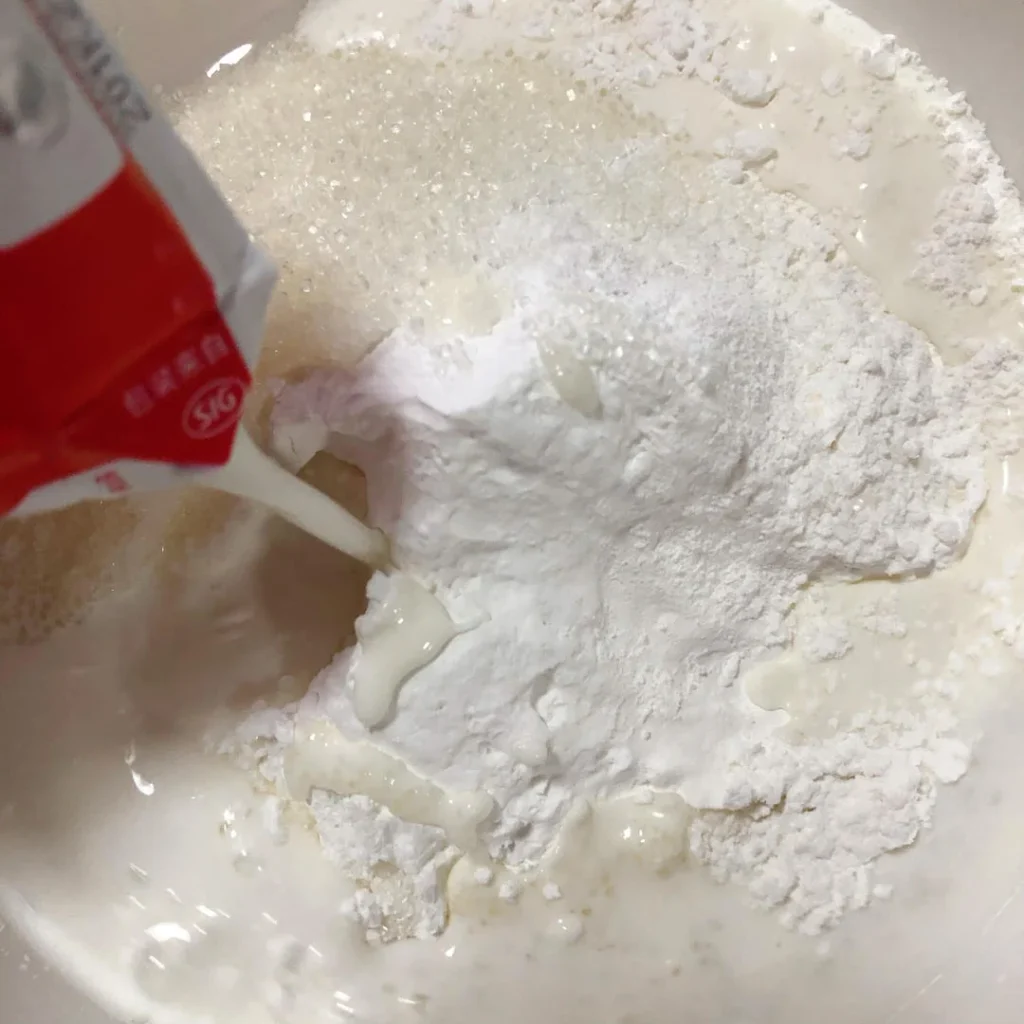
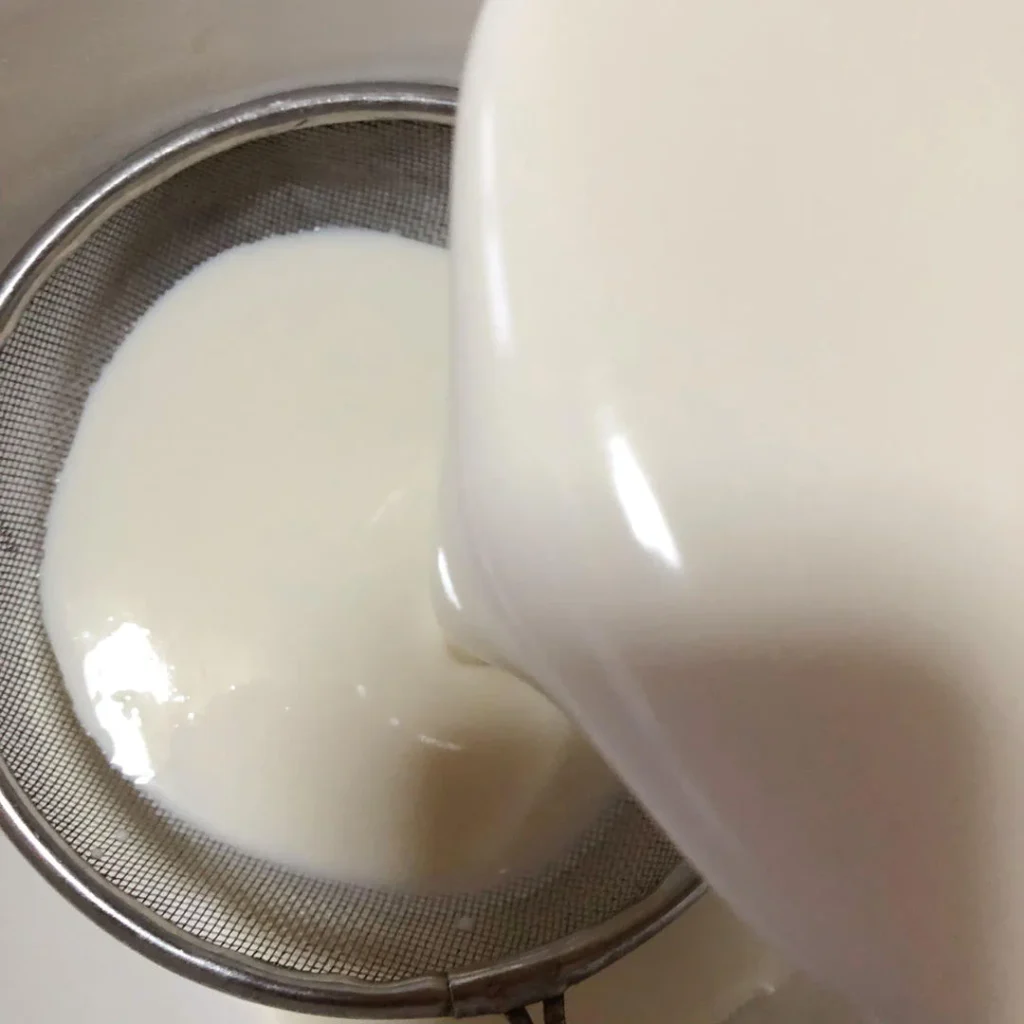
- Mix glutinous rice flour, cornstarch, caster sugar, and milk together and stir well.
- Stir until smooth.
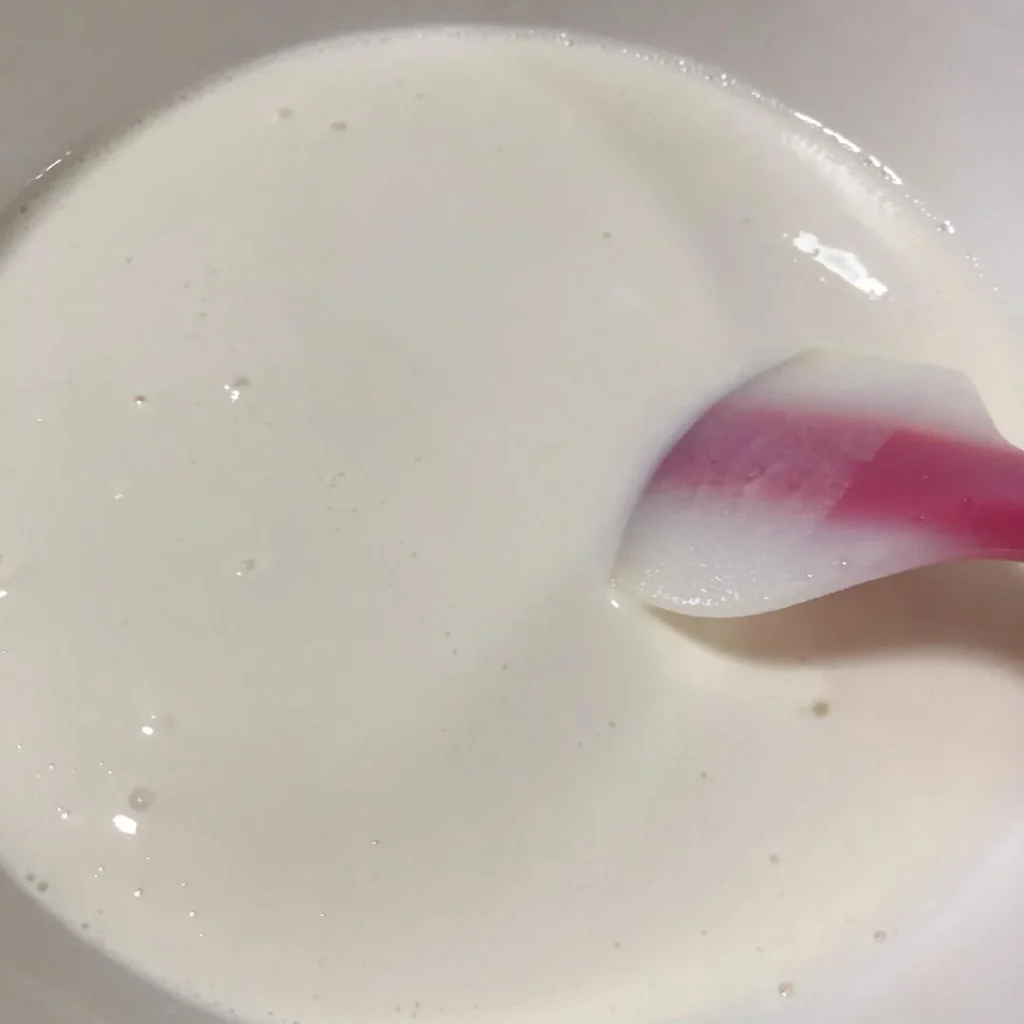
- Strain the mixture through a sieve twice.
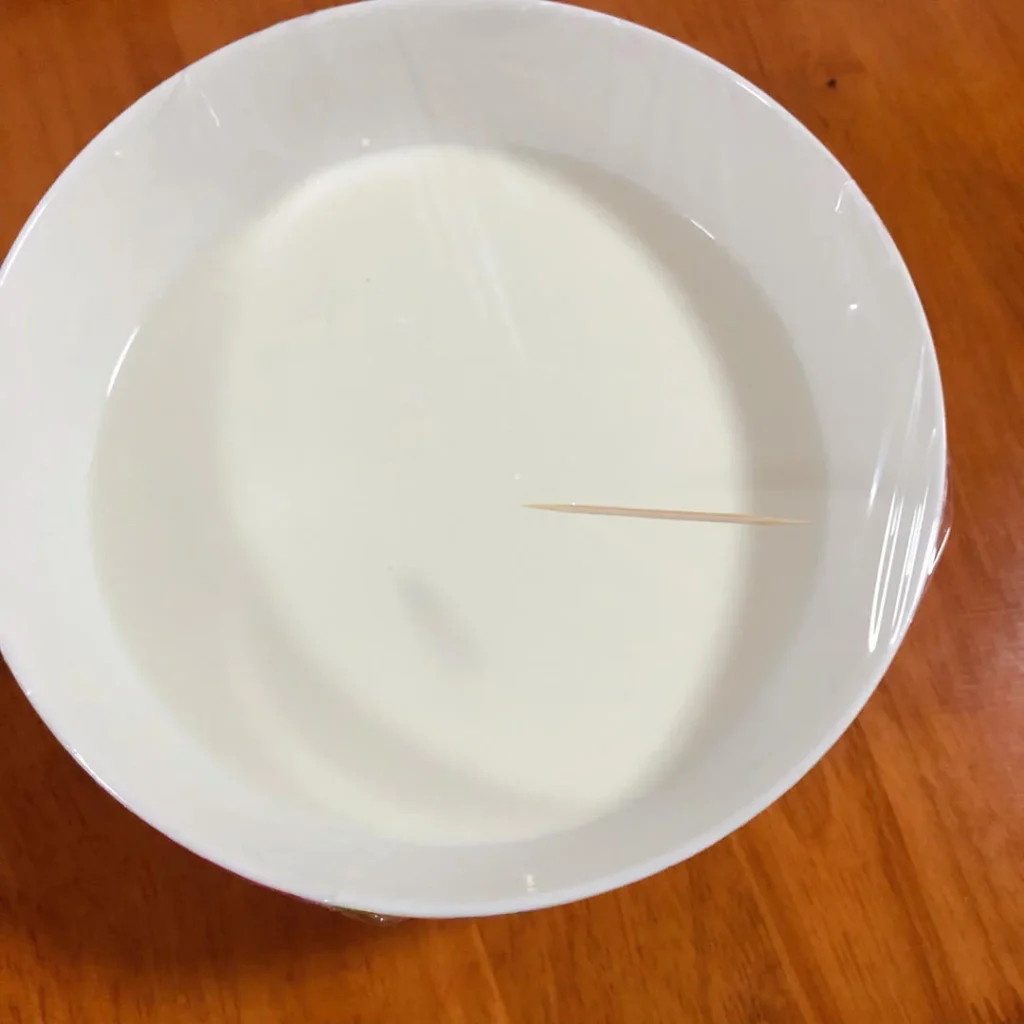
- Cover with plastic wrap and poke a few holes with a toothpick.
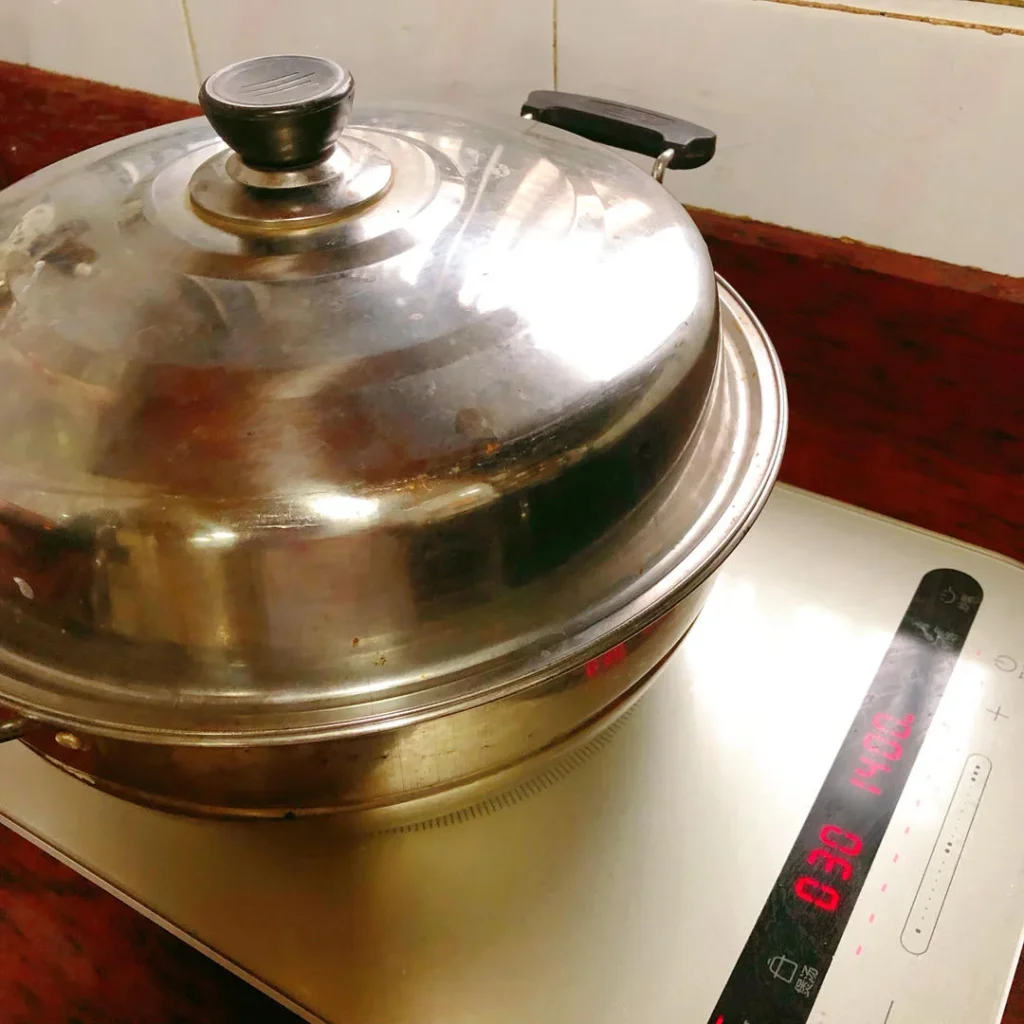
- Steam for 25 minutes.
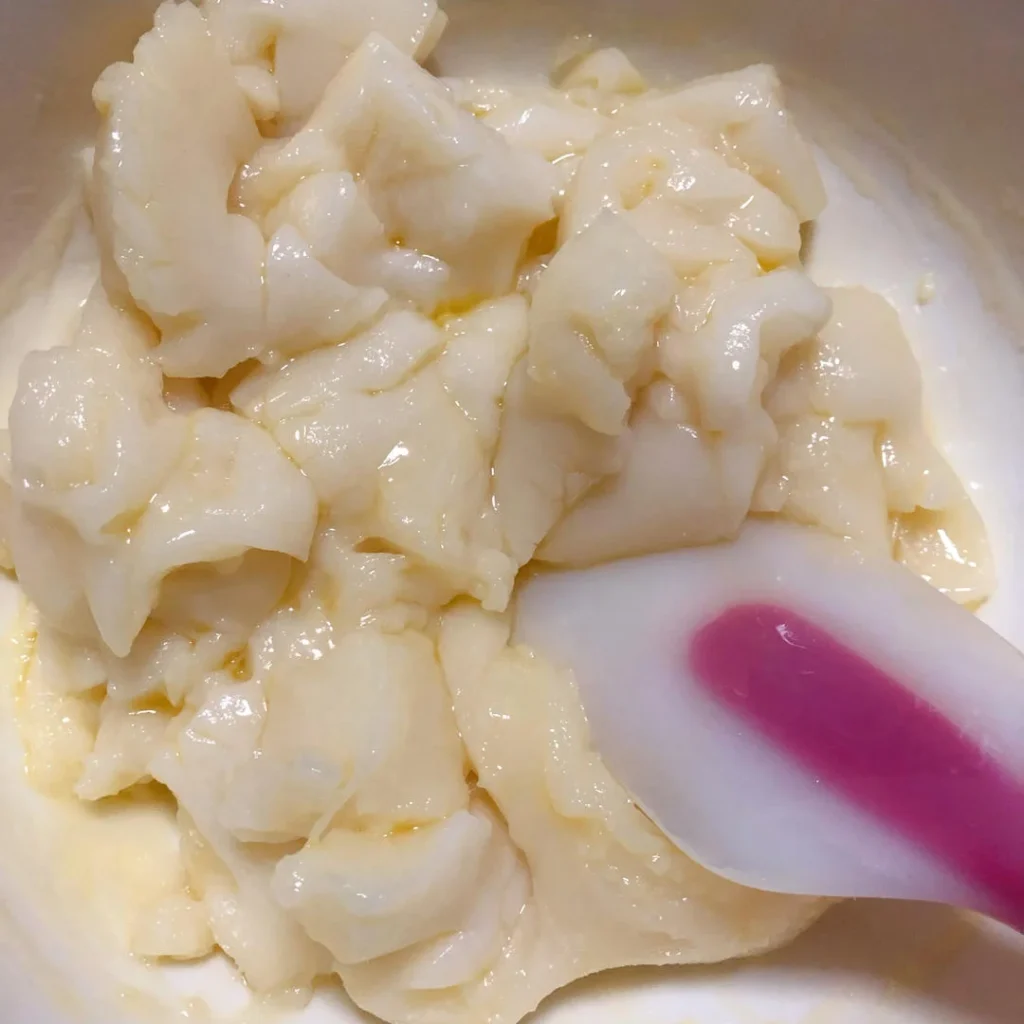
- Once steamed, immediately remove the plastic wrap and add butter while the mochi is still hot.
- If too hot to handle, use a spatula to mix the butter in first.
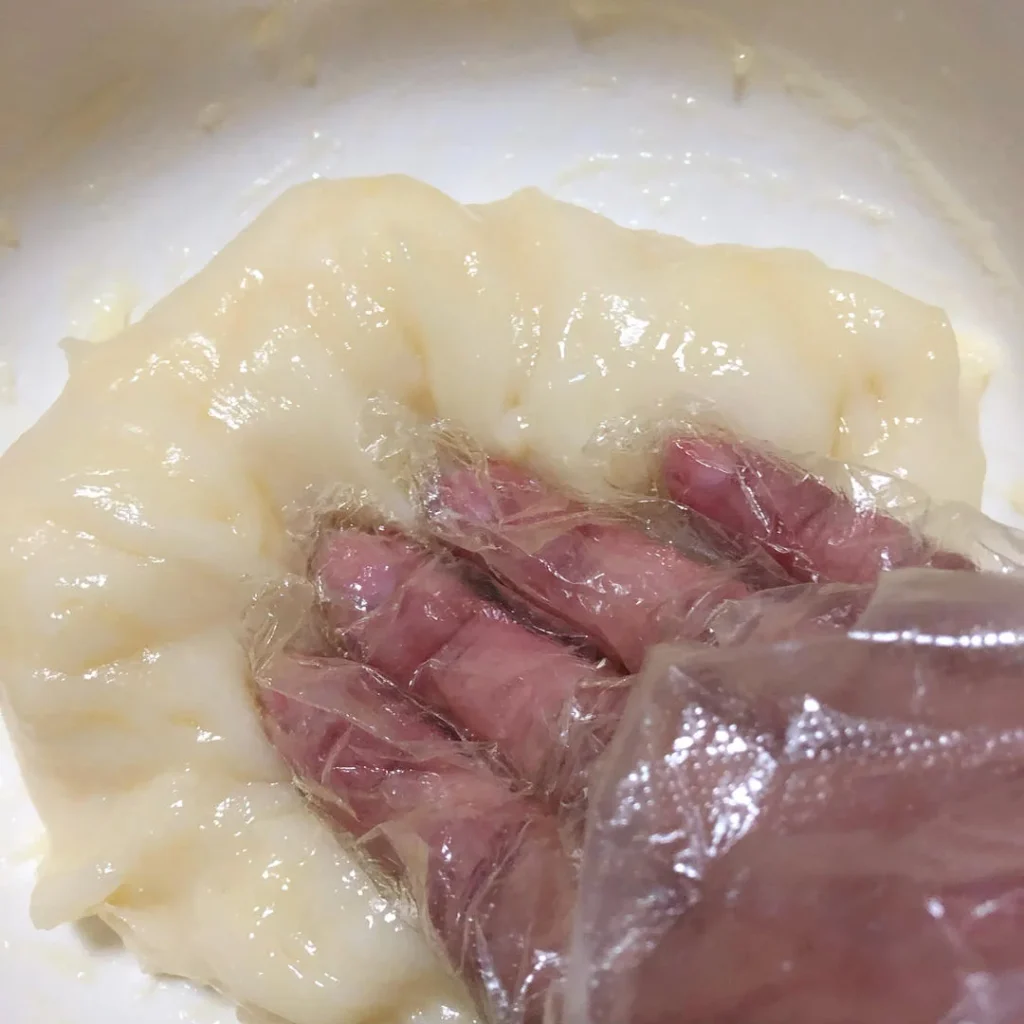
- Once it's cool enough, knead the butter into the dough by hand. Knead longer for a softer, smoother dough.
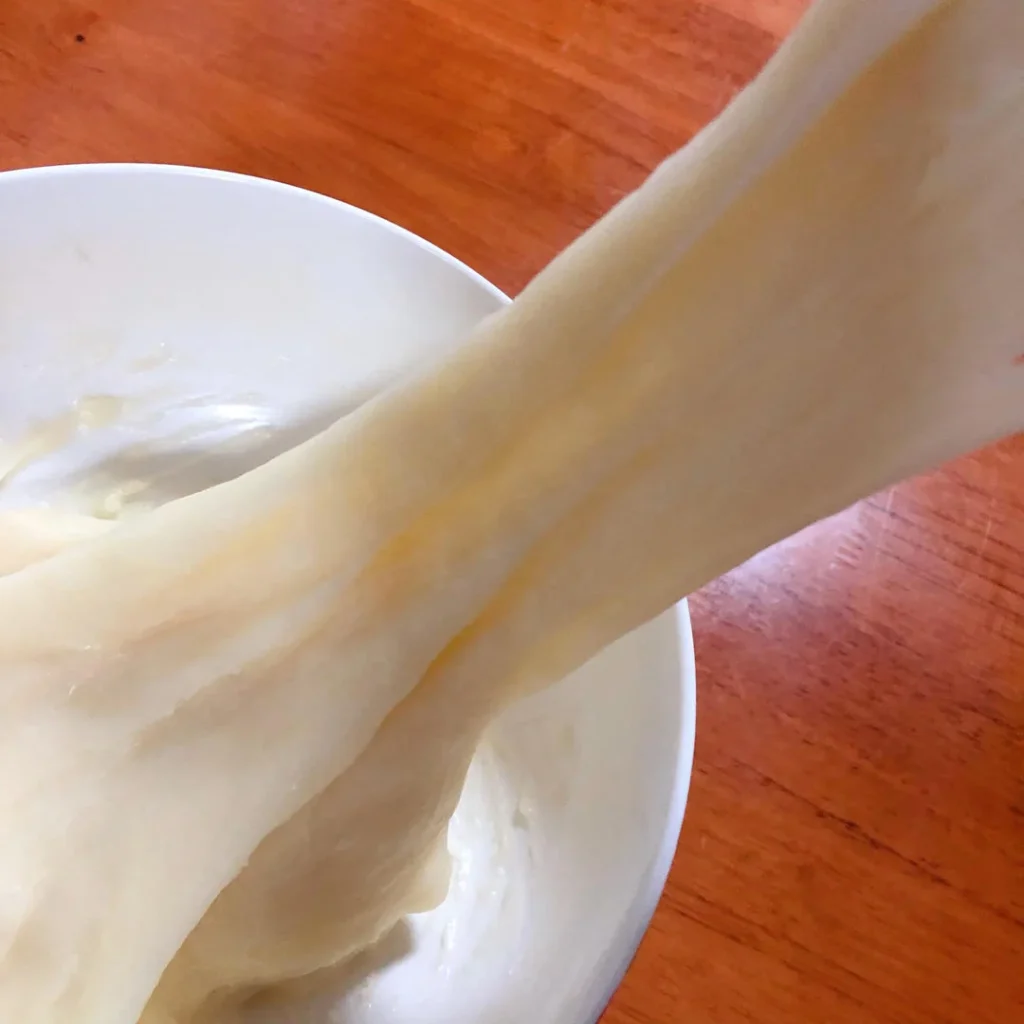
- Knead until the dough can be stretched without breaking — that's the right consistency.
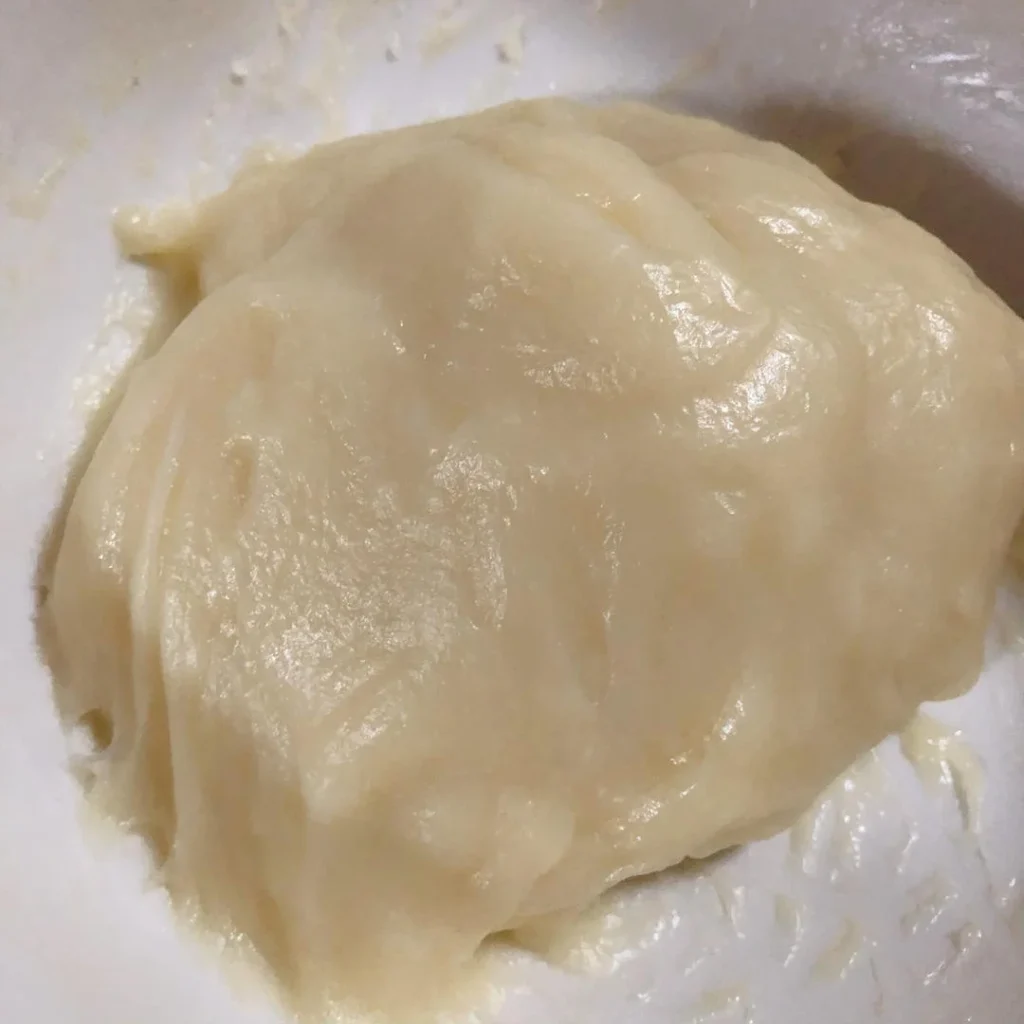
- Mochi wrapper dough is done.
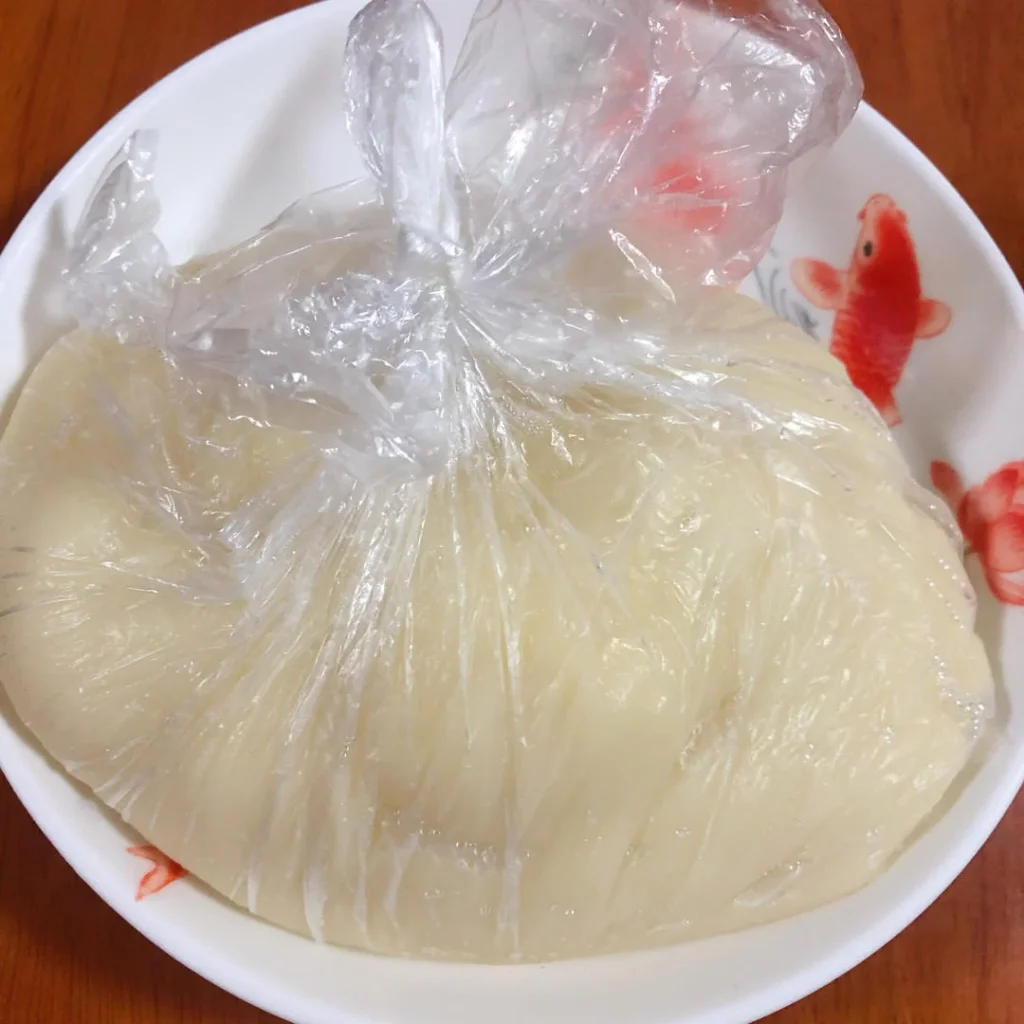
- Wrap tightly in a plastic bag, pressing out any air gaps. Refrigerate for at least 1 hour before using.
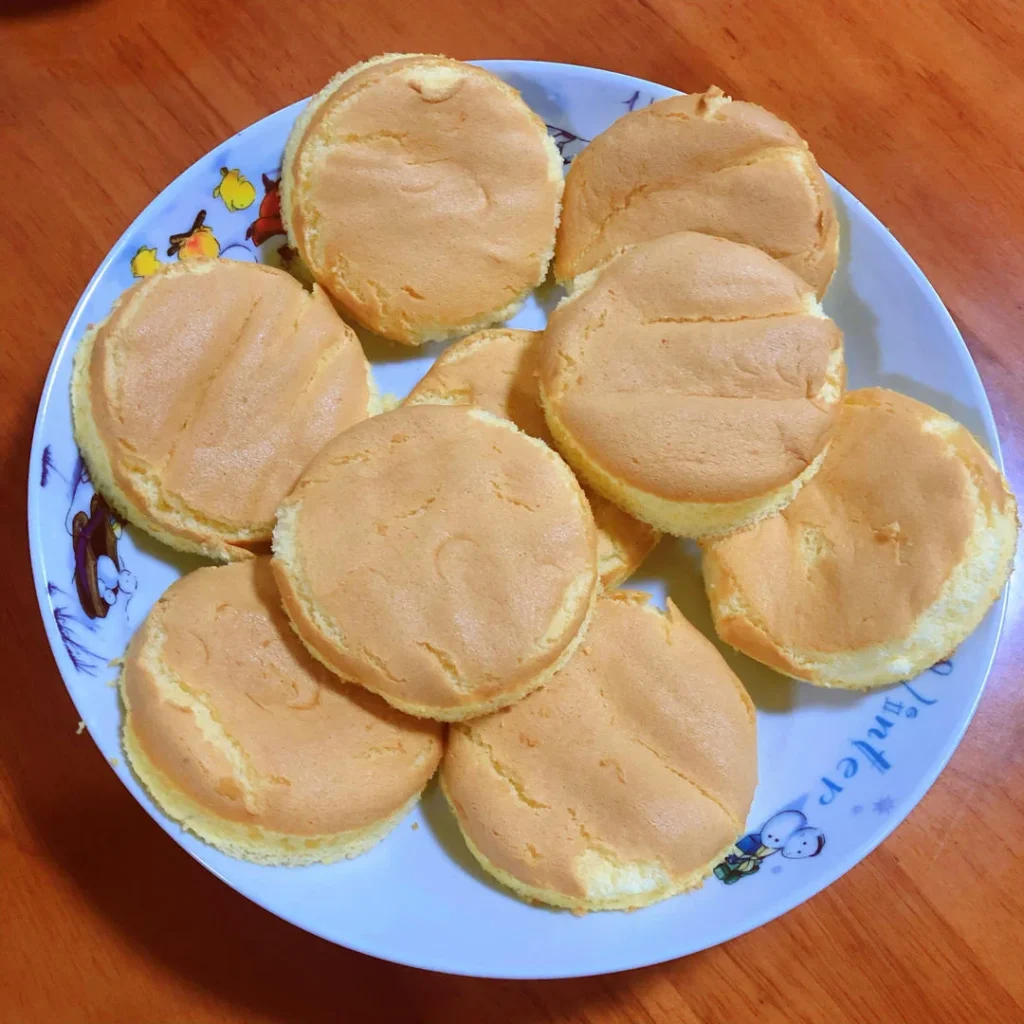
- Cut out round cake slices with a diameter slightly smaller than your mochi mold (I used a small bowl — just the right size).
- You should get exactly 9 cake rounds.
- Set aside for later.
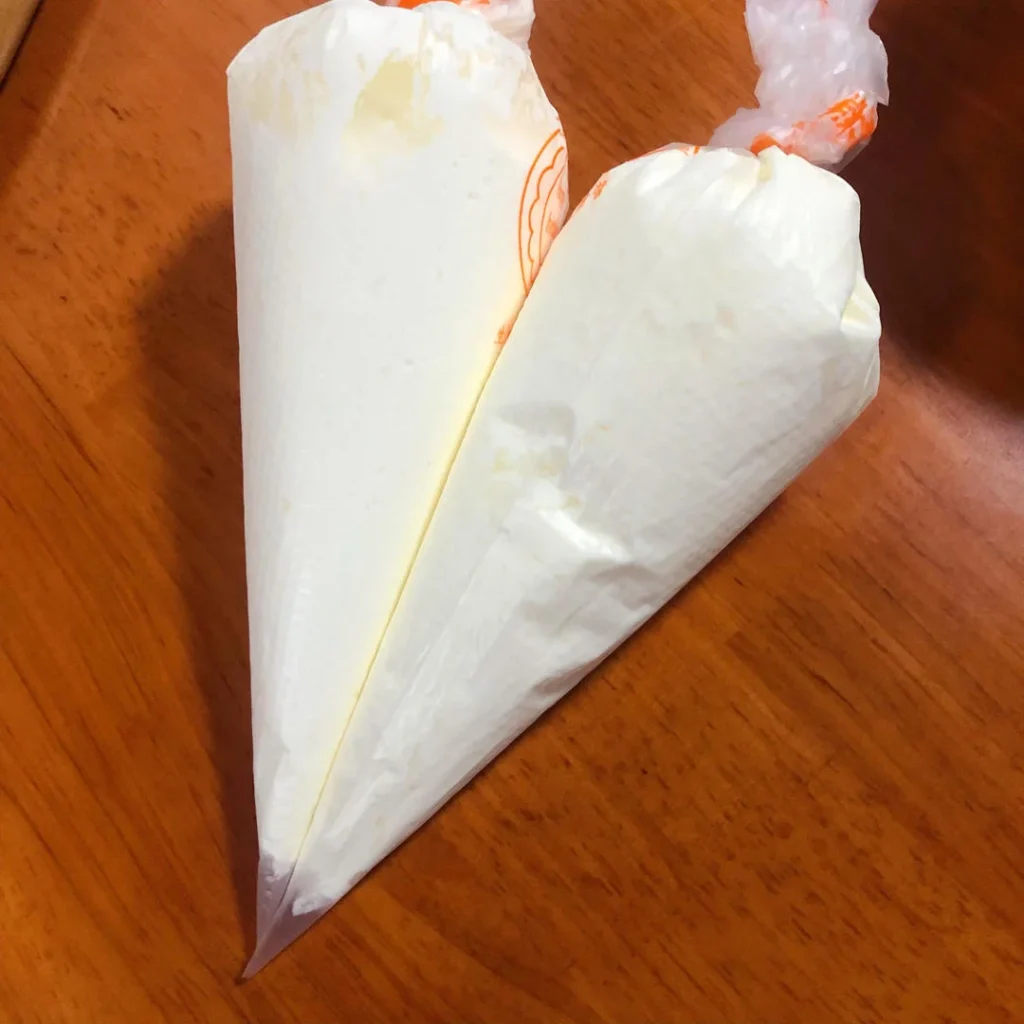
- Whip the heavy cream, transfer to a piping bag, and keep in the fridge until needed.
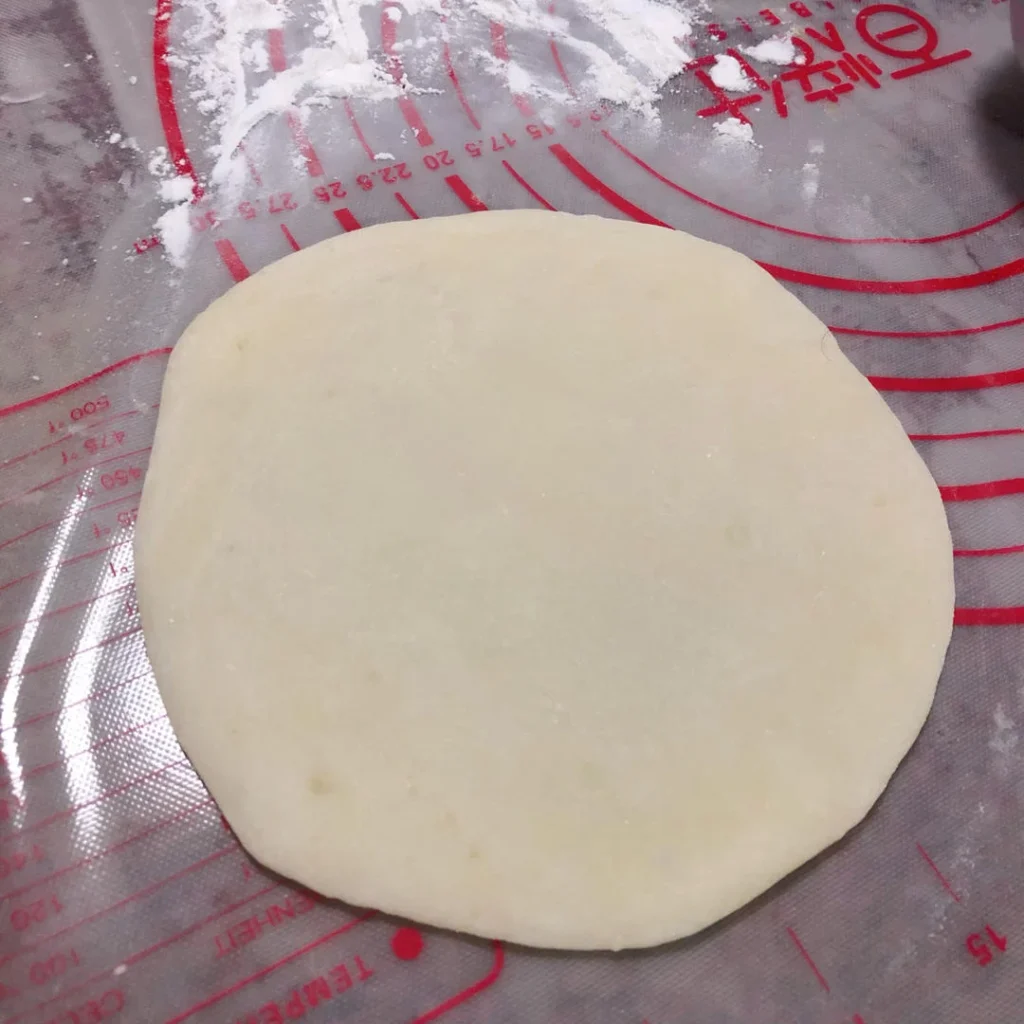
- Divide the mochi dough into 9 portions. Dust with cooked glutinous rice flour and roll each piece into a round circle.
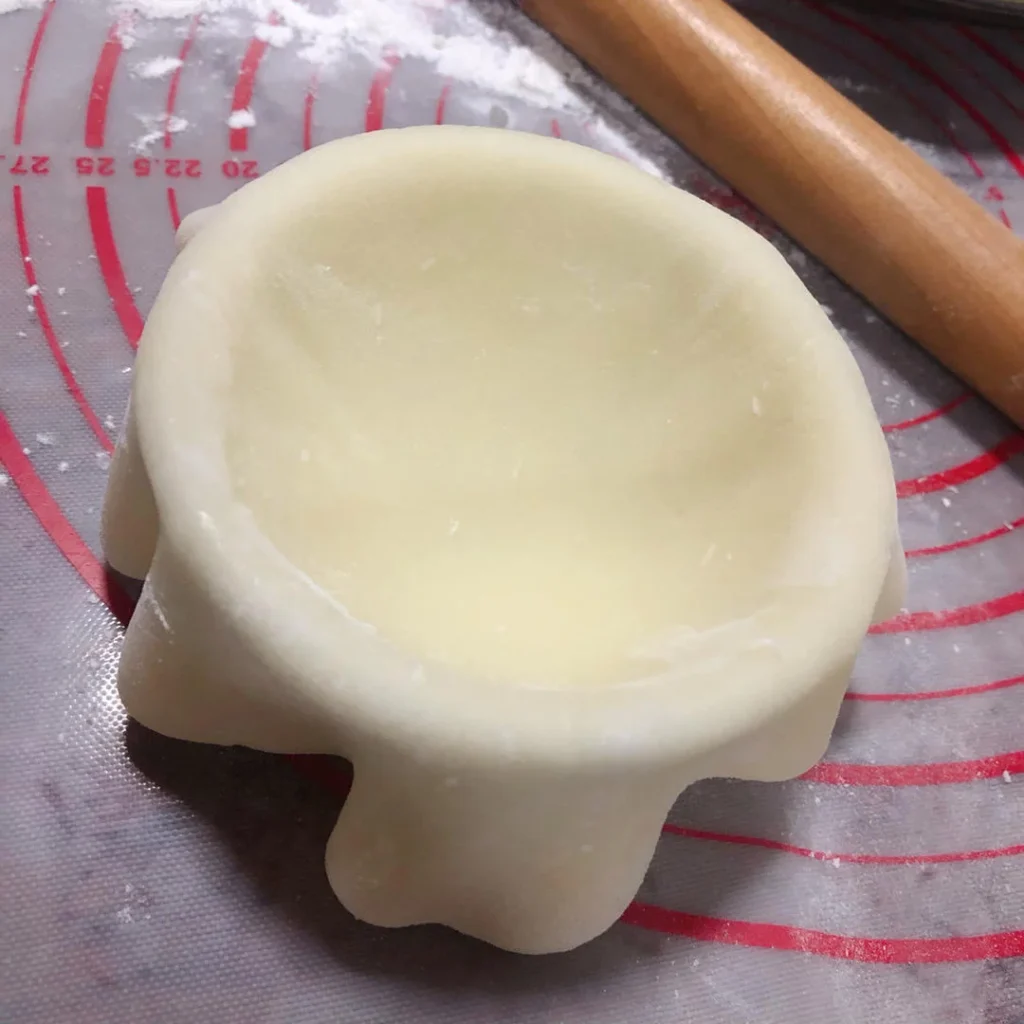
- Place the mochi wrapper over the mold.
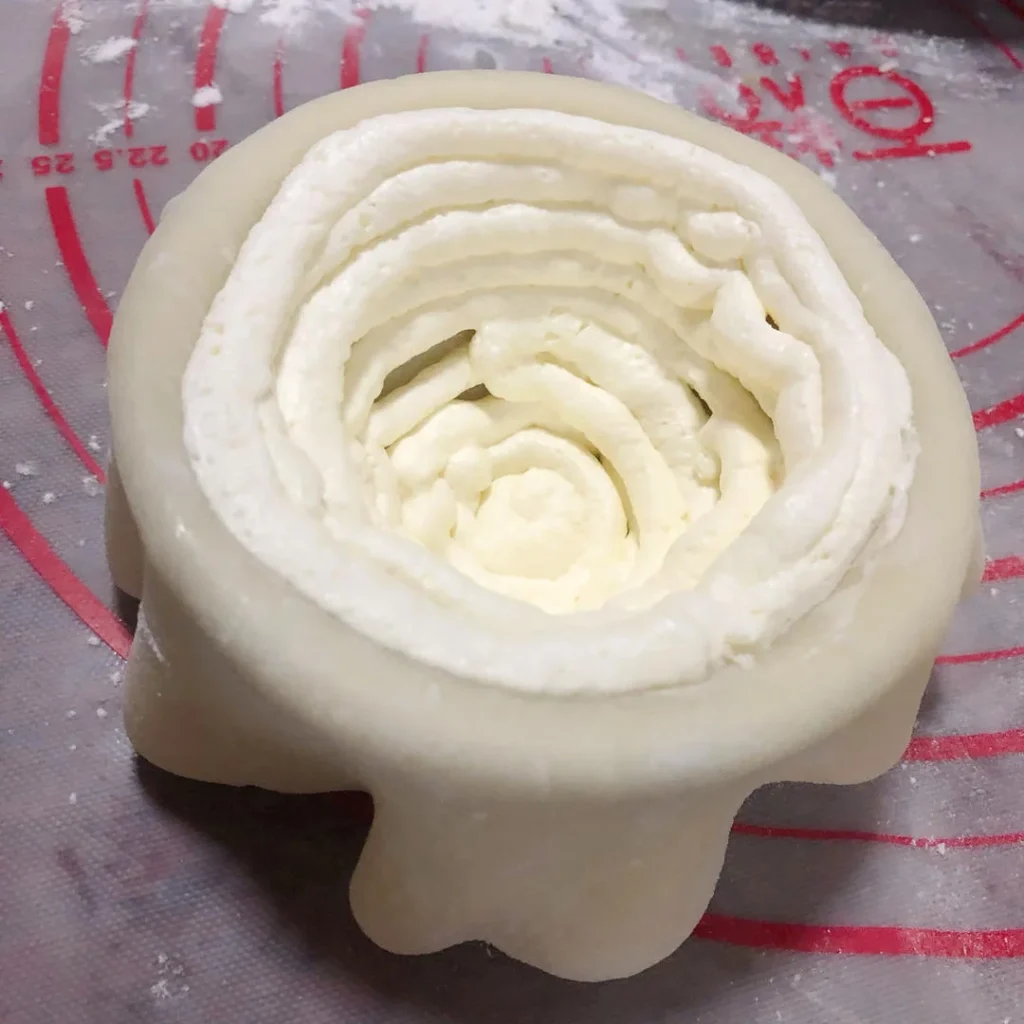
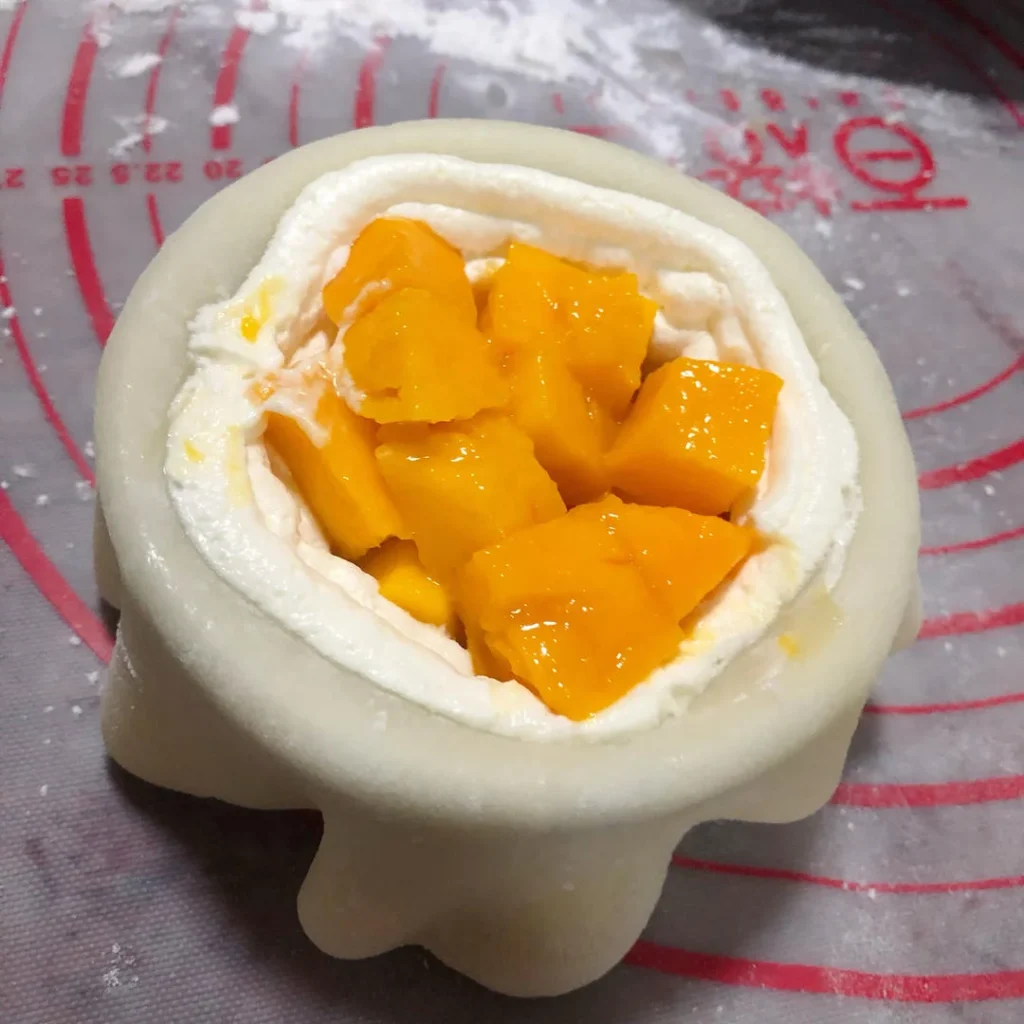
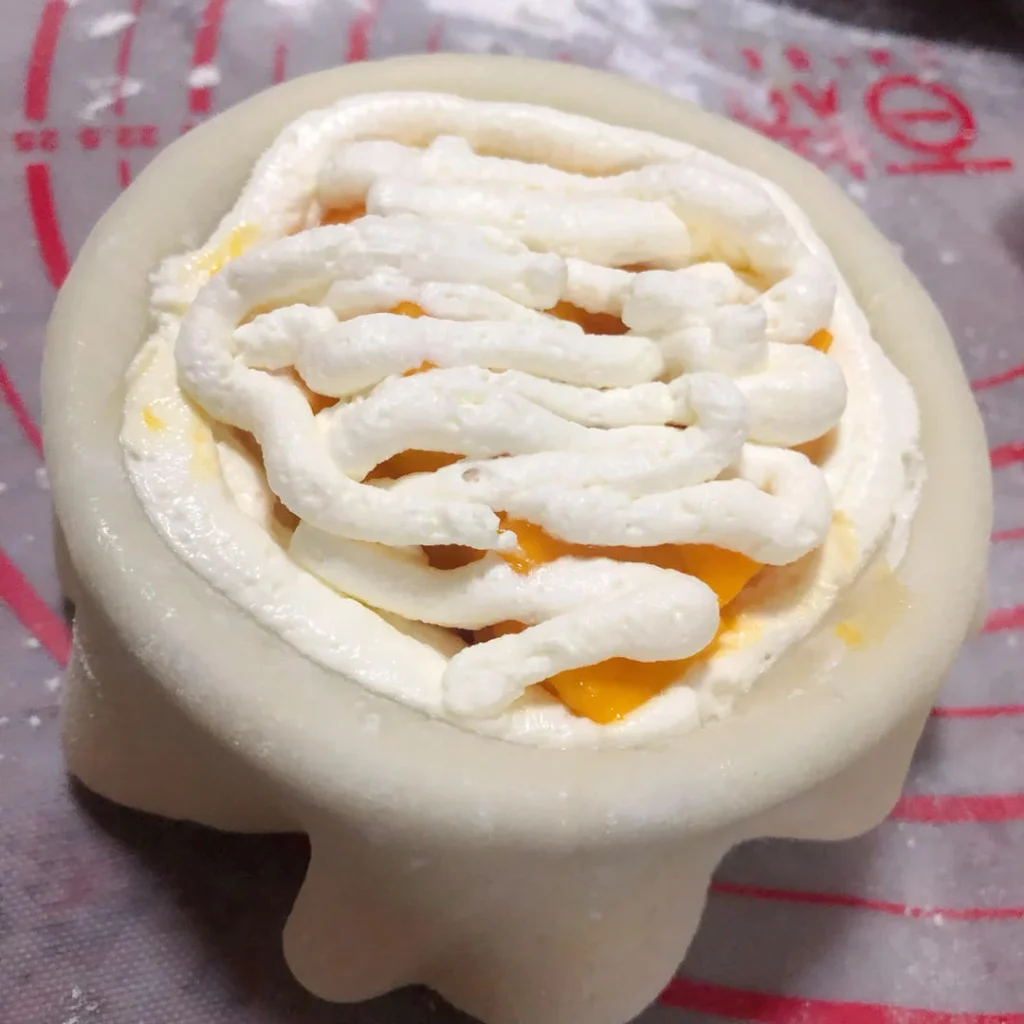
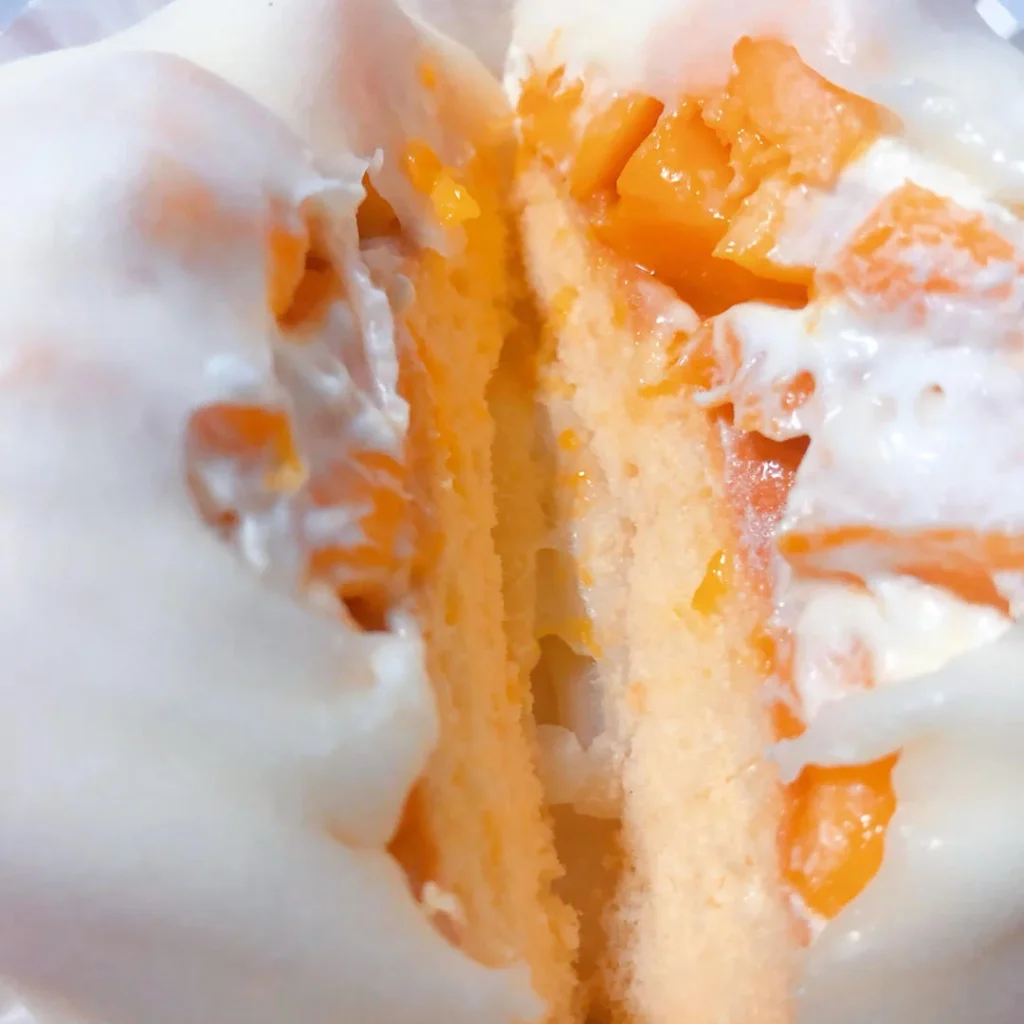
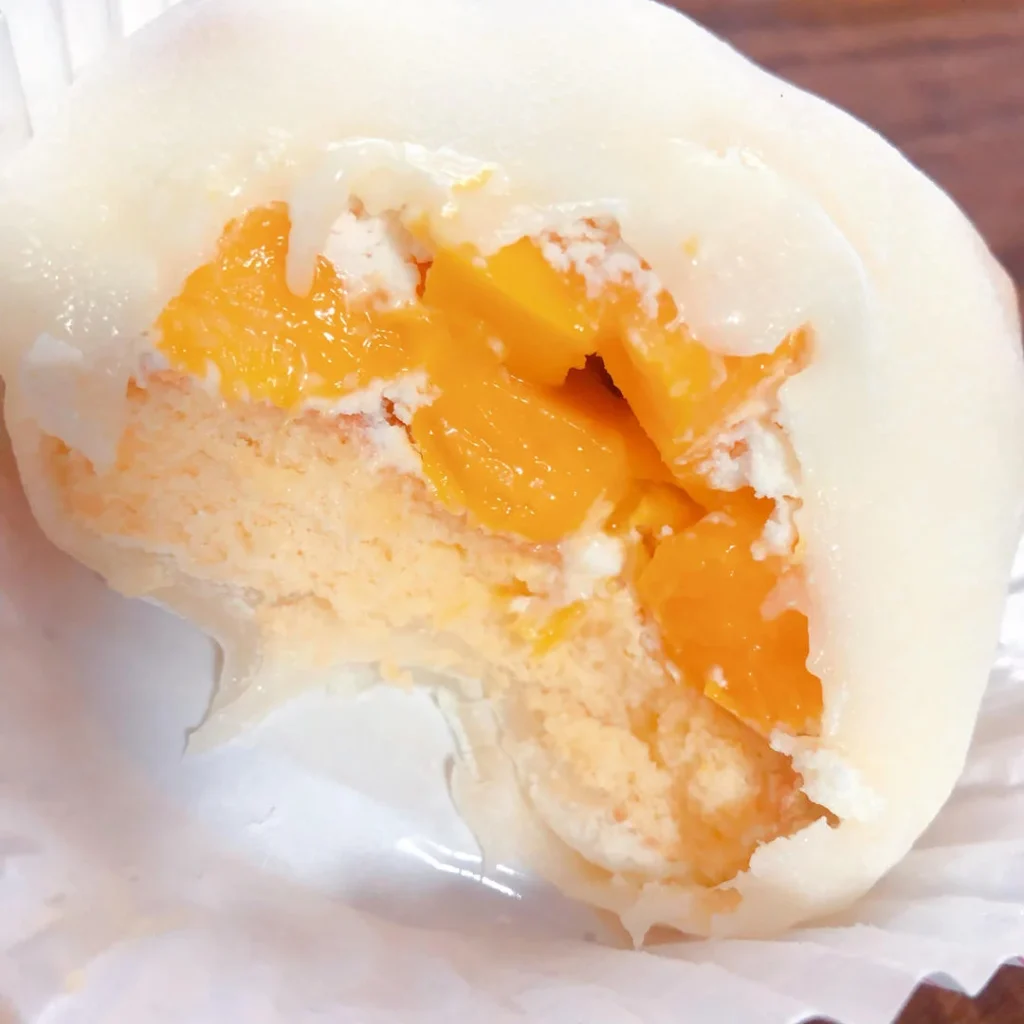
- Pipe a layer of whipped cream.
- Add an appropriate amount of mango pieces.
- Pipe another layer of whipped cream on top.
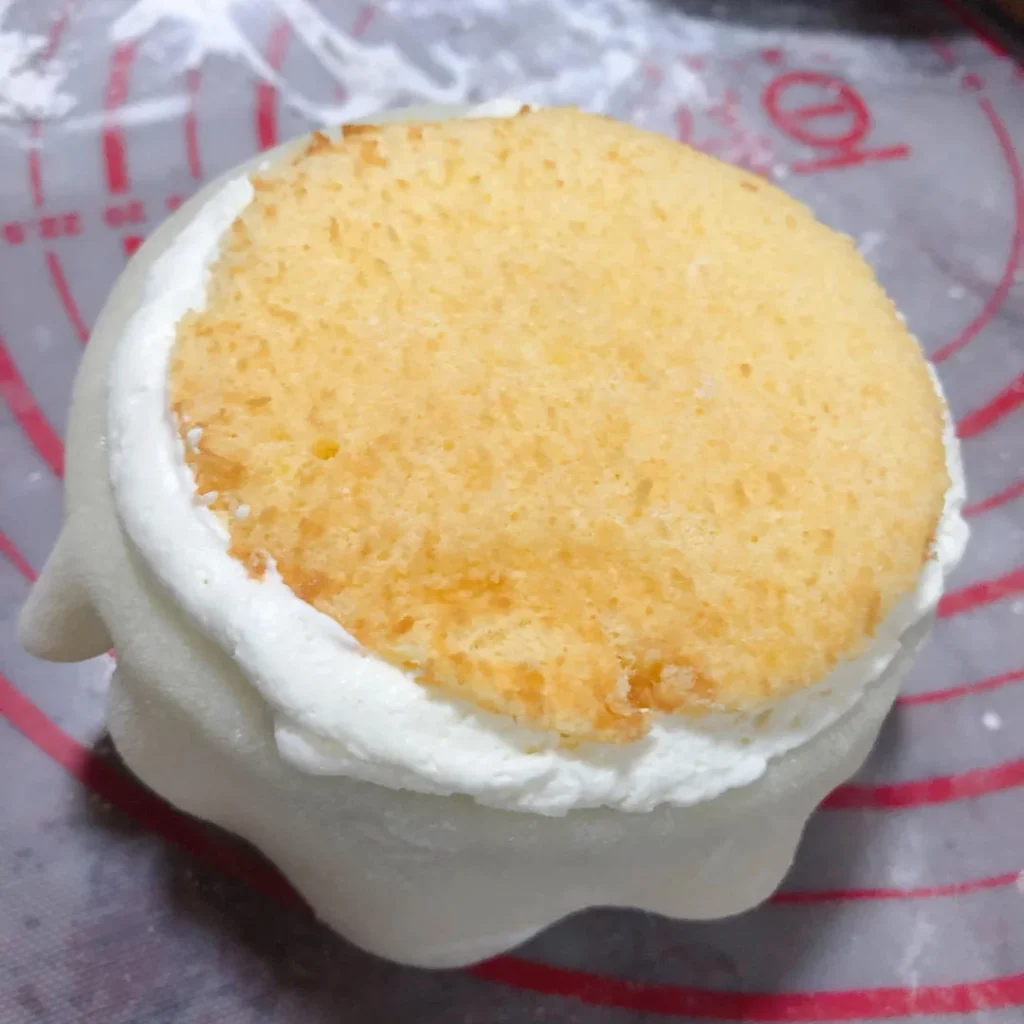
- Place a cake round on top.
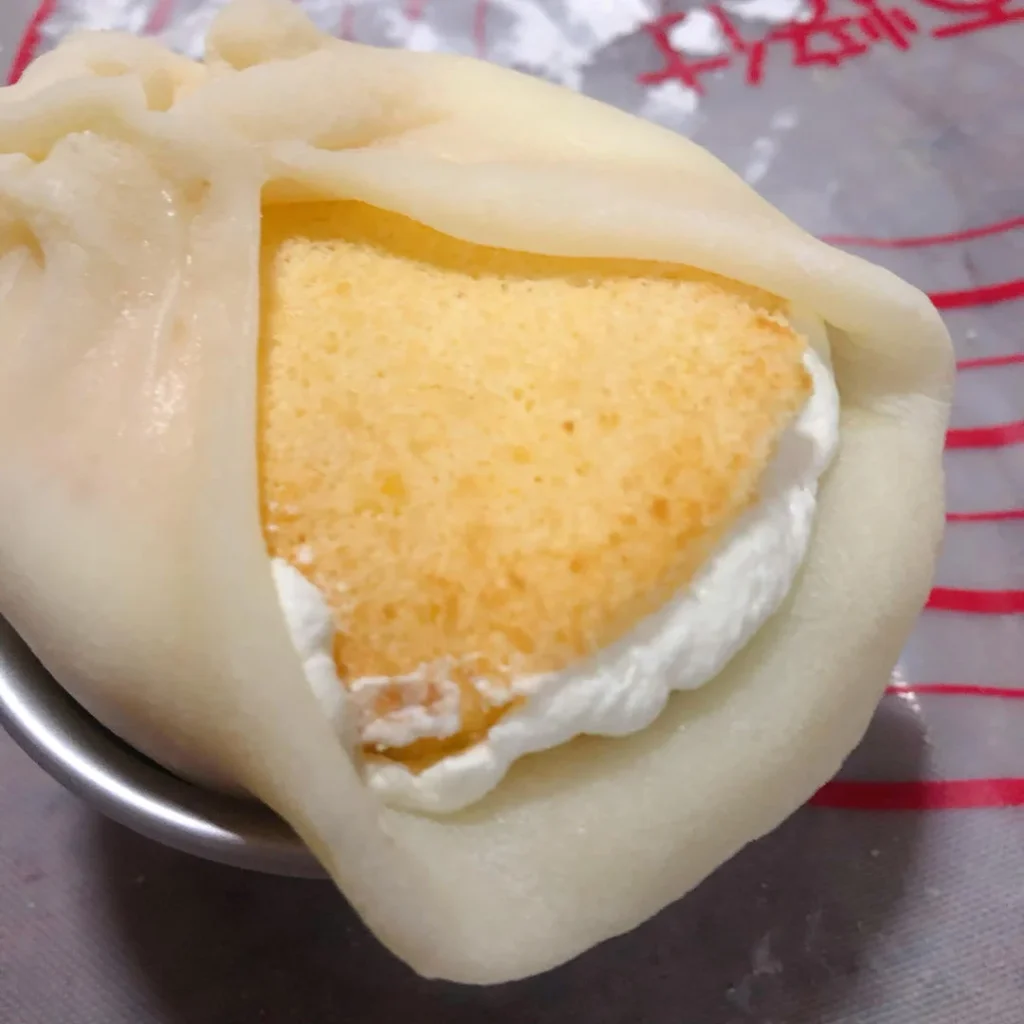
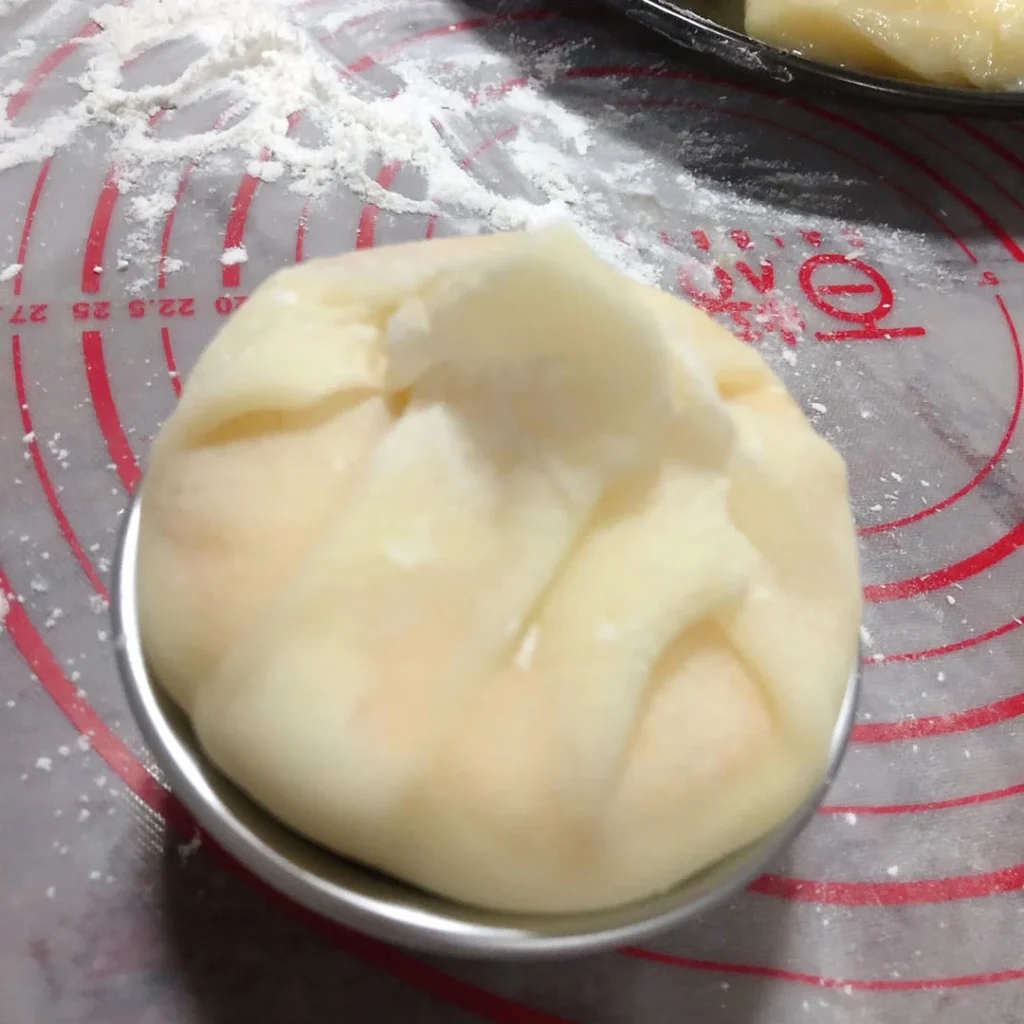
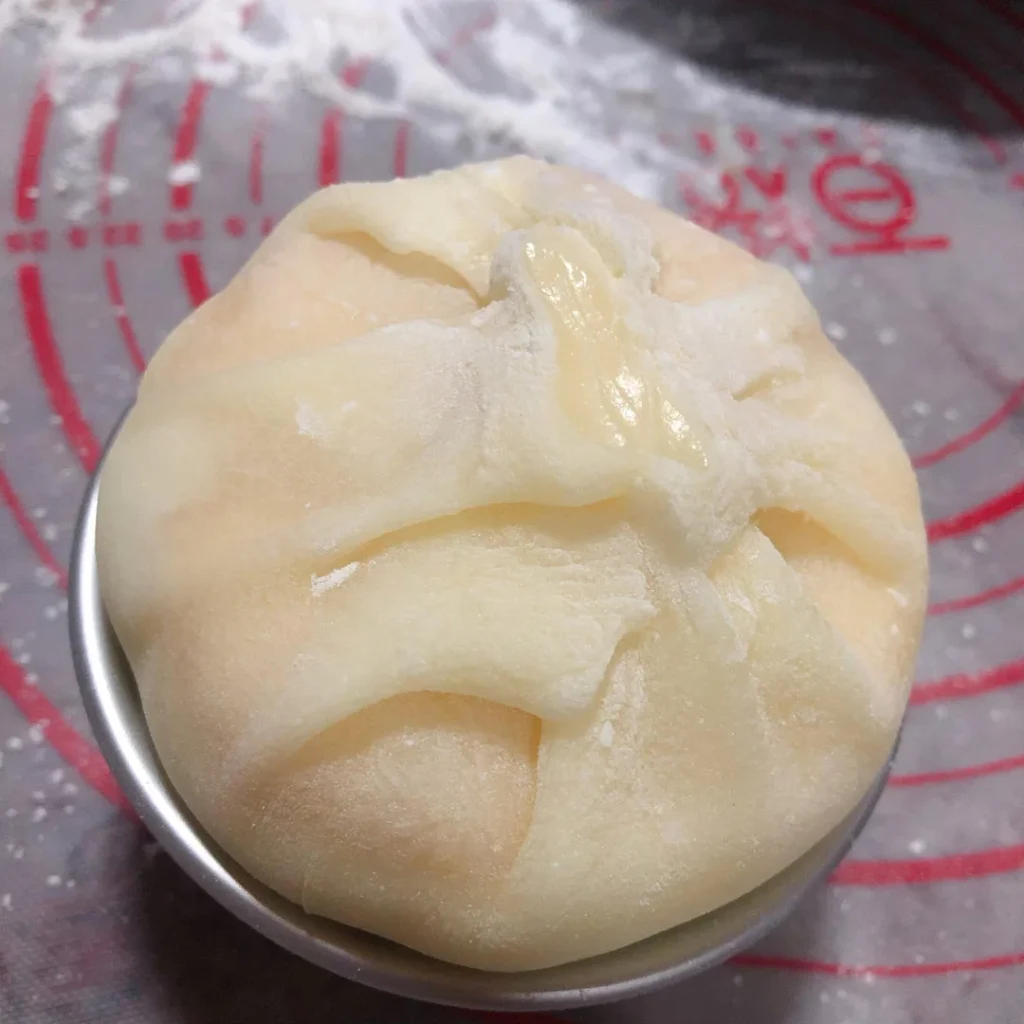
- Gather the mochi wrapper and wrap it around the filling.
- Pinch the opening tightly to seal.
- Use scissors to trim off excess dough (don't throw away the trimmings — gather them to make an extra one).
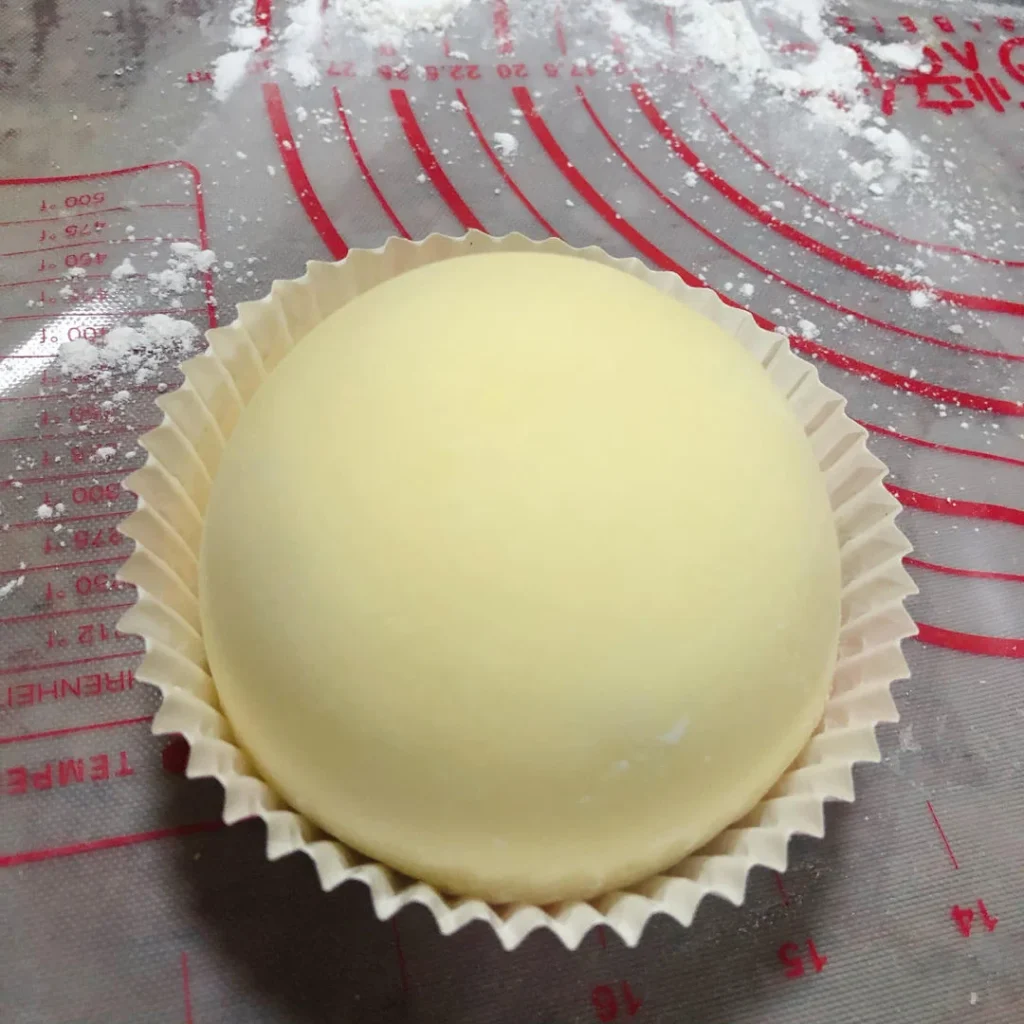
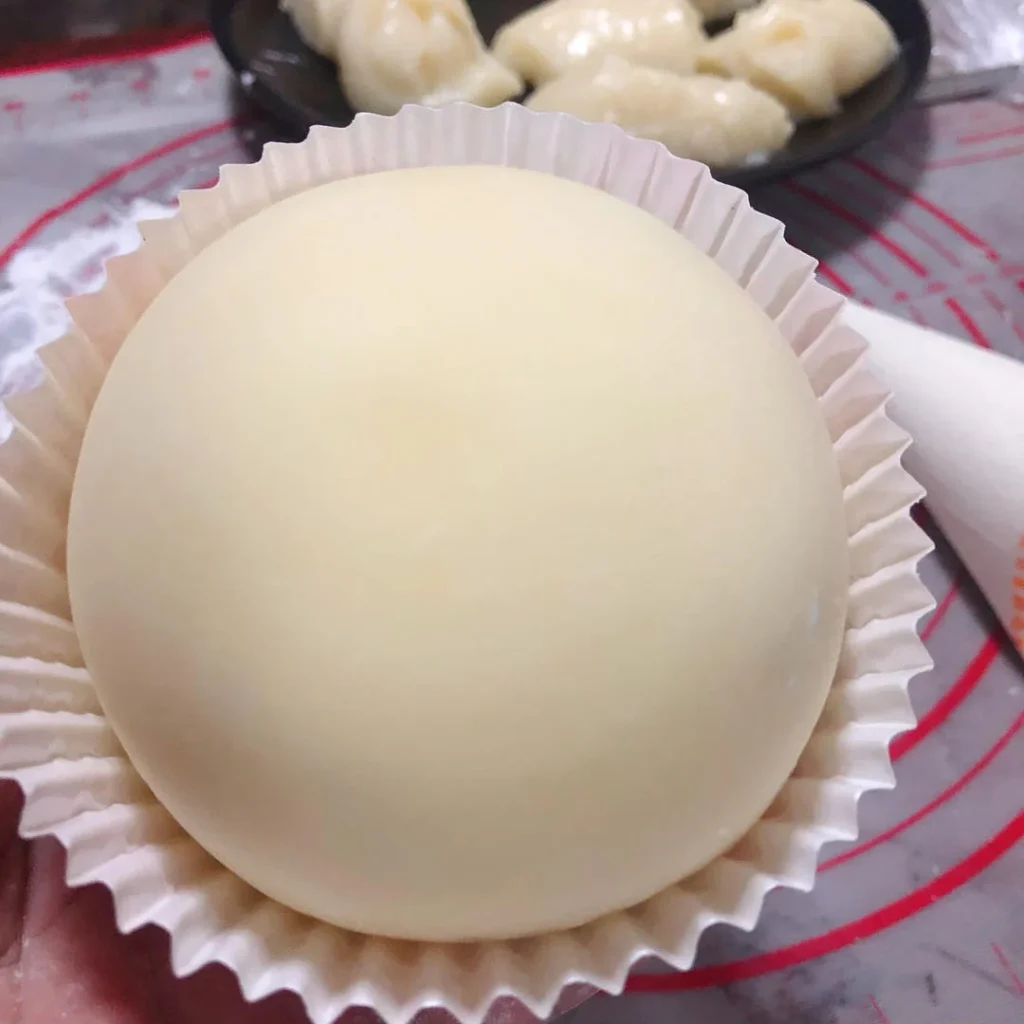
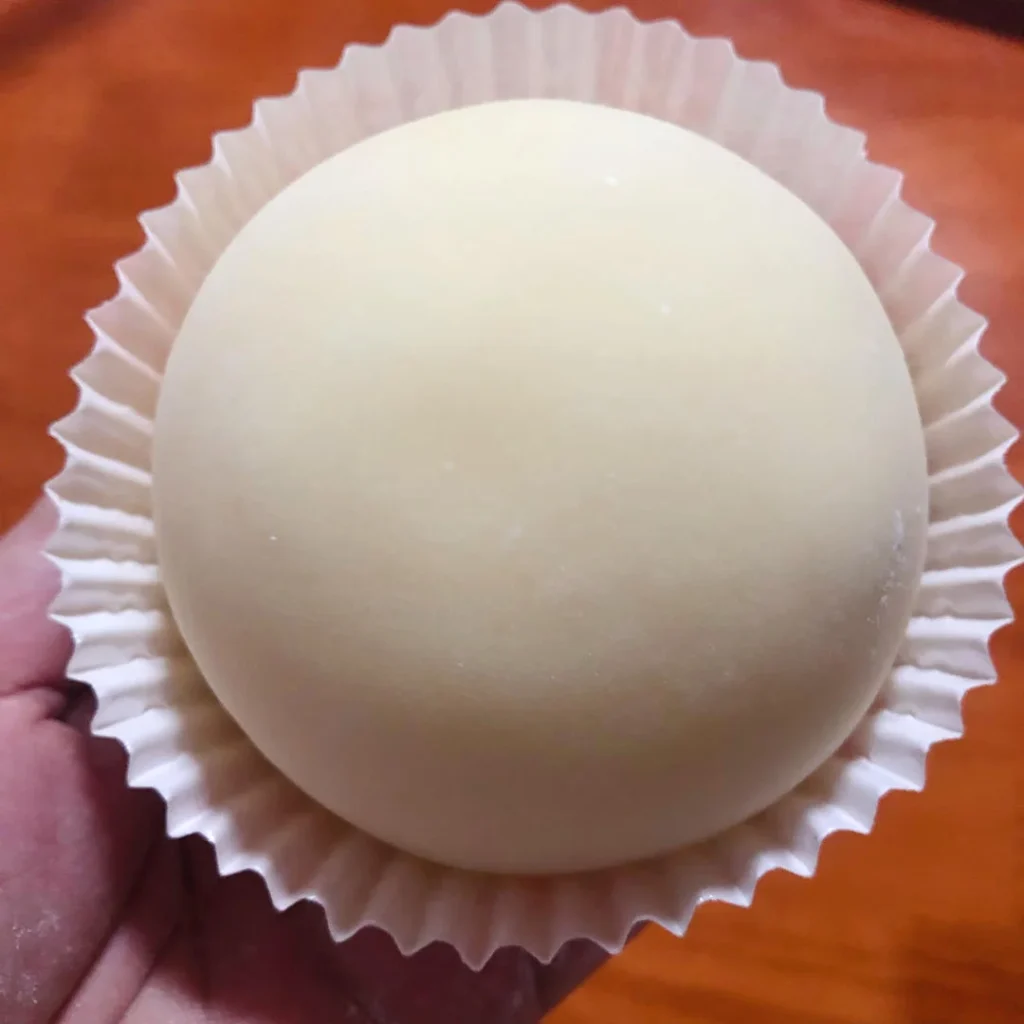
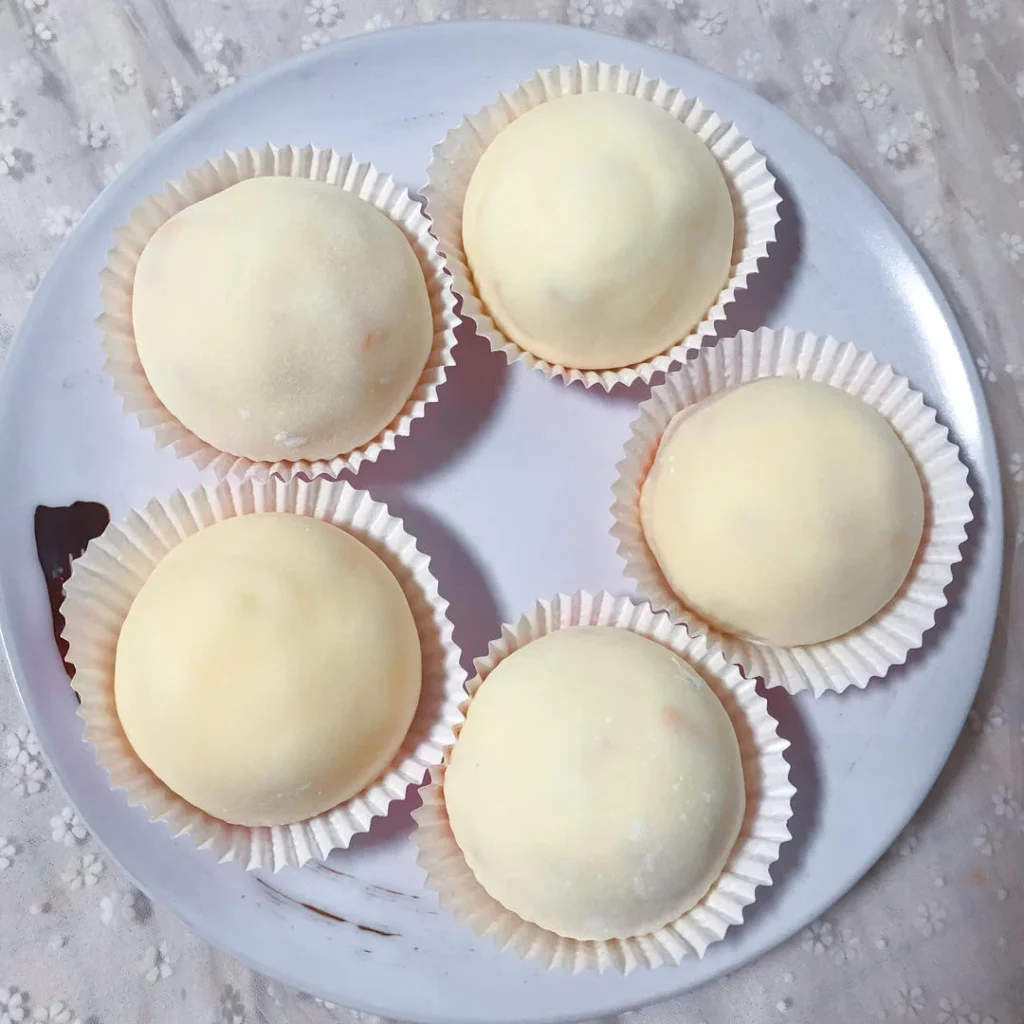
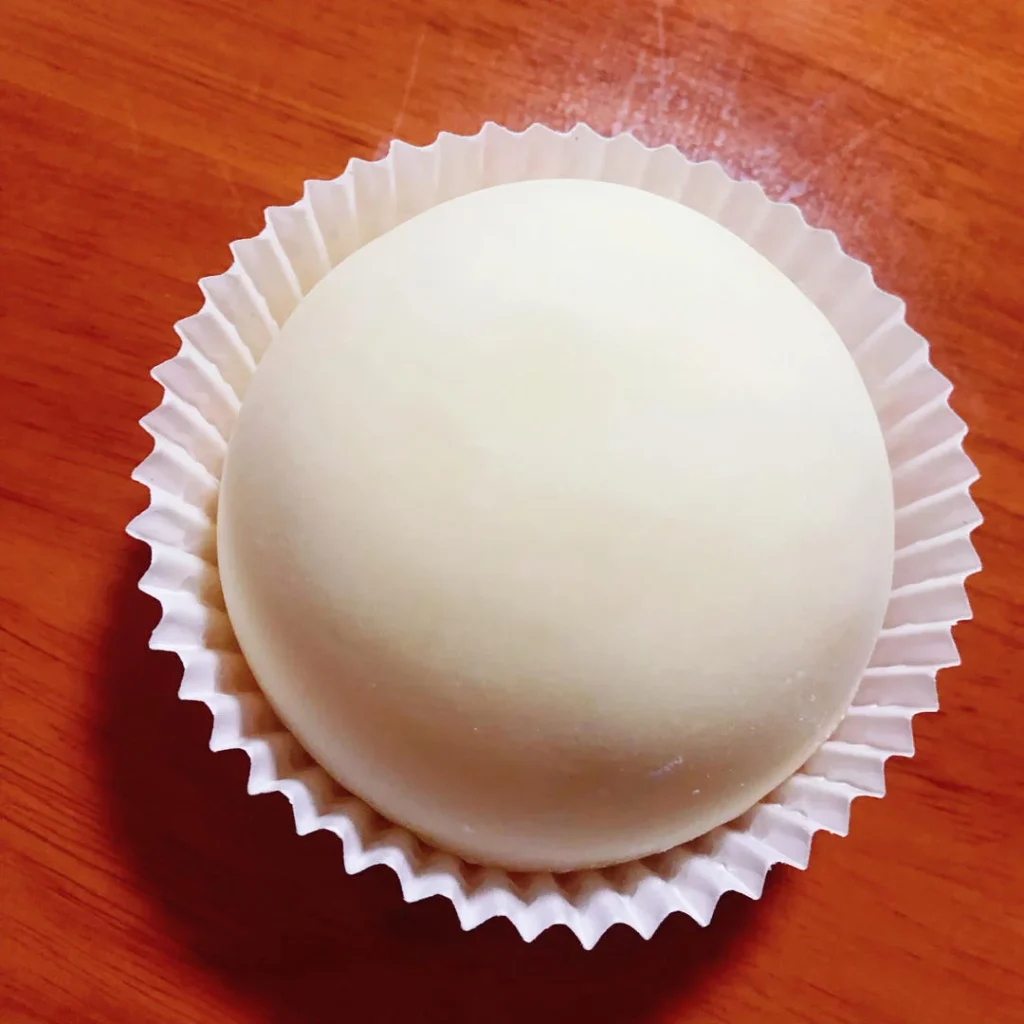
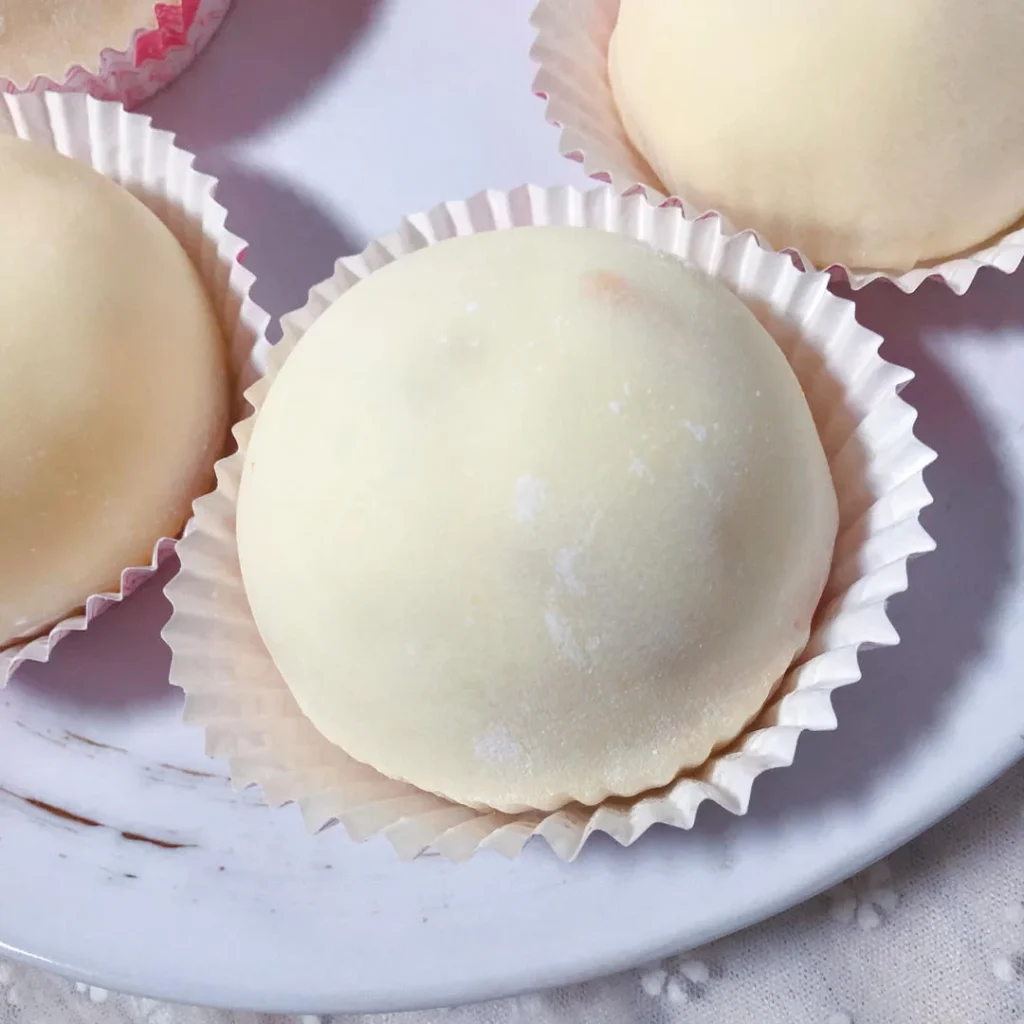
- Place each mochi on a cupcake liner.
- White, chubby, and adorable!
- Round and plump.