
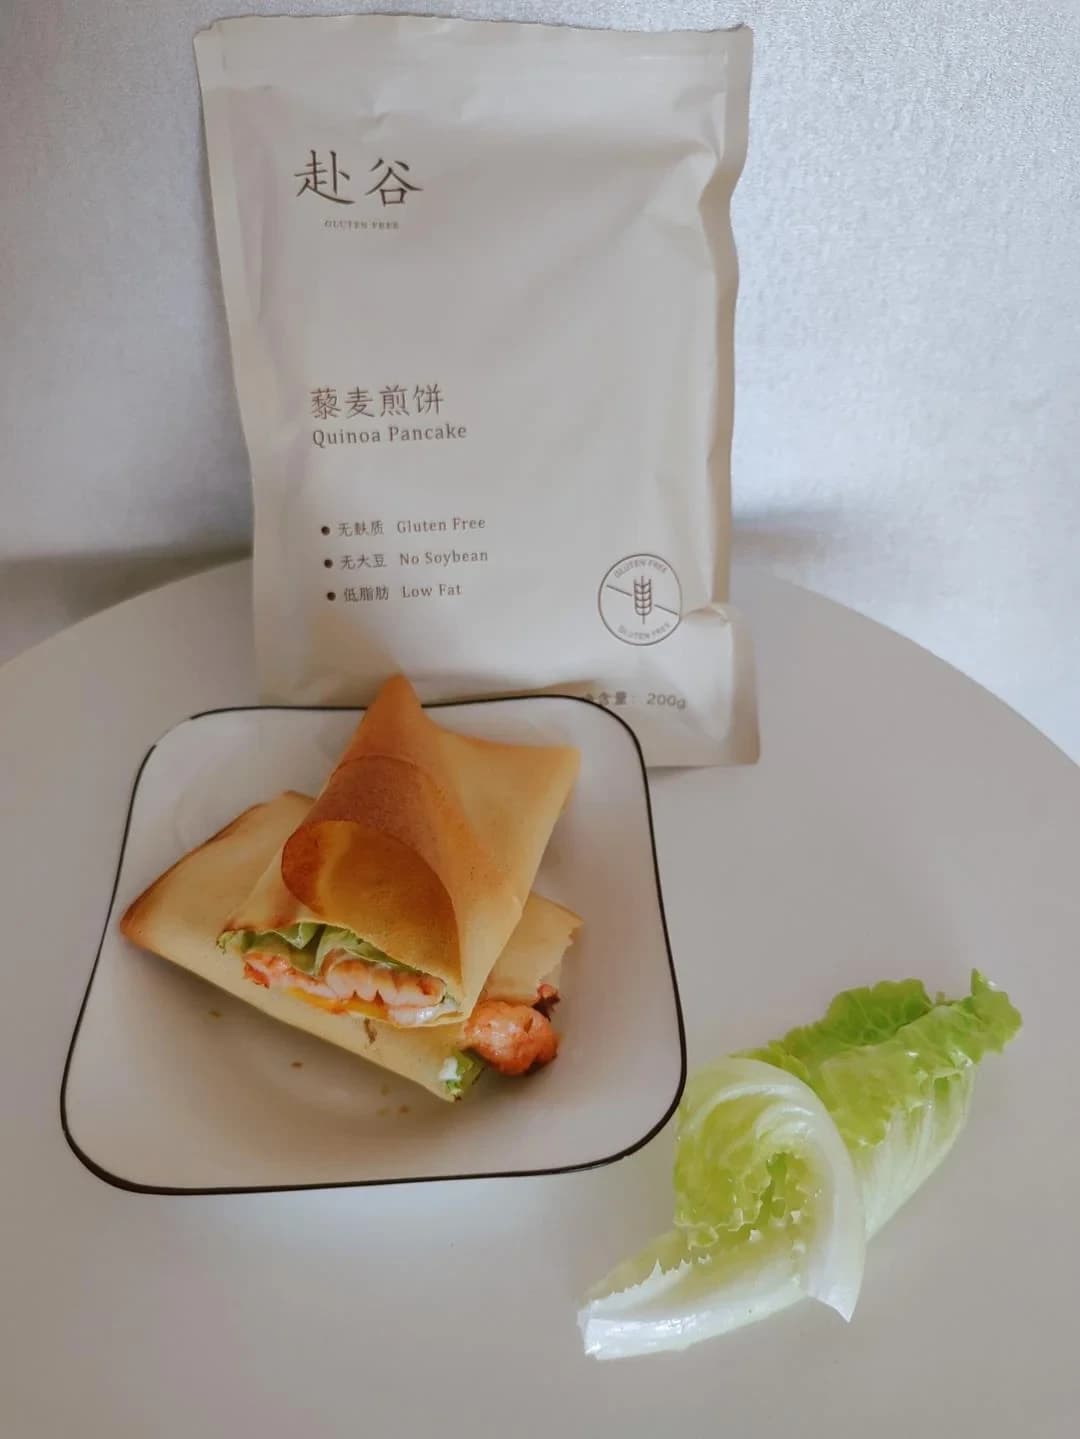
Quick Breakfast Crispy Chicken Wrap — Healthy & Low-Fat
快手早餐 · pan chinese cuisine
Quick Breakfast Crispy Chicken Wrap — Healthy & Low-Fat is a easy recipe from the self-published legacy Chopzen collection, catalogued as breakfast.
 Chef ChopzenChopzen project content lead. Curating and testing every published recipe for US home cooks.
Key failure points
- If The chicken center is still cool while the wrap edges are already crisp and browned.: Let the chicken sit at room temperature for 10-15 minutes, or give it a quick warm-up, before assembling.
- If The wrap turns soggy and weeps moisture during air frying.: Pat the lettuce dry with paper towels or spin it in a salad spinner before layering.
- If The ultra-thin wrap tears or cracks while being separated.: Let the wraps come to room temperature first, then peel slowly from one edge using both hands.
Nutrition & allergens
No supported allergens detected from surveyed ingredients.
Some ingredients are not yet allergen-surveyed; this label is not exhaustive.
Per serving (1 servings)
- Energy (kcal)
- Unknown
- Protein (g)
- Unknown
- Fat (g)
- Unknown
- Carbs (g)
- Unknown
- Sodium (mg)
- Unknown
Estimated from verified ingredient data for the original formula — not lab values, and one dish is not a full meal.
4.0 piece
lettuce生菜
8.0 piece
to taste
ketchup蕃茄酱
to taste
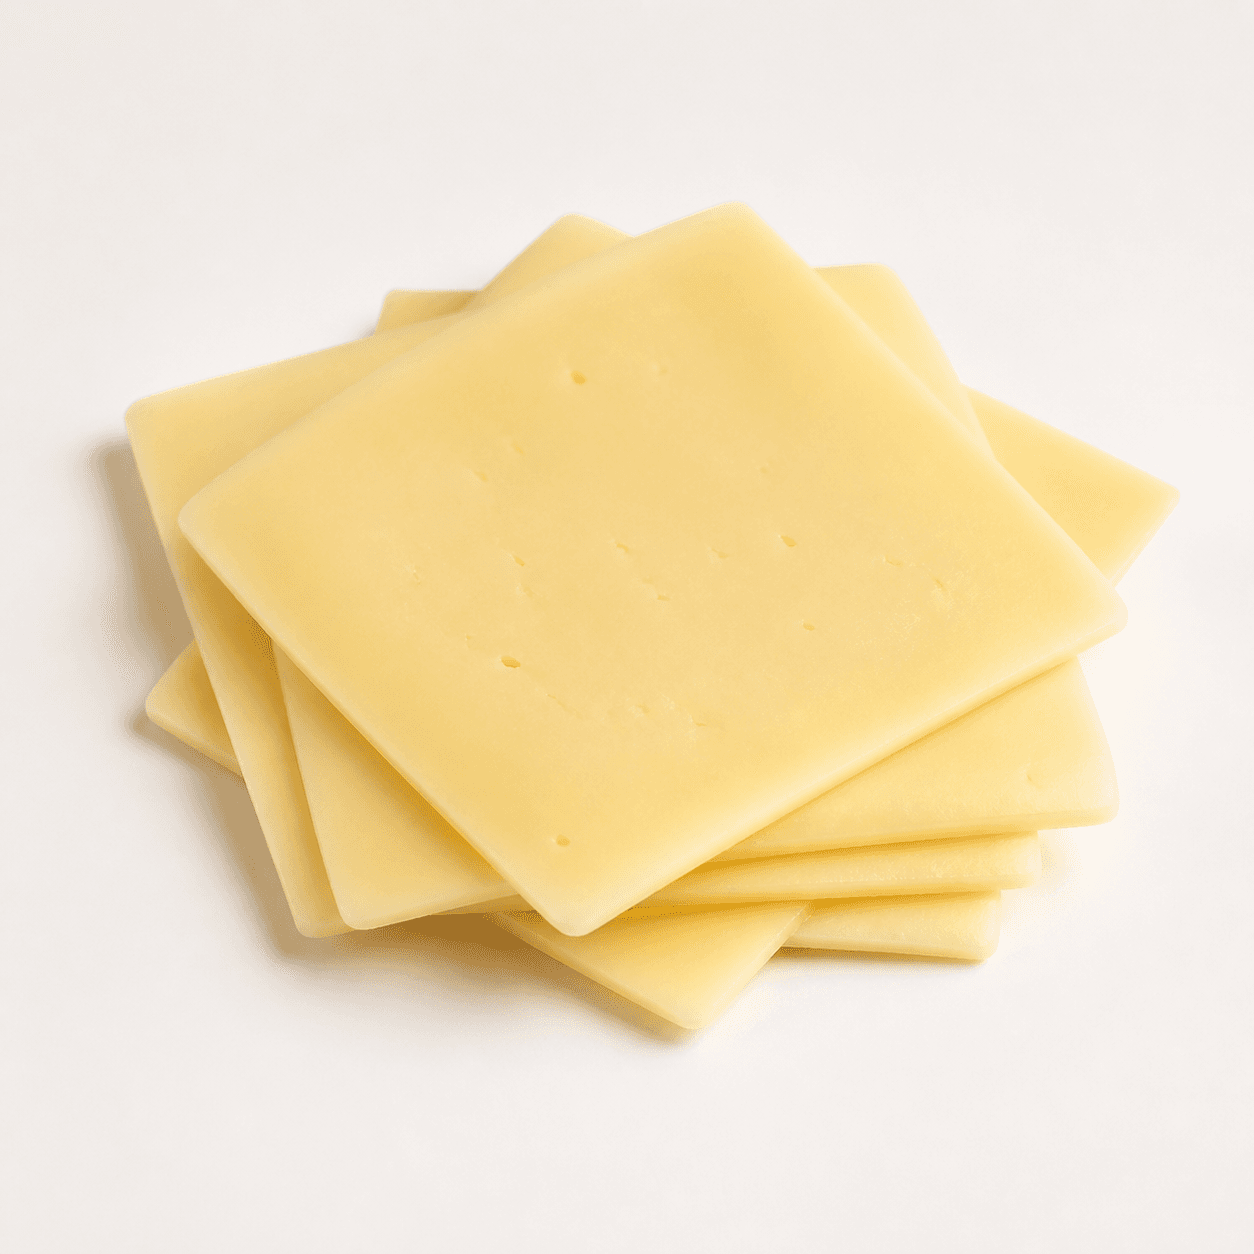
4.0 slice
quinoa wrap赴谷藜麦煎饼
4.0 piece
Steps
- 1
Step 1
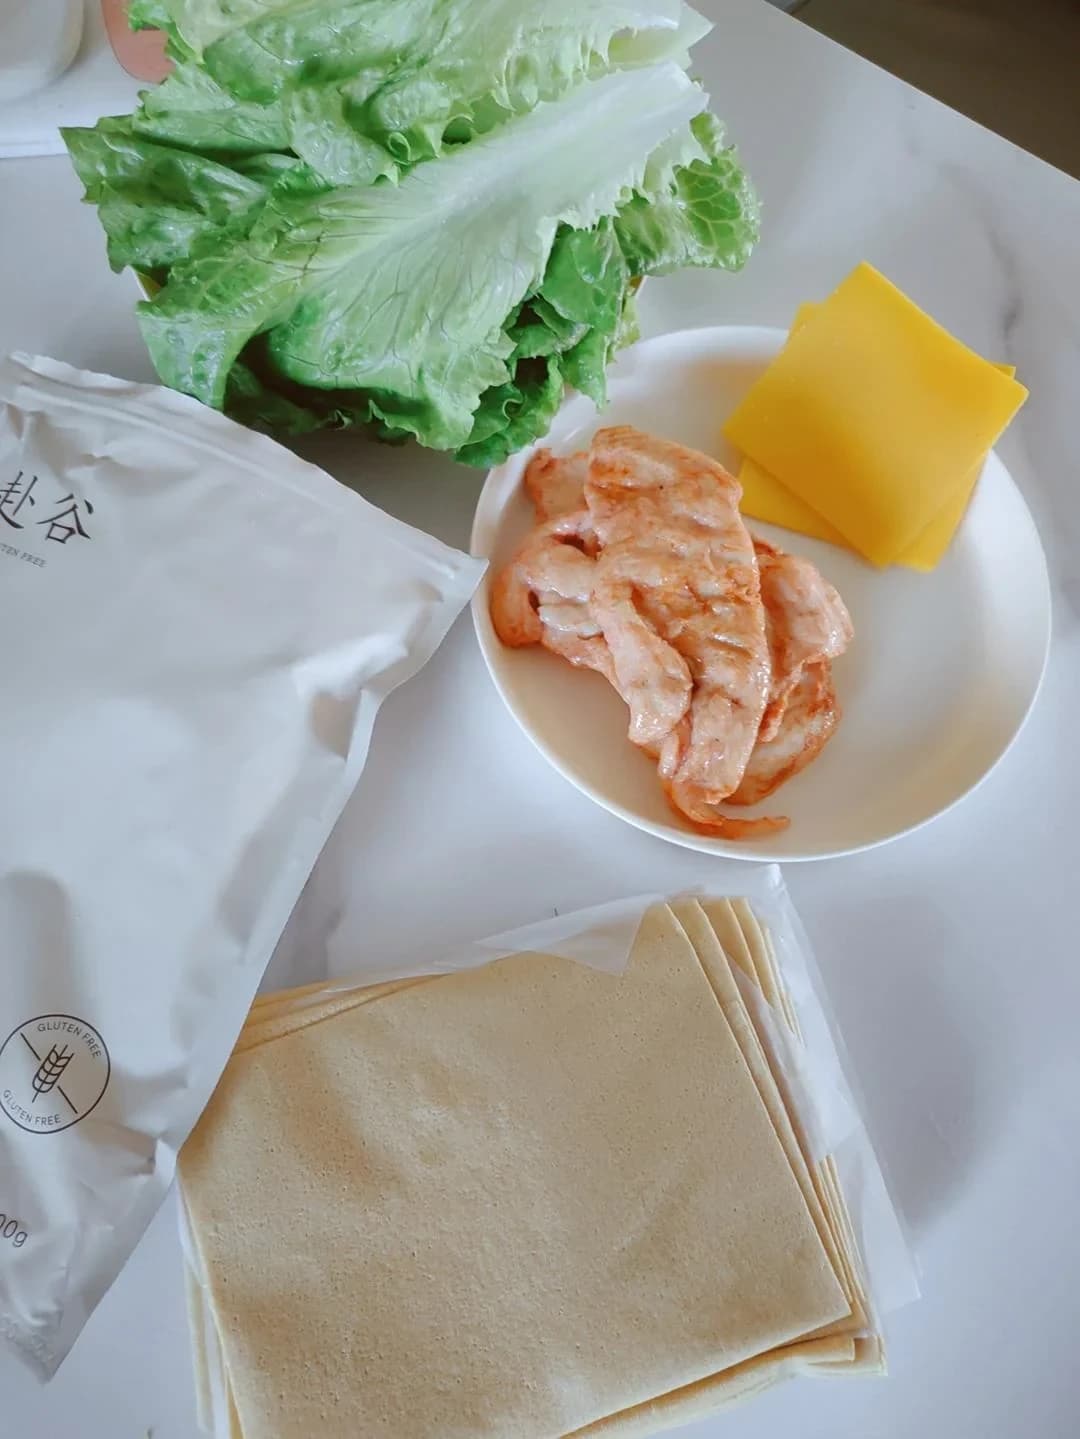
Prepare all ingredients.
✅ Done when: Prepare all ingredients. Finished: Heat the pan or oil to about 180 C before adding the mixture; the surface should sizzle gently on contact.
Watch out: Don't rush this step — using cold chicken straight from the fridge or wet lettuce will make the wrap soggy and unevenly heated later.
If The chicken center is still cool while the wrap edges are already crisp and browned.:
Let the chicken sit at room temperature for 10-15 minutes, or give it a quick warm-up, before assembling.
If The wrap turns soggy and weeps moisture during air frying.:
Pat the lettuce dry with paper towels or spin it in a salad spinner before layering.
- 2
Step 2
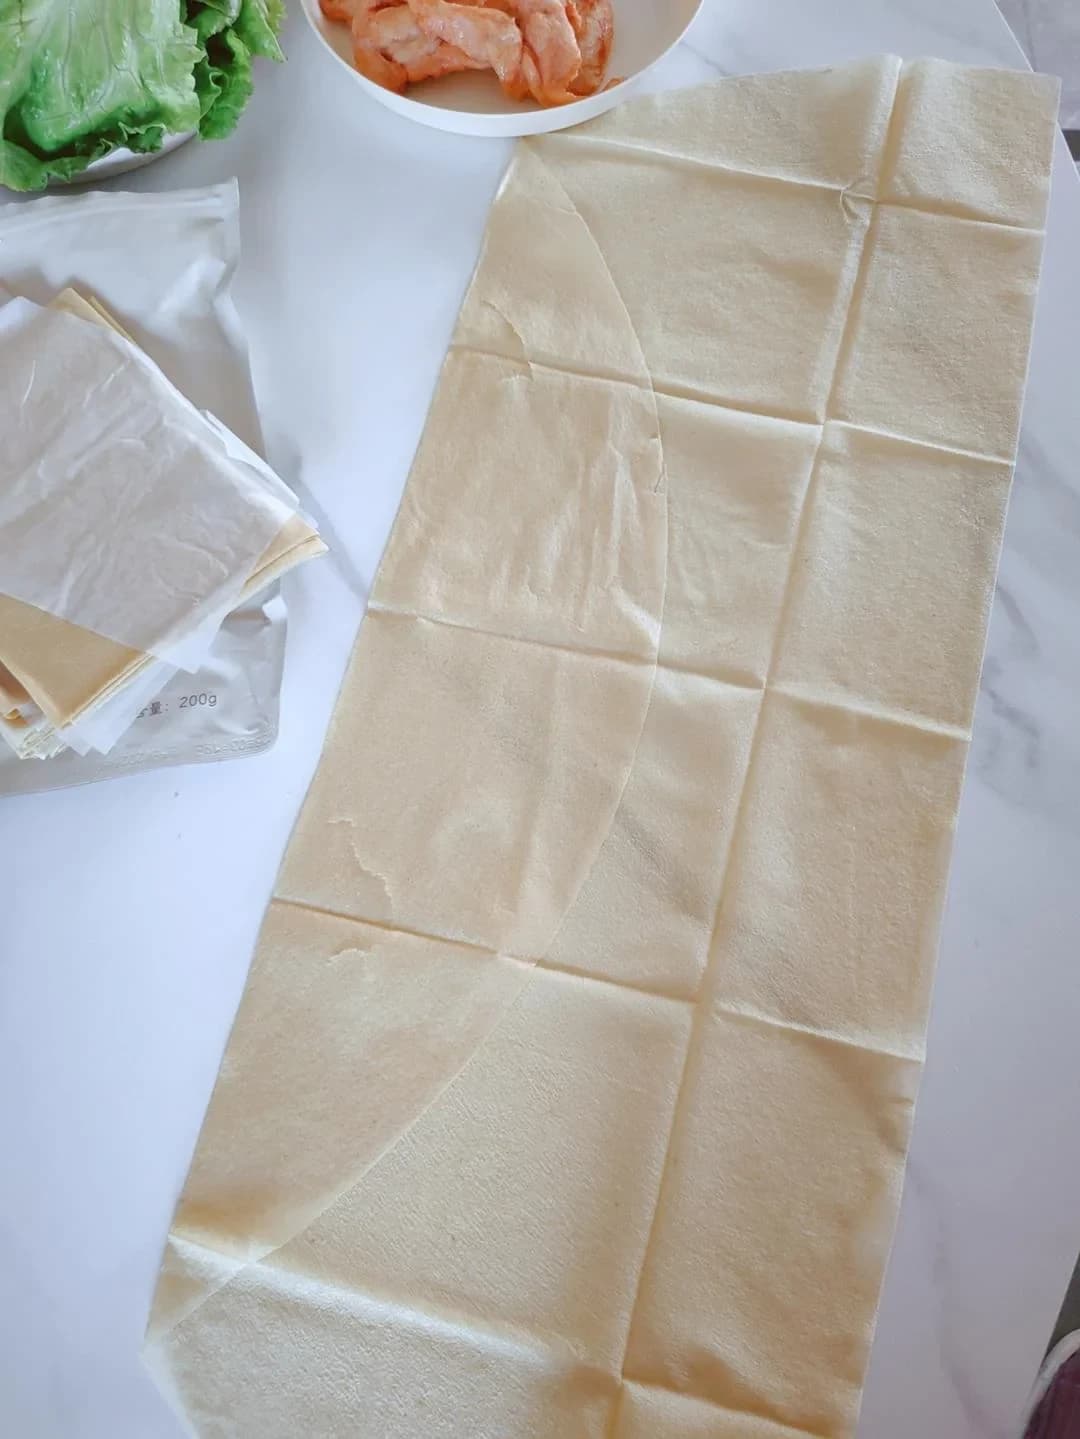
Peel open the wrap — this is the thinnest and finest wrap I've ever bought.
✅ Done when: Peel open the wrap — this is the thinnest and finest wrap I've ever bought. Finished: Heat the pan or oil to about 180 C before adding the mixture; the surface should sizzle gently on contact.
Watch out: These ultra-thin wraps tear easily — peel slowly from one edge with both hands instead of yanking, and don't peel them straight from the fridge when they're stiff and crack-prone.
If The ultra-thin wrap tears or cracks while being separated.:
Let the wraps come to room temperature first, then peel slowly from one edge using both hands.
If The layers stick together and will not separate cleanly.:
Work the layers apart gently from a corner; if they resist, warm the stack for a few seconds to loosen them.
- 3
Step 3
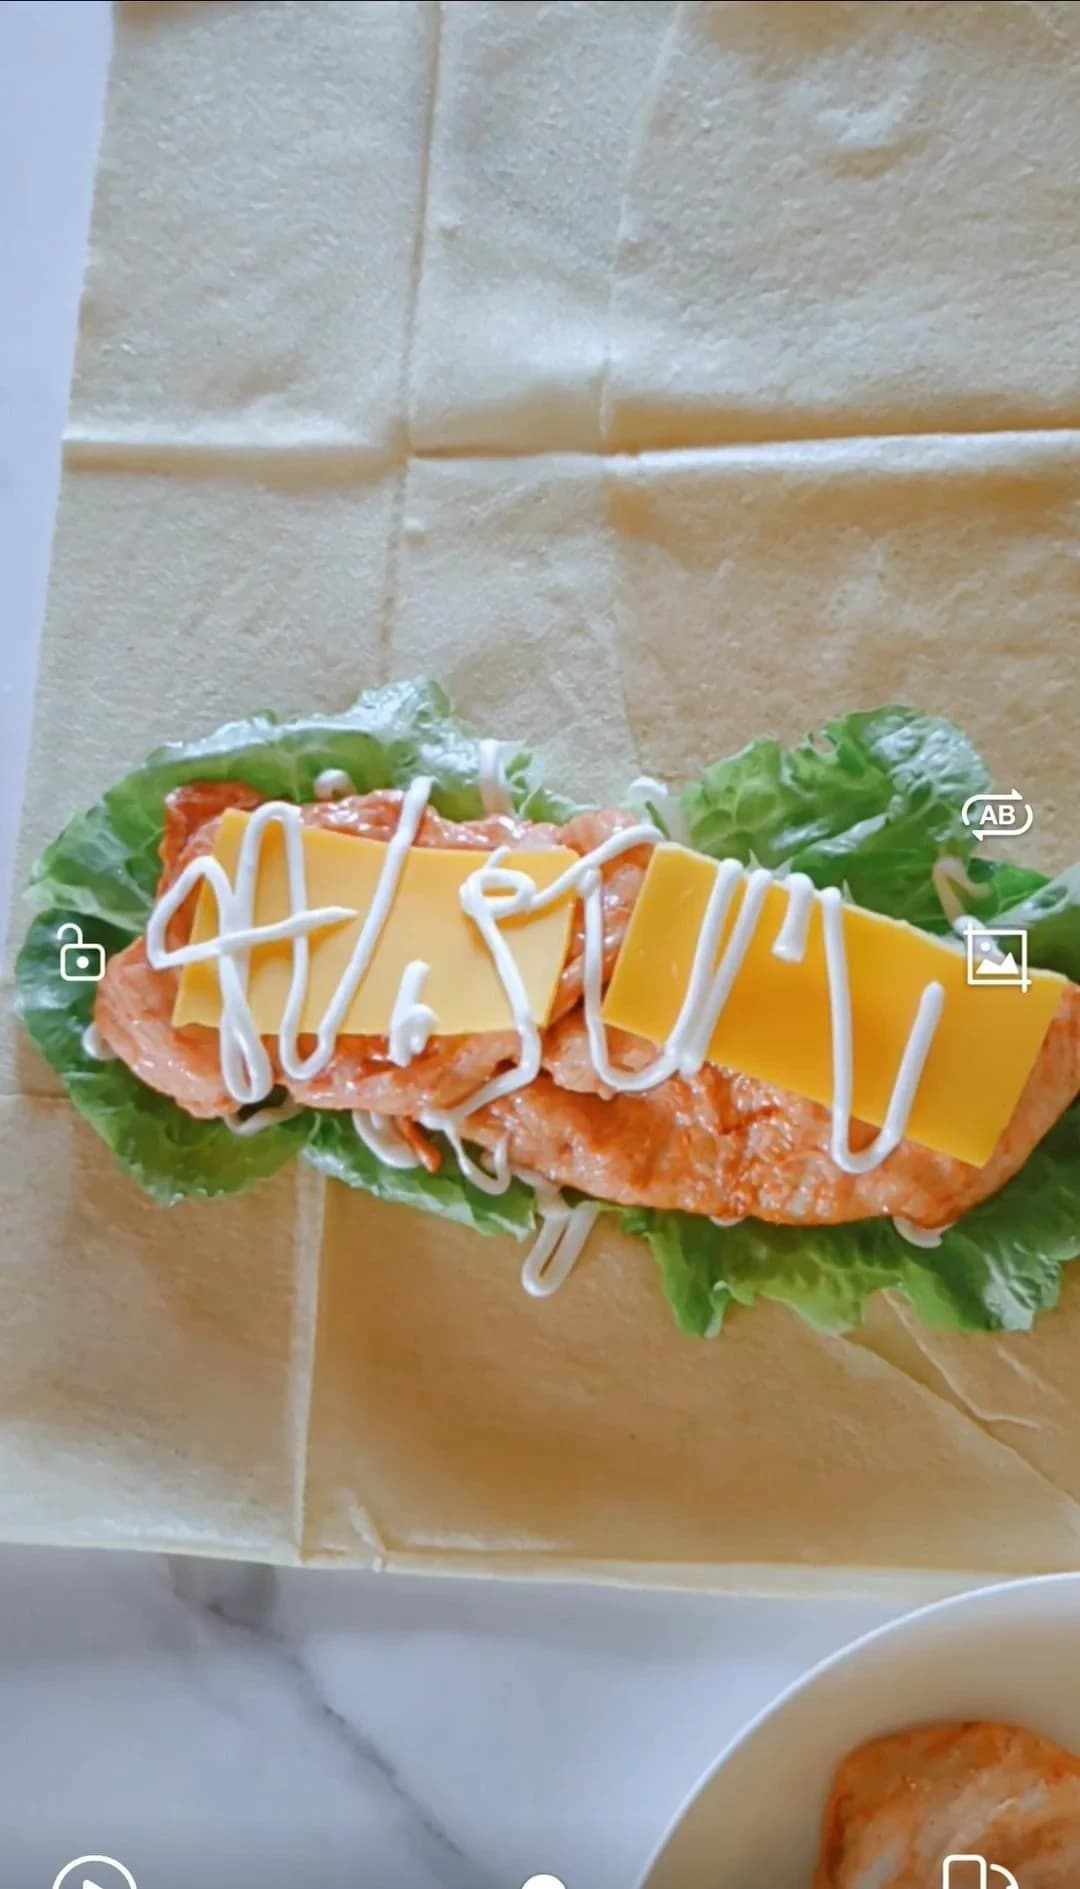
Layer lettuce, chicken breast, and cheese slice on the wrap. Squeeze salad dressing and ketchup on top.
✅ Done when: Layer lettuce, chicken breast, and cheese slice on the wrap. Squeeze salad dressing and ketchup on top. Finished: Heat the pan or oil to about 180 C before adding the mixture; the surface should sizzle gently on contact.
Watch out: Overfilling is the classic mistake — too much filling or sauce makes the wrap impossible to roll and causes leaks in the air fryer. Keep the filling in a line down the center and go easy on the dressings.
If The wrap cannot be rolled closed and filling spills out in the air fryer.:
Keep the filling in a narrow line down the center and go easy on the sauces.
If The bottom of the wrap turns soggy and sauce oozes out while cooking.:
Dry the lettuce well, spread the sauces in a thin layer, or serve them on the side for dipping.
- 4
Step 45 min
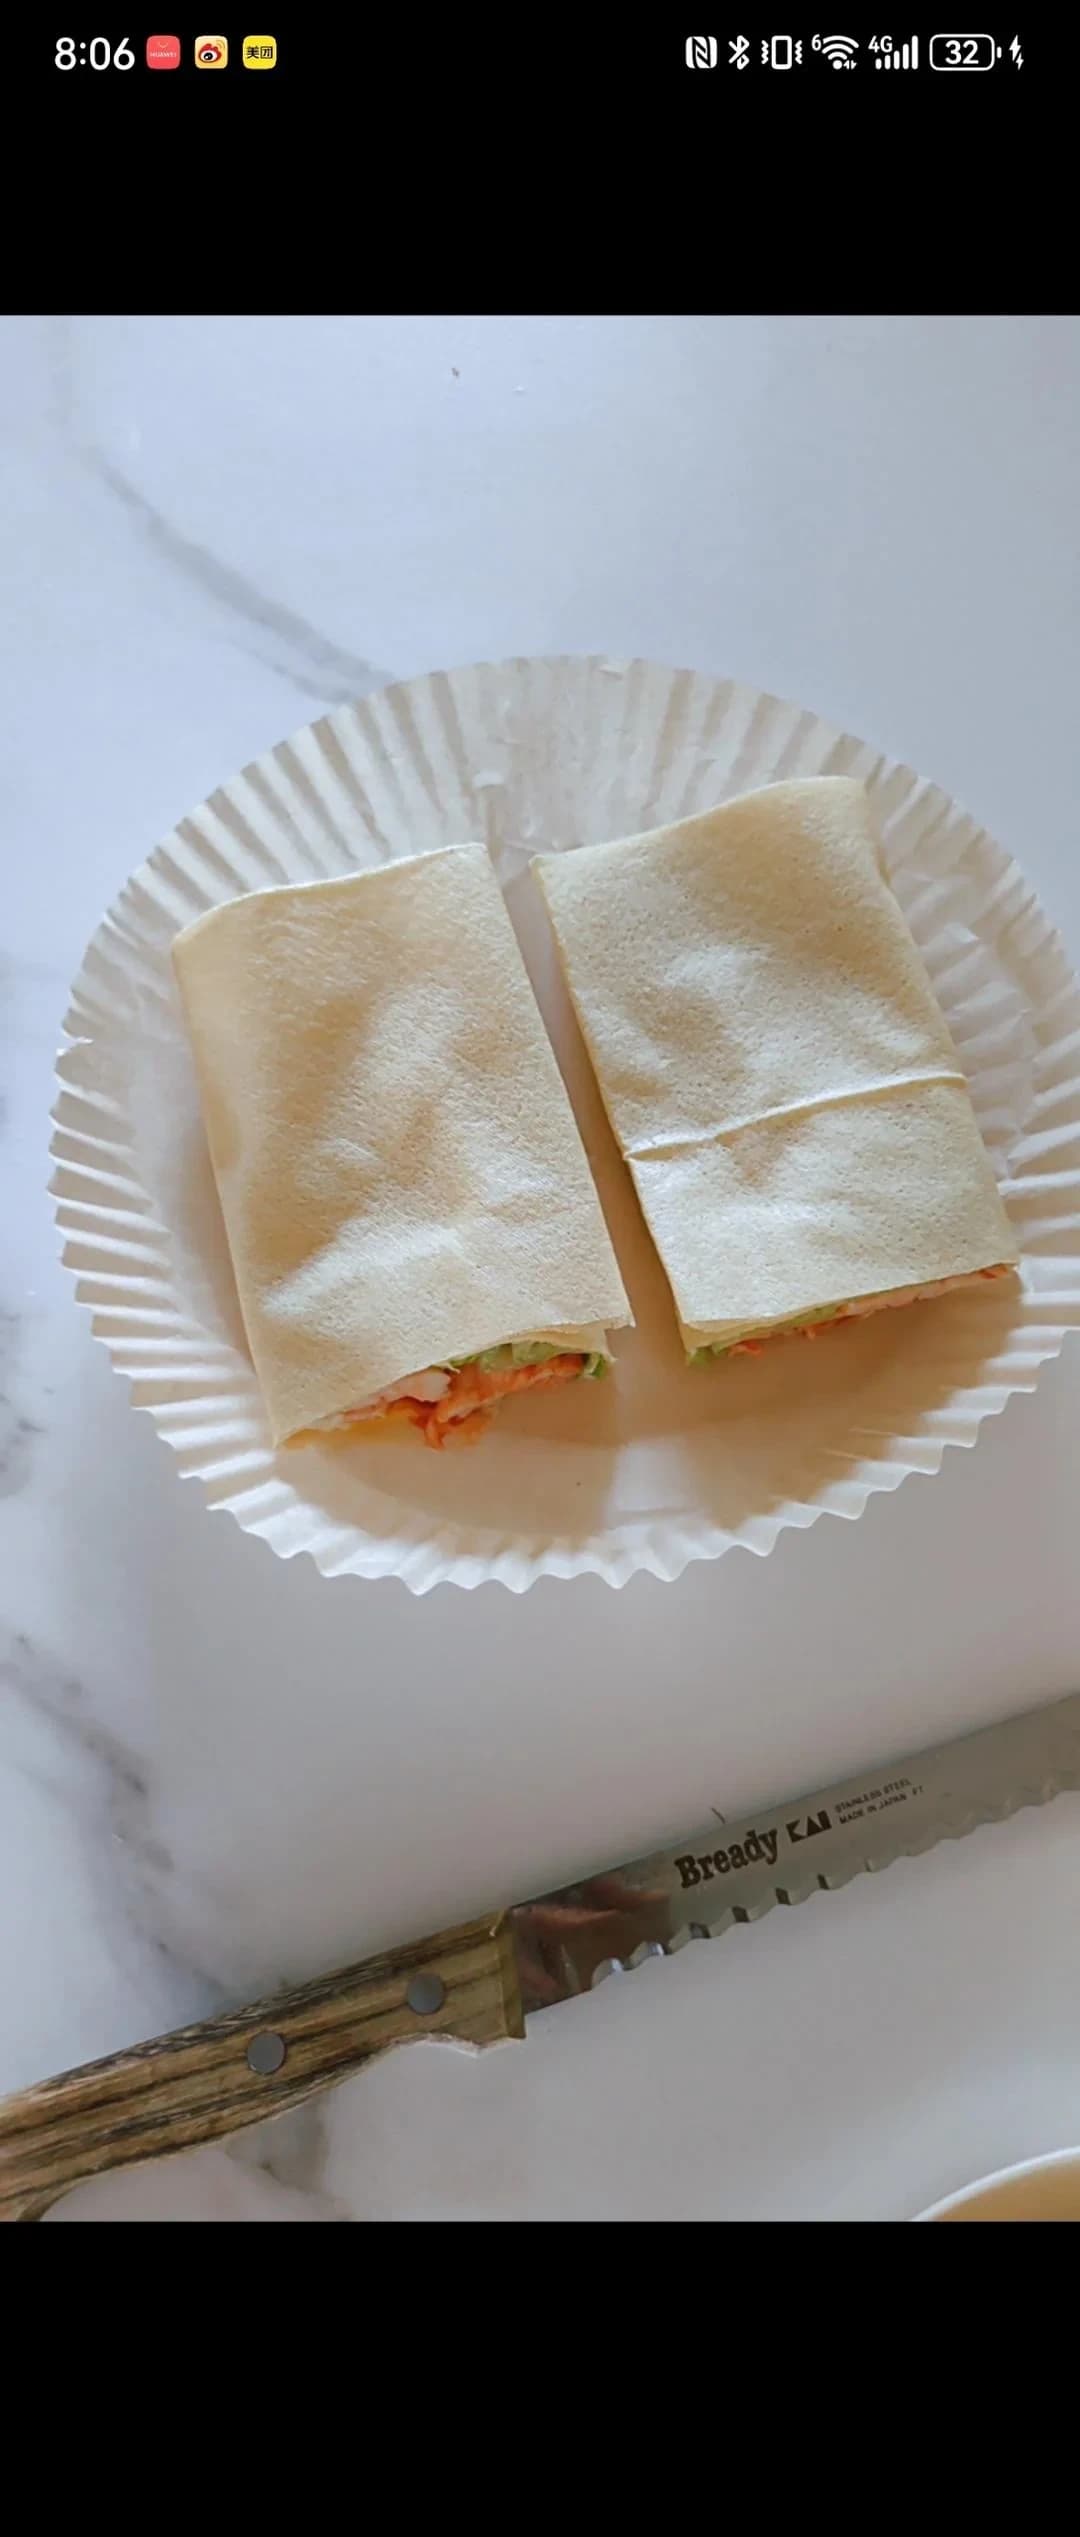
Roll up the wrap, cut in half, and place in the air fryer at 160°C for 5 minutes. Flip halfway through.
✅ Done when: Roll up the wrap, cut in half, and place in the air fryer at 160°C for 5 minutes. Flip halfway through. Finished: Heat the pan or oil to about 180 C before adding the mixture; the surface should sizzle gently on contact.
Watch out: Roll snugly but not crushing-tight or the filling squeezes out, and always place the seam side down. Don't skip the flip — the bottom won't crisp — and don't raise the temperature, since the thin wrap burns fast.
If The roll unrolls or filling squeezes out of the ends during cooking.:
Roll snugly but not crushing-tight, and always place the seam side down in the basket.
If The wrap chars at the edges, or the underside stays pale and soft.:
Keep the air fryer at 320°F (160°C) and flip the halves halfway through so both sides crisp evenly.
- 5
Step 5
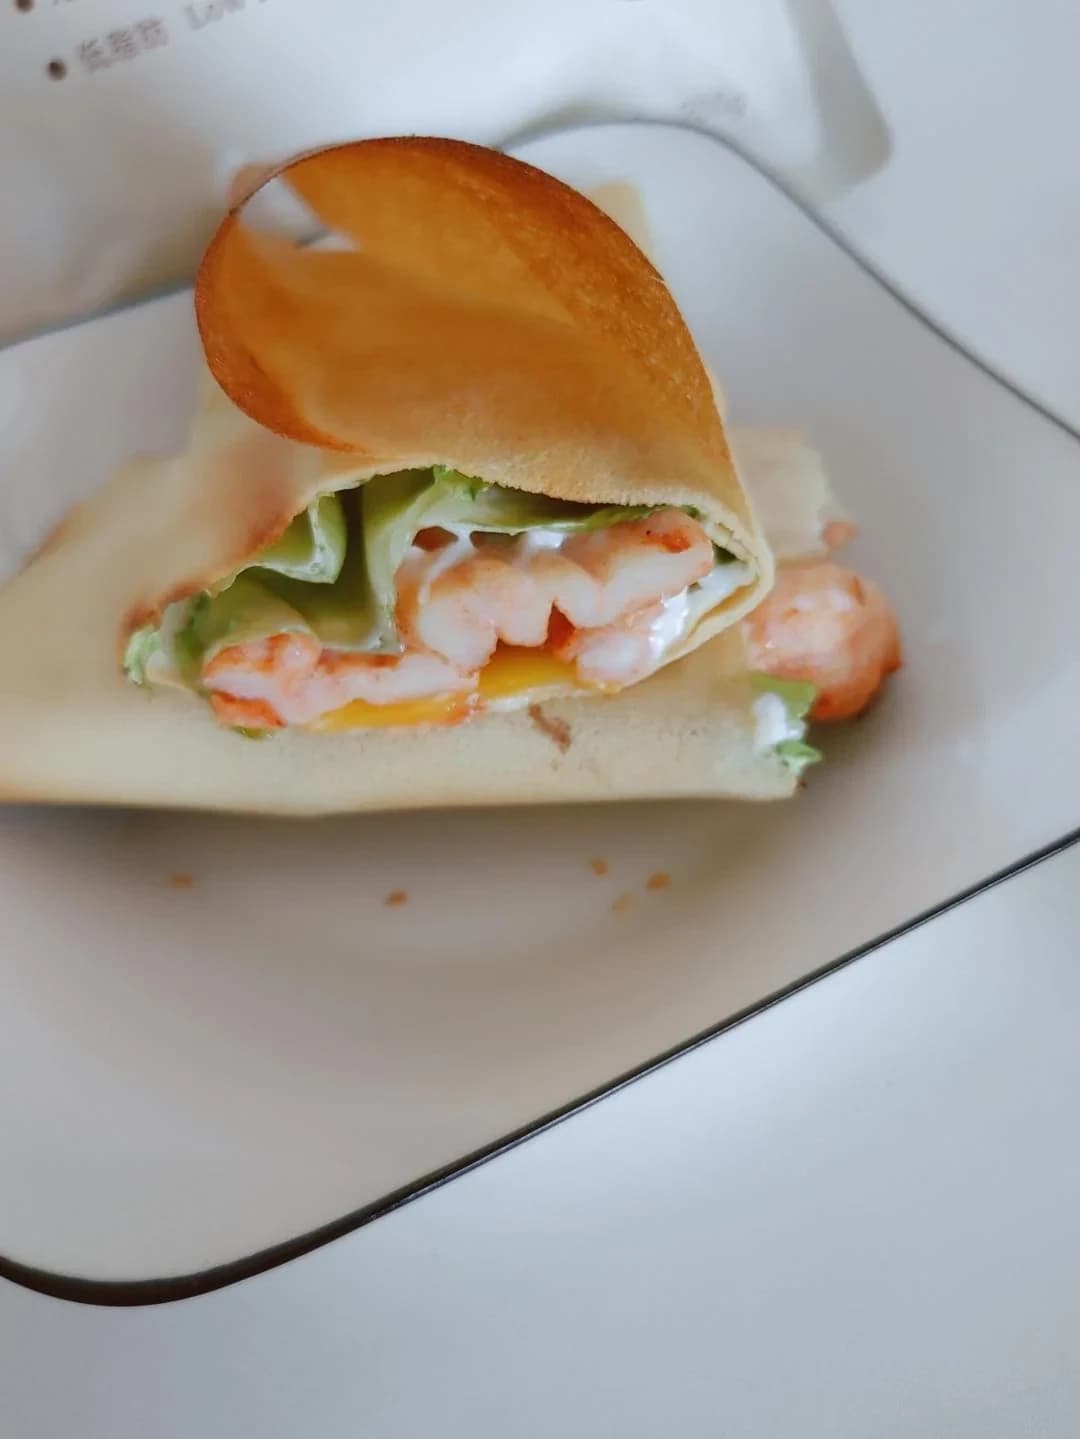
Done! Air frying makes it crispy — but it's also great without toasting.
✅ Done when: Done! Air frying makes it crispy — but it's also great without toasting. Finished: Heat the pan or oil to about 180 C before adding the mixture; the surface should sizzle gently on contact.
Watch out: Resist biting in right away — the melted cheese and chicken stay scorching hot inside even when the outside feels cool. Let it rest 1–2 minutes.
If Burned mouth or tongue from the first bite.:
Let the wrap rest for 1-2 minutes before eating.
If The crispy shell softens while the wrap sits.:
Rest it uncovered for no more than 1-2 minutes and serve right away.
- 6
Step 6
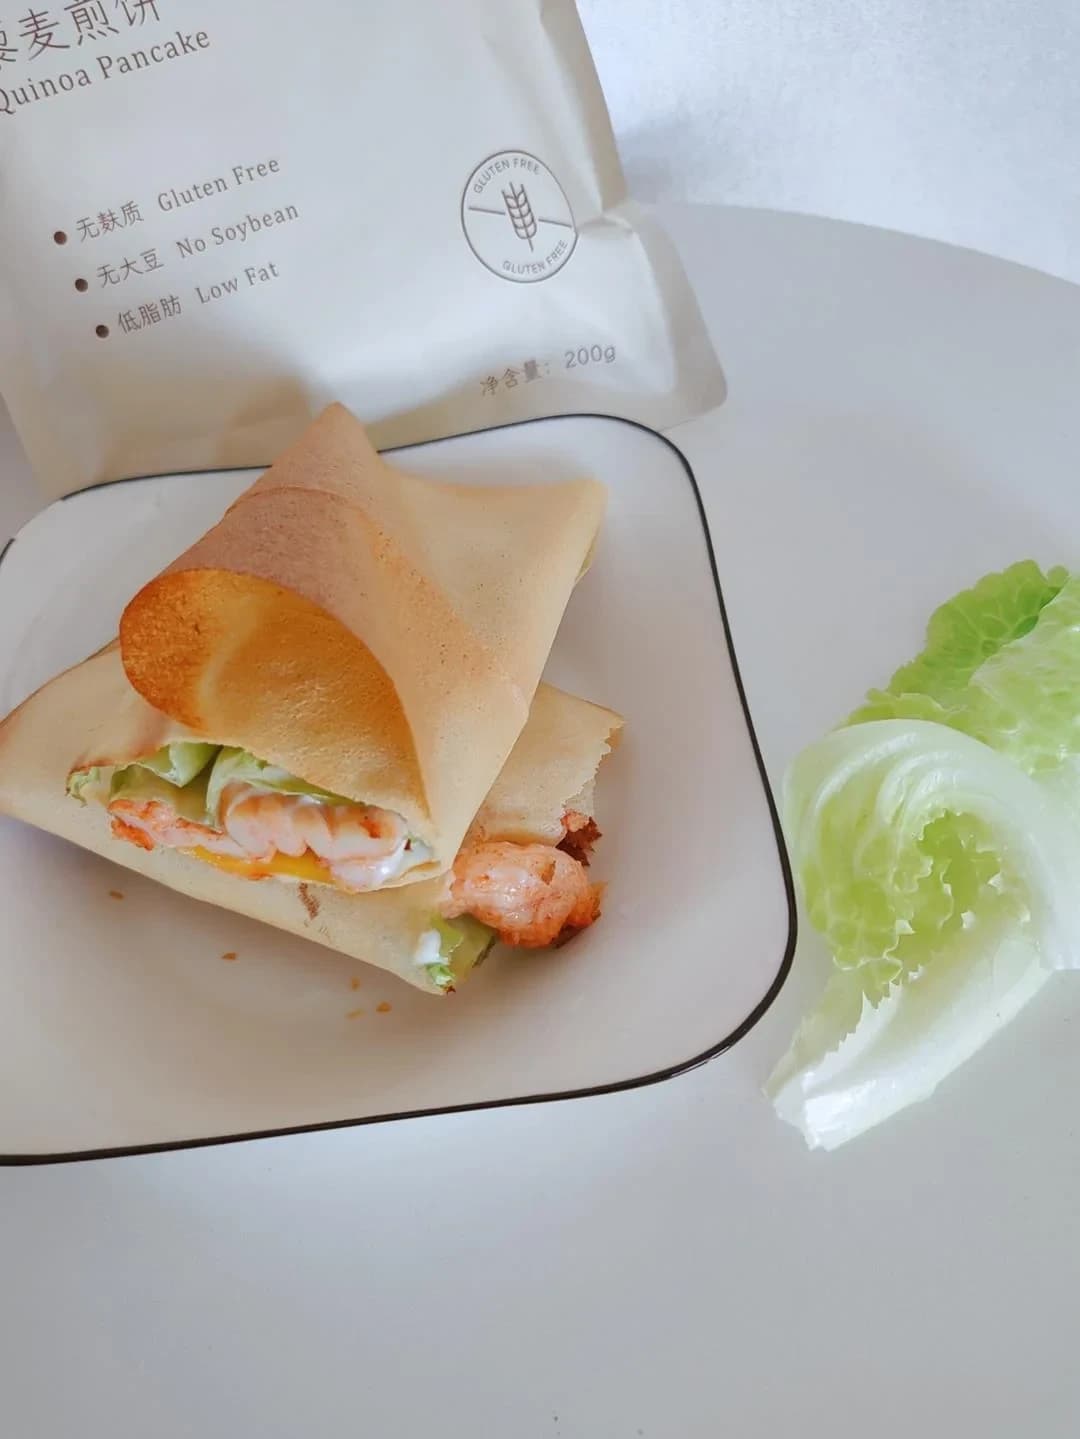
A beautiful shot before digging in!
✅ Done when: A beautiful shot before digging in! Finished: Heat the pan or oil to about 180 C before adding the mixture; the surface should sizzle gently on contact.
Watch out: Don't stage the photo too long — trapped steam will soften the crispy shell within a few minutes, so snap quickly and serve.
If The shell loses its crunch before the photo shoot is over.:
Set up the shot first, snap quickly within a minute, and serve immediately.
If The cheese firms back up and the filling cools before eating.:
Keep staging brief, or reserve a second still-warm wrap for eating while you photograph the first.